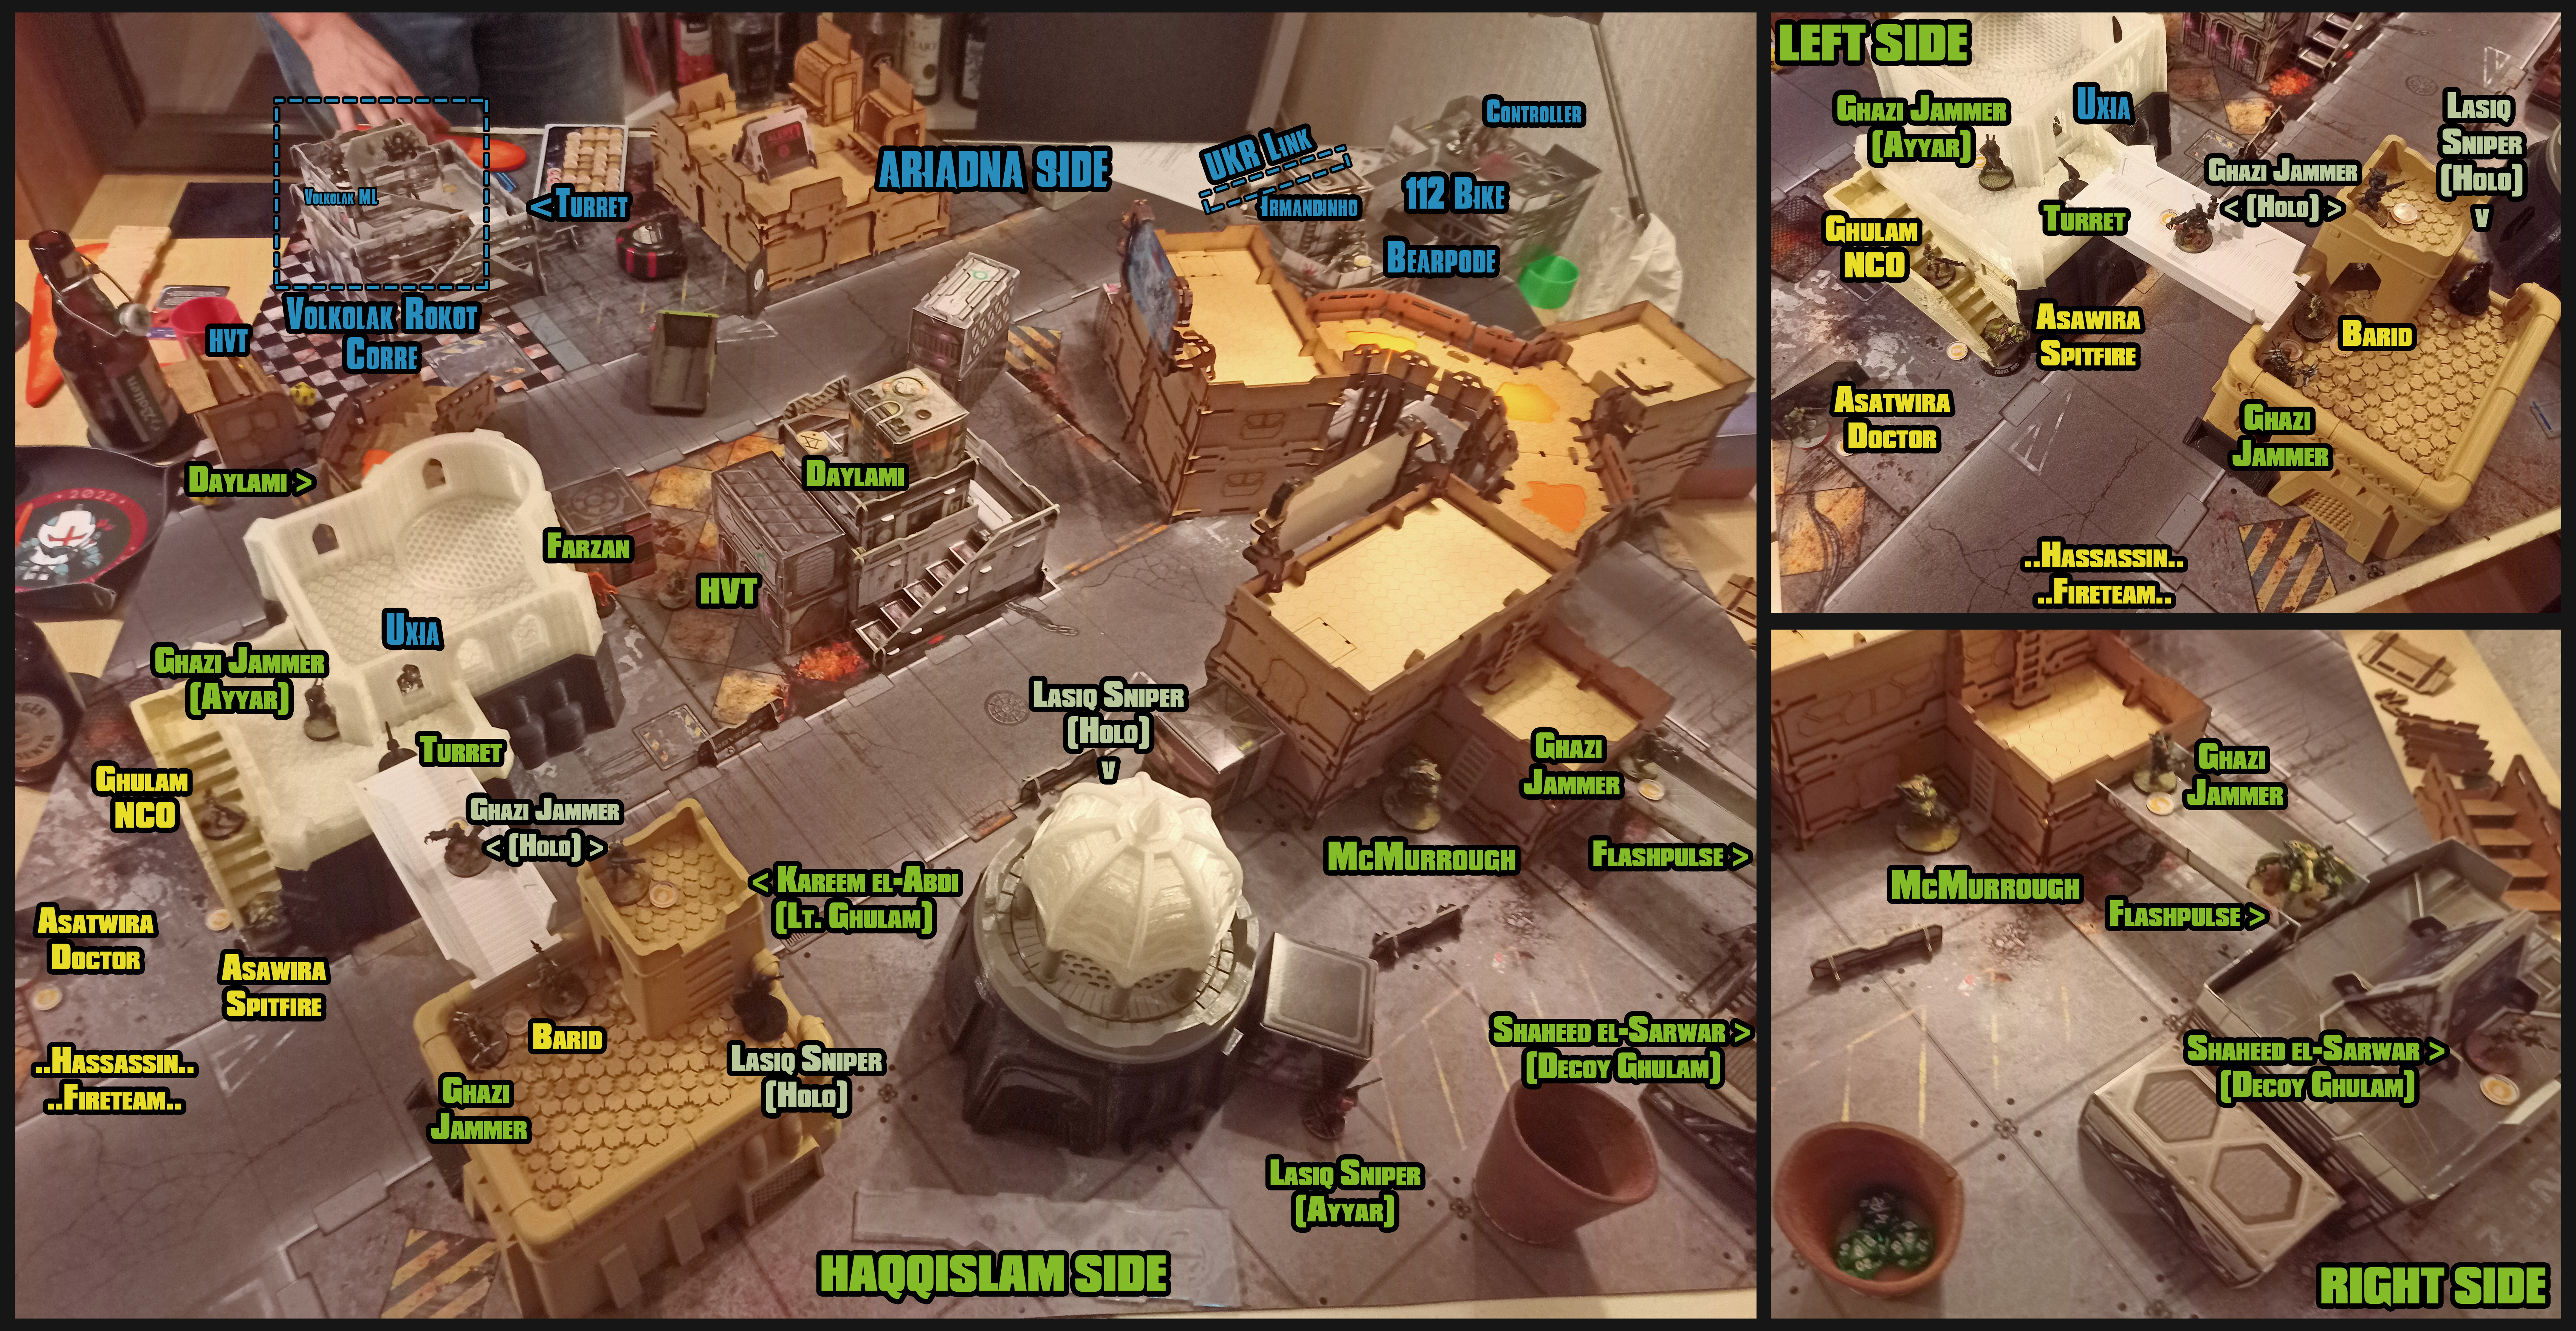
Fought At Bhai: Shimmering Sky Project Tracking Station
203 days 17 hours 31 minutes ago
Frontline Battle
300 POINTS[Mission: Frontline]
[Myself: Hassassin Bahram]
[Opponent: Kosmoflot]
[300pt, no reinforcements]
Briefing:
Captain el-Abdi, there are unregistered Ariadna forces trying to break the perimeter near your location. Their motives are unclear as of now and comms seem to be limited in this area.
You are to grab your troops and defend the region, time is of the essence. Give no ground!
You might not have the numbers on your side but the Bahram has sent 2 Hassassin Áyyār your way, to support this case. Use them as you see fit.
The infamous mercenary McMurrough is also nearby, so we hired him to support you in this battle.
Captain el-Abdi turns out to be the superior Lieutenant. Haqqislam select their side on the battlefield and Ariadna has to deploy their troops first. Ariadna will take the first turn.
Ariadna:
The Volkolak and his Fireteam take the left-most builing, which gives them a good overview of the left board side and a diagonal fireline to the right; they are supported by a defensive turret.
On the right side we see the offensive pieces gathered: a bearpode and the Unknown Ranger, with his friendly neighbourhood Varangian/Zellenkrieger. They are supported by a 112 on motorcycle and an Irmandinho. There is also an Infiltrated Camouflage troop, likely Uxia McNeill, inside my building on the left side. Since there are only 13 Troops visible and a glaring point gap, Command has determined that Airborne Reinforcements might be nearby.
Haqqislam:
I decide to mostly fortify the left side of the board, to stop Uxia's approach and to keep the Bearpode away.
The Fireteam, made up of 2 Asawira (1 Doc, 1 Spitfire), a Ghulam NCO and a Barid Hacker, goes on and around the building, carefully watching the board edges for enemy Paratroopers.
The defensive Turret shall watch over the ominous Camo marker. Real and fake Ghazi Jammers are deployed in the perimeter to scare any kind of close assault away. Cpt. el-Abdi, my Lt., takes shelter in the tower, to command his troops.
The 2nd Áyyār sets down in the middle, holomasked as Lasiq Viral Snipers, who impose a huge threat to the Ariadnan forces.
On the right side a Flashpulse Bot takes position, next to another Jammer that protects McMurrough and el-Abdi's decoy.
In the midfield we can find a Daylami under the bridge on the left, another Daylami on the building in the middle and a Farzan Forward Observer, next the the HVT, between those 2.
TURN 1 || Ariadna
The Ariadnan forces begin their turn by having Uxia blow up an important communication array inside the building she deployed in [Sabotage Classified scored]. The rusty defense turret unfortunately misses her completely. She then blows a load of her shotgun over the turret and the Holo-Jammer behind it, obliterating both, while her cover protects her from harm.
Meanwhile, the Volkolak activates, trying to get a view on who's a real enemy and who's not. No one takes the bait, so he shoots down the Lasiq Echo on the middle building.
The Ariadnan Command decides it's time to push into the Haqqislam side with the Unknown Ranger and his buddies. The brave Daylami have only waited for this moment, revealing themselves and taking aim on the Varangian and the Zellenkrieger - the whole fireteam Dodges. Daylami #1 hits the Varangian but only manages to put him into Dogged. The Zellenkrieger dodges the Panzerfaust, staying unharmed. The link fearlessly pushes forward, putting down the middle-board Daylami on the way. They also take out the Flashpulse-Bot and maneuver around to get the Ghazi into Line-of-Sight, but he manages to go into Dogged as well, continuing to be a threat.
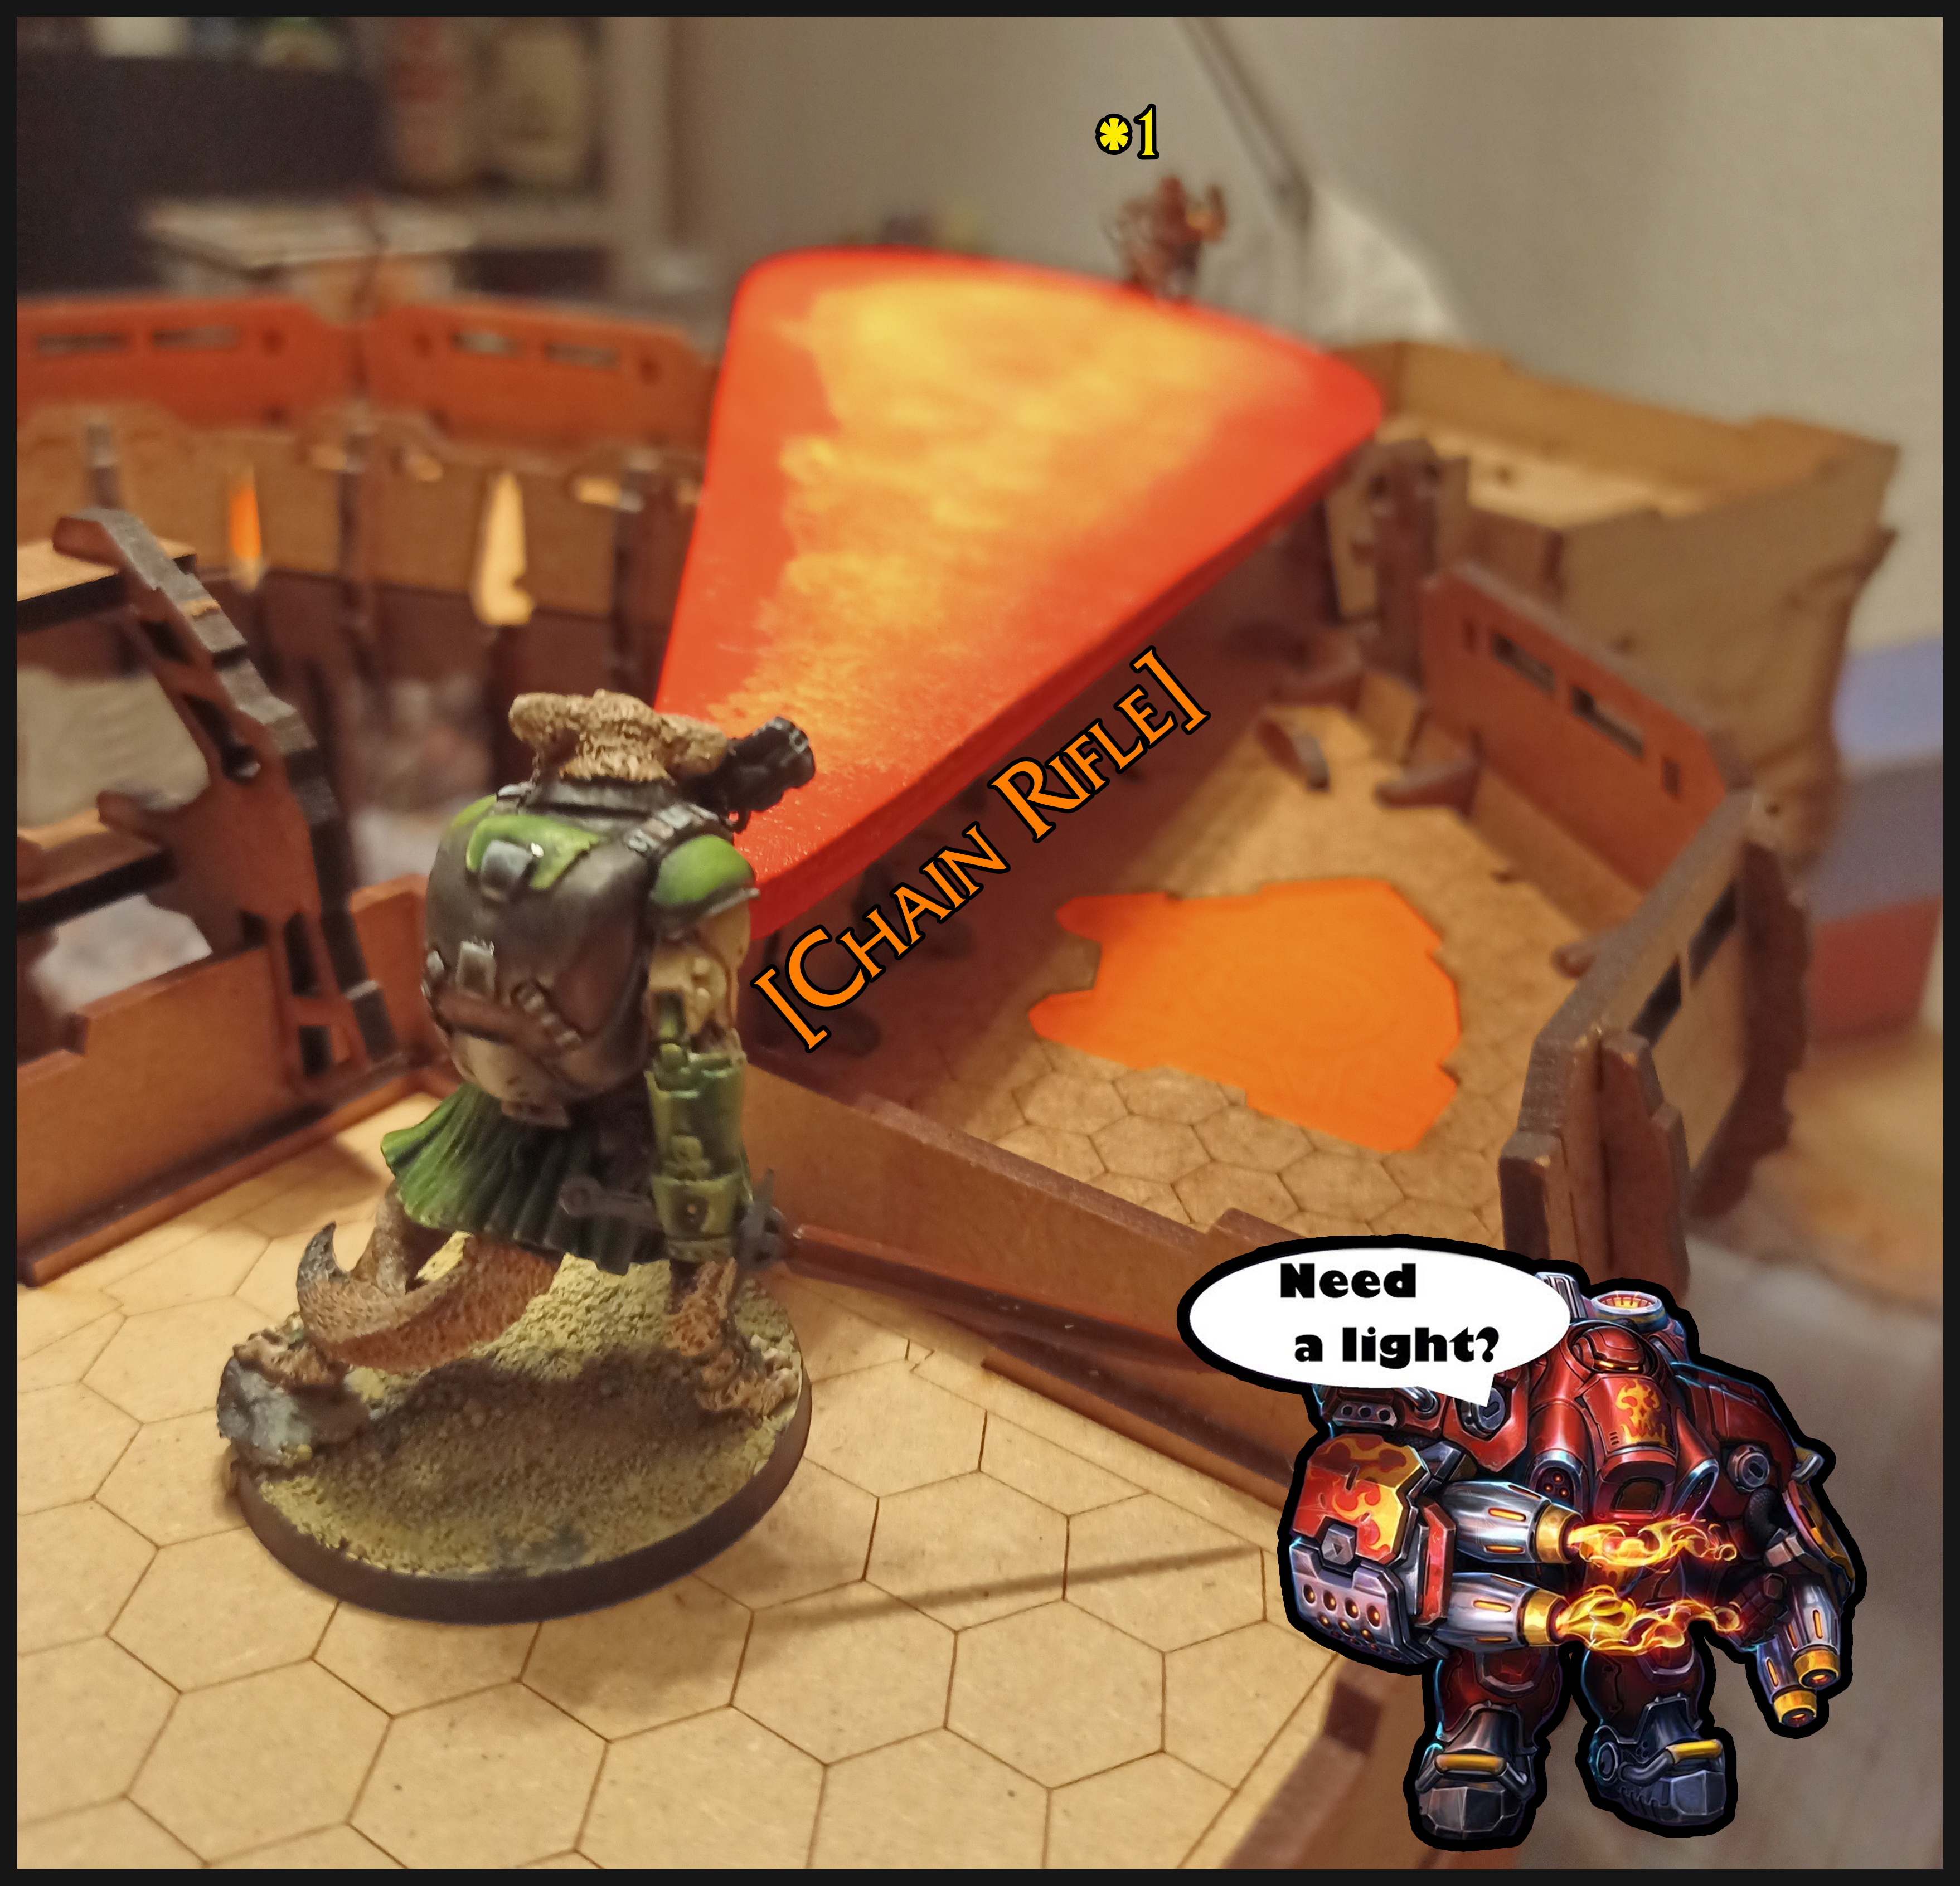
The Ranger then takes the fight onto the remaining Lasiq Sniper, who turns out to be a Hassassin Áyyār. Deterred by the Mimetism, he tries to dodge into safety, which he ultimately succeeds at, but not unscathed [taking a Wound]. The Ghazi, fighting through the pain, manages to Dodge forwards and put a Chain Rifle into the Unknown Ranger, but the Armor holds. The Ranger pulls back a bit and this concludes the Ariadnan Assault.

TURN 1 || Haqqislam
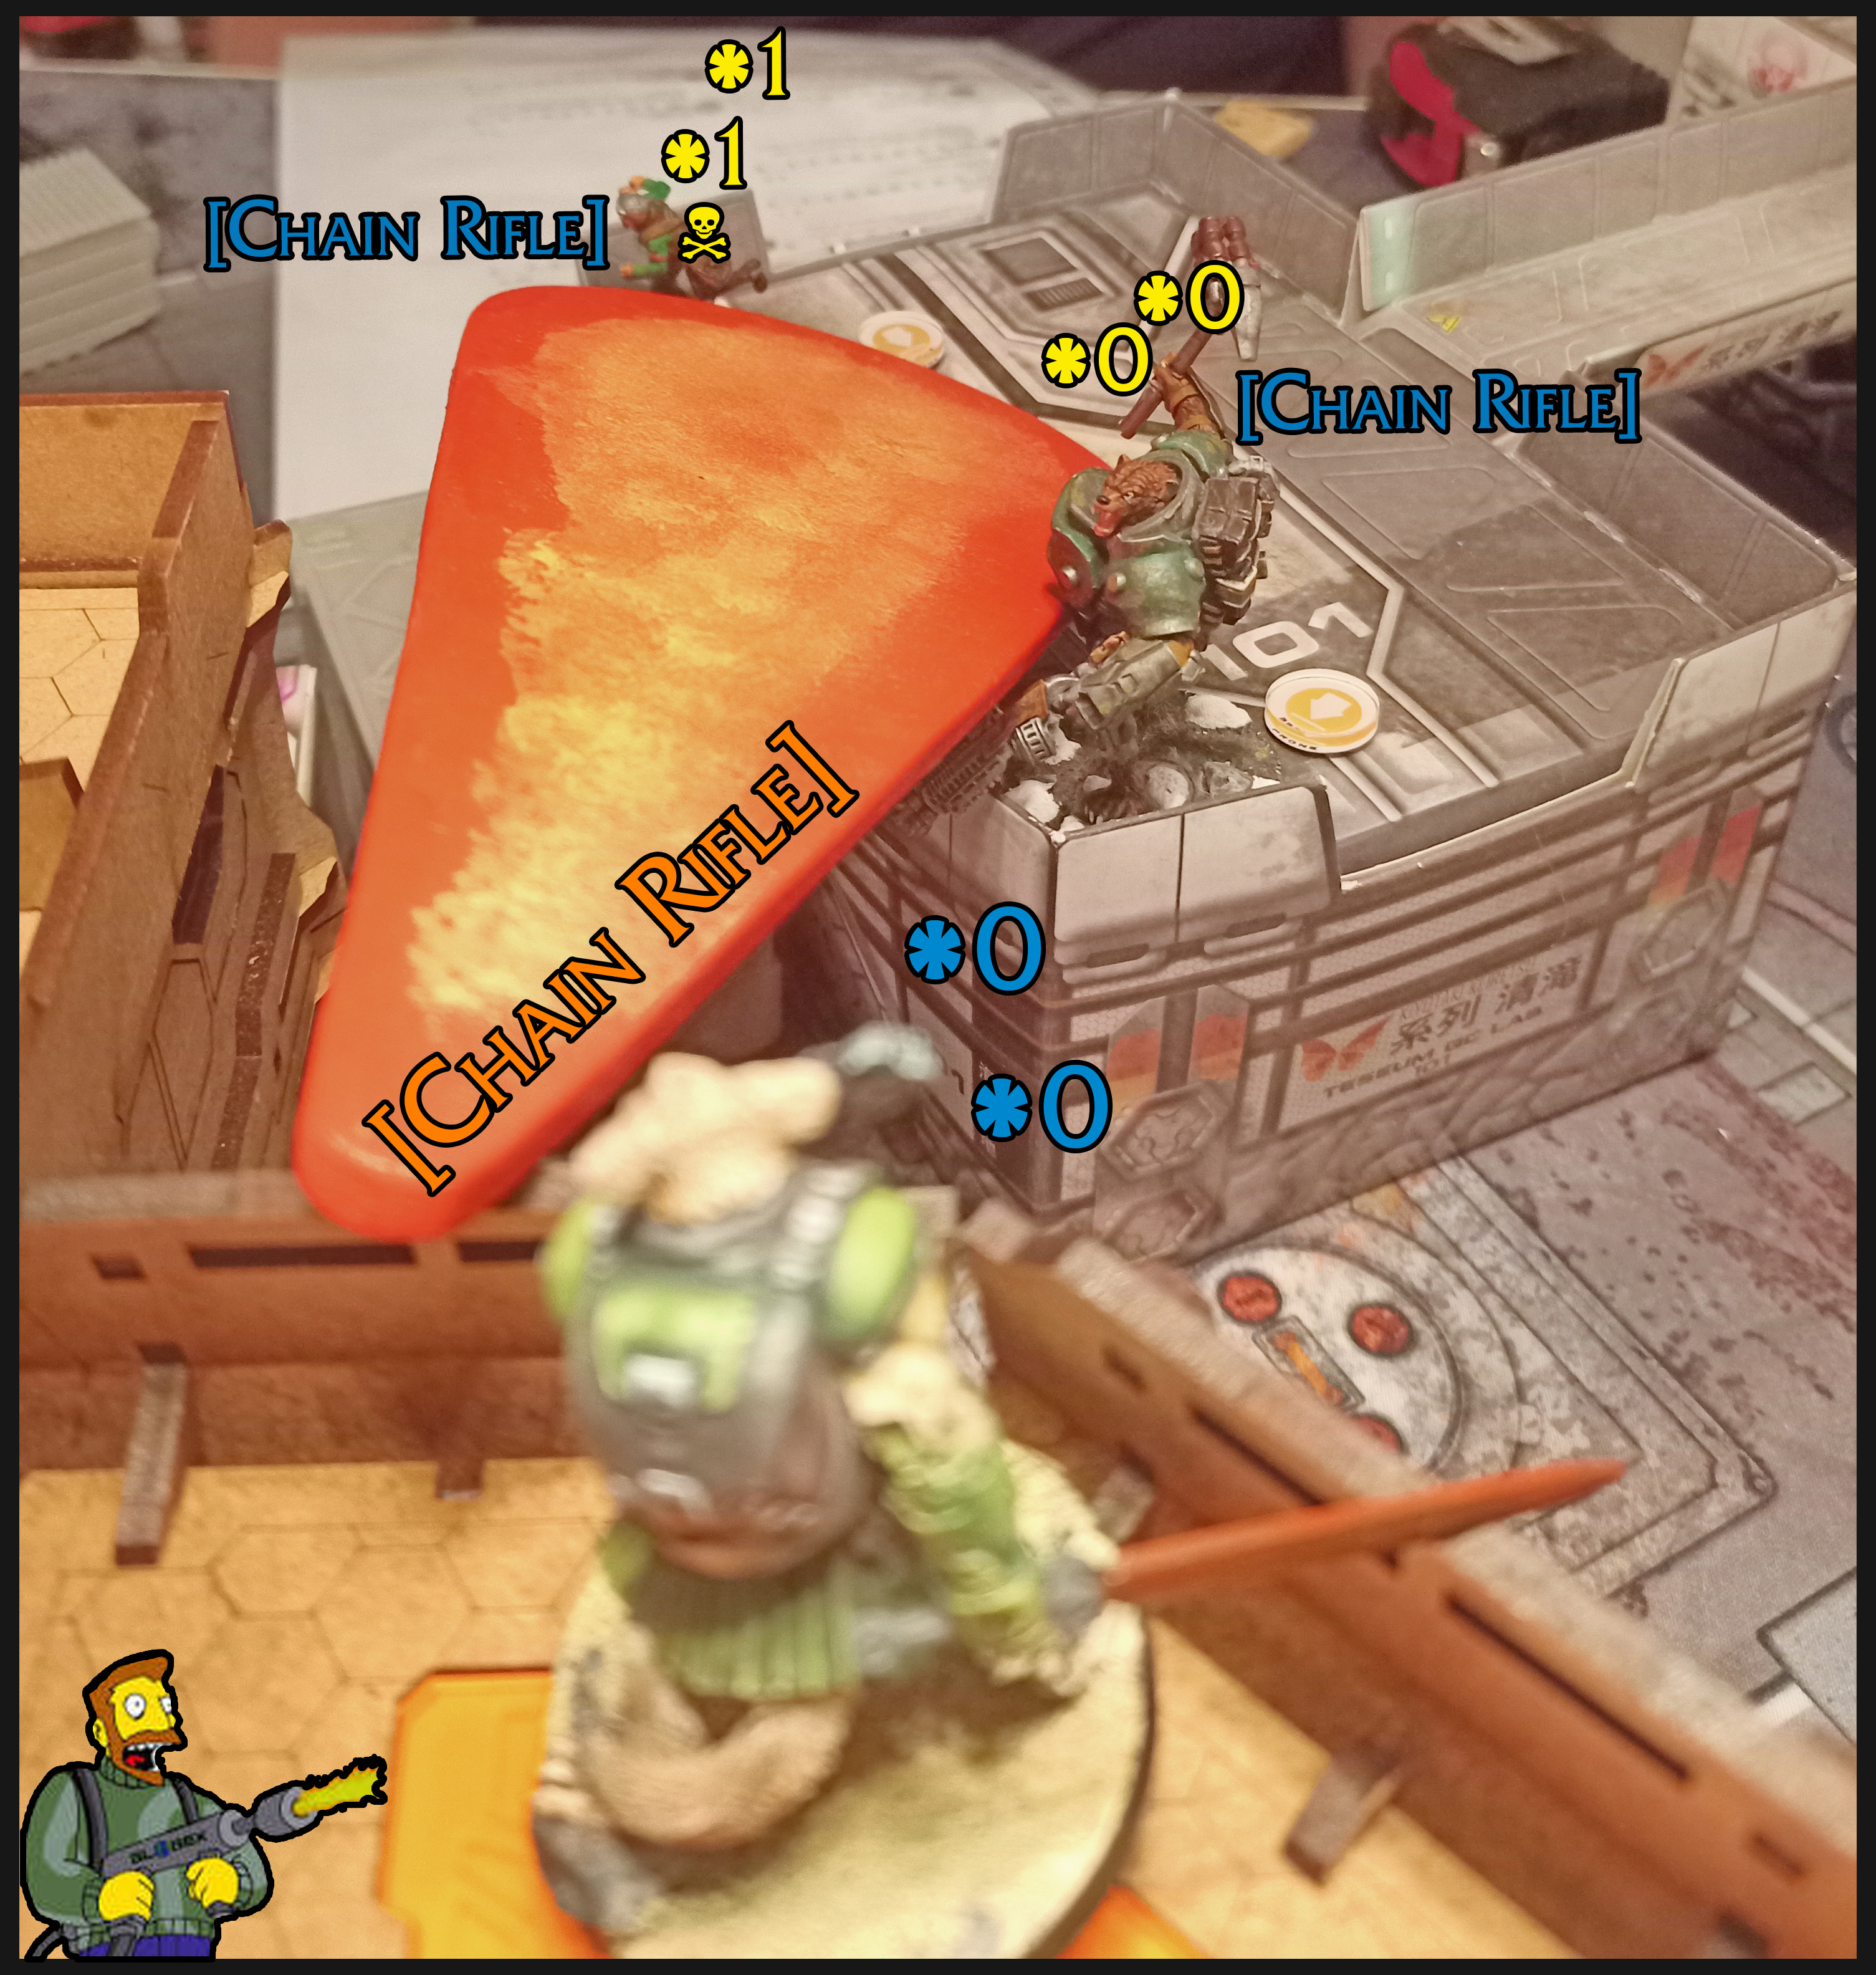
Incited by the violence right next to him McMurrough impetuously rushes forwards, up the building and promptly puts a Wound on the Ranger with his Chain Rifle, while the return fire bounces off his armor.
Since the further approach is dangerous, as it leads through the Volkolak's line of fire, McMurrough tries to engage the Ranger at range again, this time provoking a Dodge from him. This opens up the opportunity to throw Smoke down the building, obscuring the Volkolak's view. McMurrough then gives into his rage and Berserks the Unknown Ranger down.
On the other side of the battlefield the bravest Daylami rushes forwards, trying to put Wounds into the fireteam. Unfortunately her Shotgun doesn't quite reach the Volkolak so she trades her life for a Rokot, going Unconscious in the process. This sacrifice doesn't stay unnoticed and the Fireteam attempts a rescue maneuvre. The Ghulam NCO, instructed by Cpt. el-Abdi himself, throws a cheeky Smoke Grenade right into the Volkolaks field of view, so the Asawira can dig out his Medikit and take a Shot at the unconscious Daylami. It connects and the Daylami gets up again. She fearlessly continues her suicidal assault, putting down the defensive Turret while nearly hitting the Volkolak, but his Armor saves him.
Since the left side still wants to stay secured against airborne threats, the remaining Orders go into McMurrough. He engages Irmandinho and Bearpode, putting down the engineer, but both Antipode's Armor proves to be tough to chew through, so nobody else takes a wound. McMurrough jumps down the building, throwing a grenade at the bear, who manages to dodge out of its way. With the last order he puts his trusty Chain Rifle into the 112 Medic, promptly downing him.
TURN 2 || Ariadna
The Ariadnan forces have taken some heavy blows and the Haqqislam fortress proves hard to assault.
The Bearpode tries to get revenge on McMurrough, who manages to avoid its Chainrifle, prompting the Bear to walk in the other direction. McMurrough tries to follow him with Dodges, but he fails. Weakened by the continuous hits it has taken, the armor finally gives in, making McMurrough fall Unconscious.
With the weakened Command structure due to heavy losses, the Ariadnan side doesn't achieve much more, except a bit of re-positioning.
TURN 2 || Haqqislam
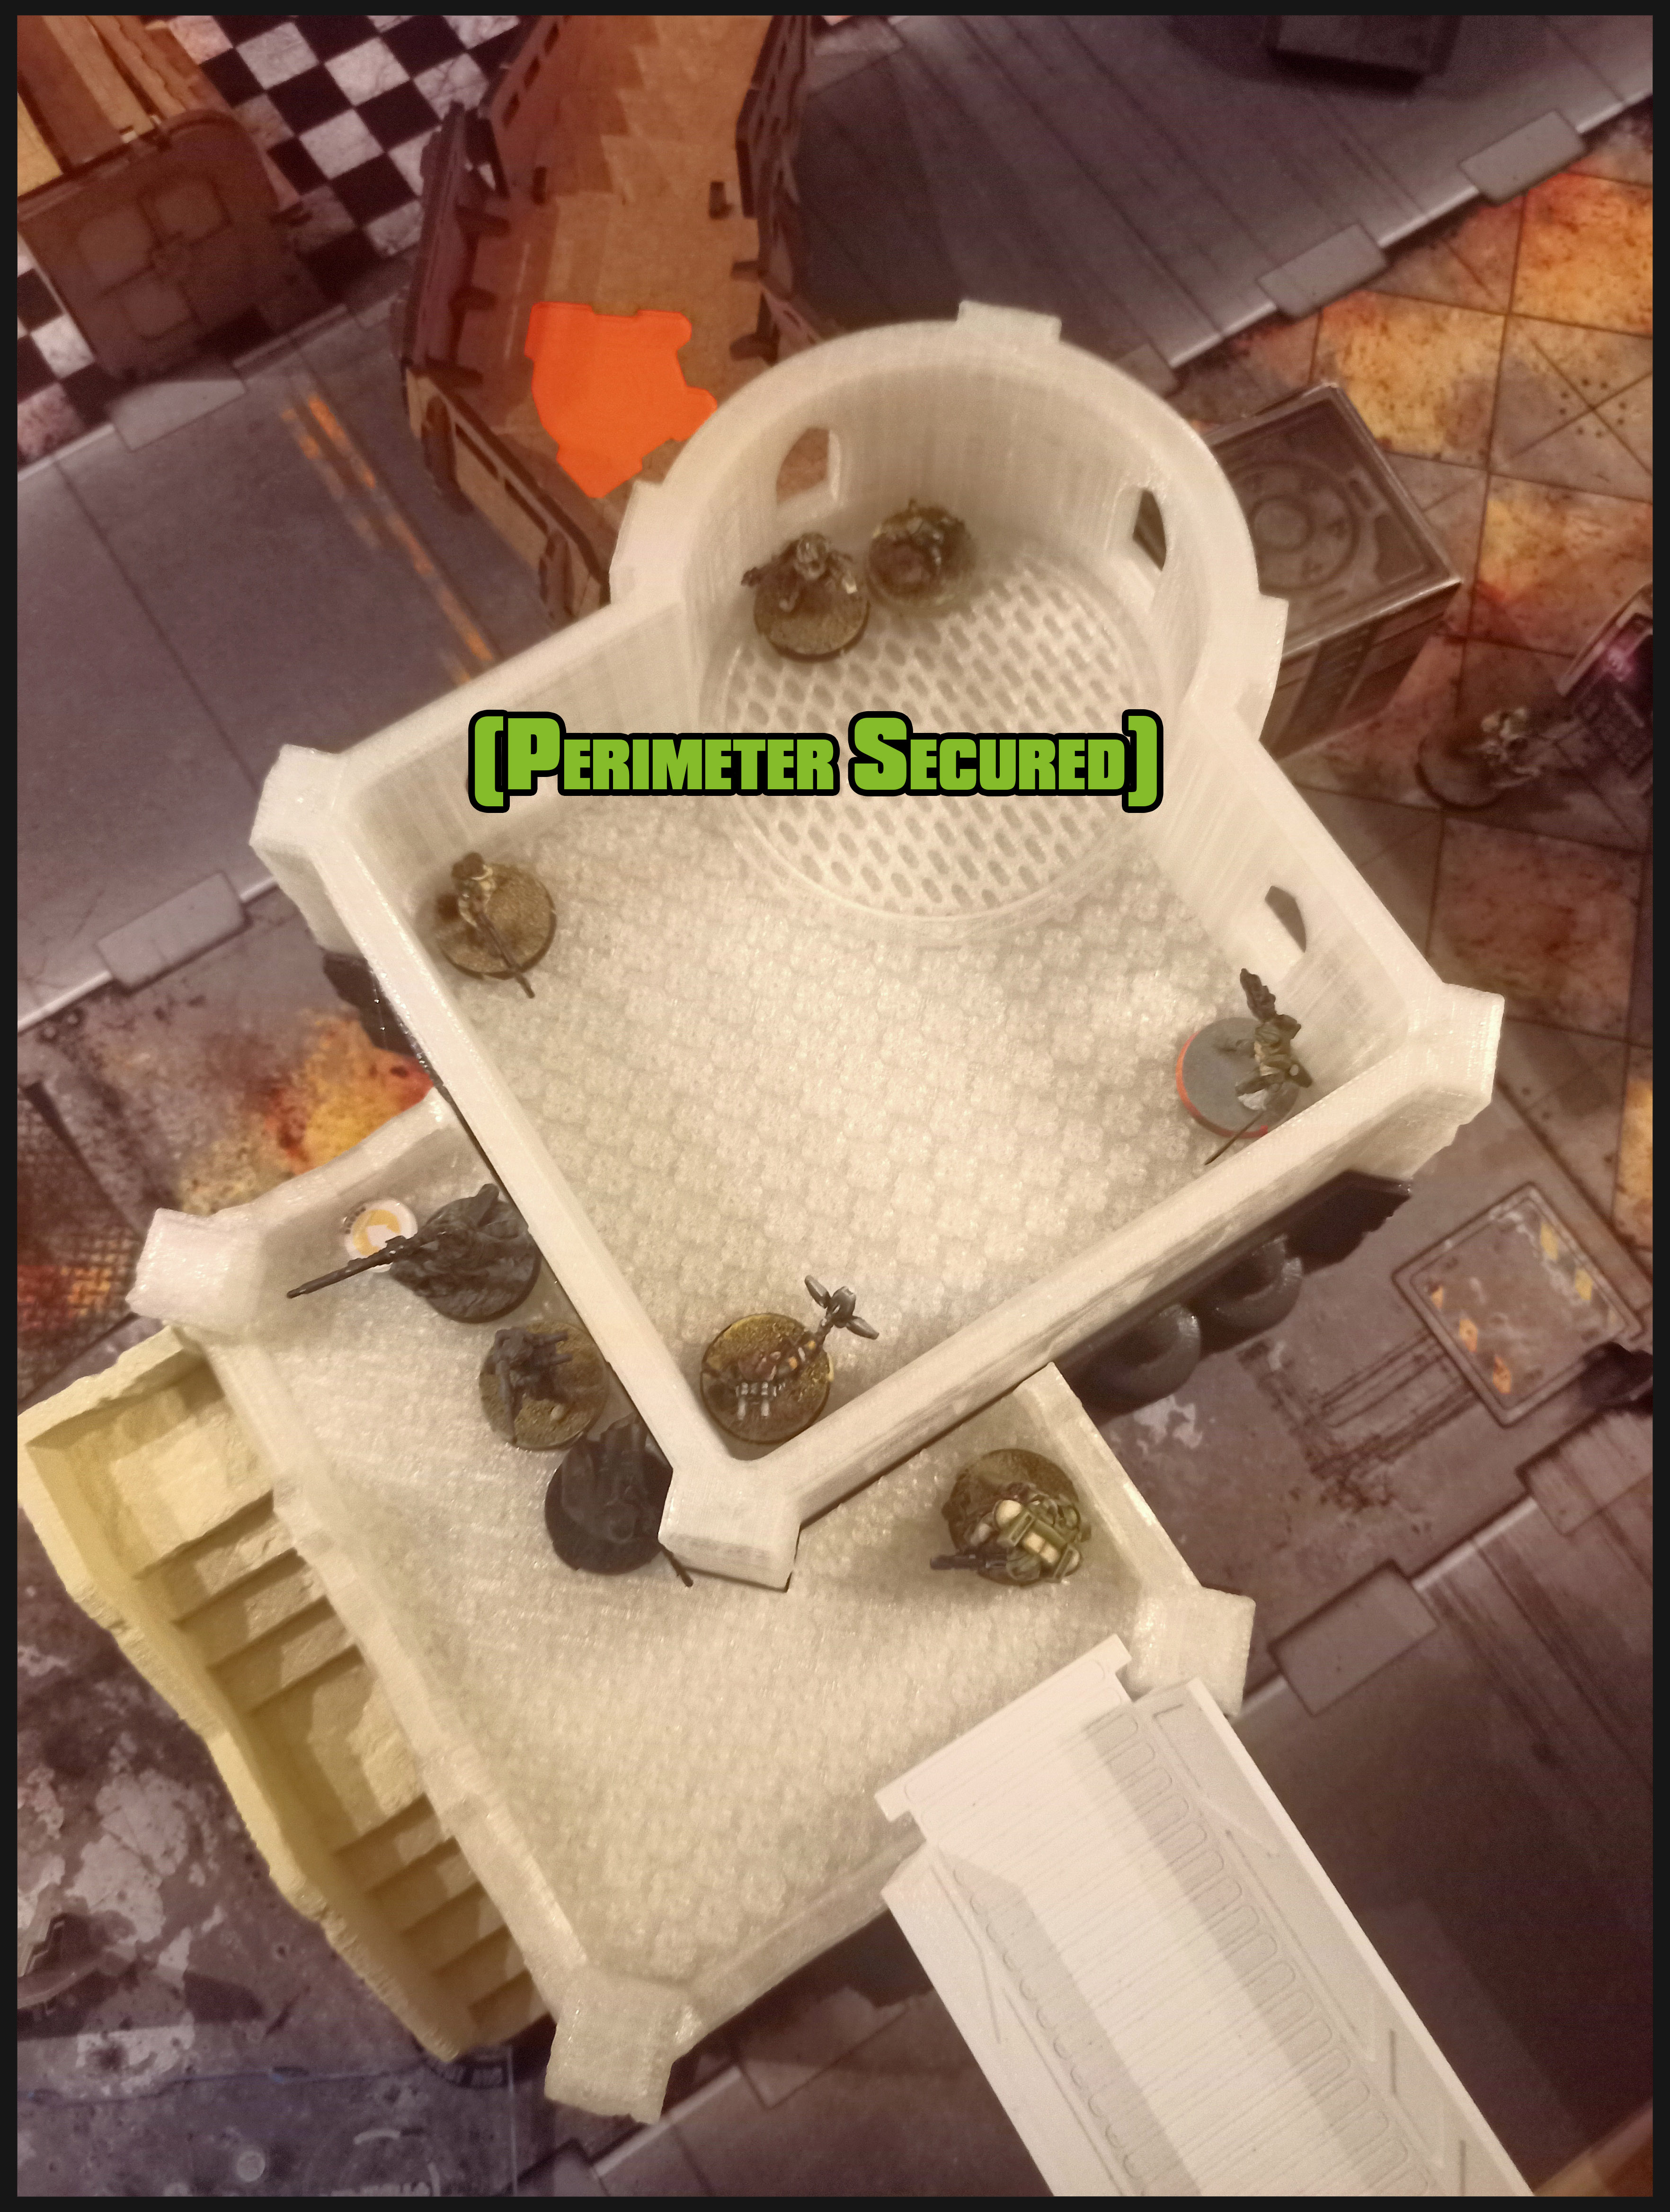
Cpt. Kareem el-Abdi now instructs his troops to move forwards, re-conquering lost ground and establishing a strong presence in the perimeter.
The fireteam takes shelter in the big building, while the Asawira engages the Volkolak with her Spitfire, managing to put him down in a single Order.
The single line of outside communication, our Barid, inches forwards, out of the building, scanning a dead Soldier to find reasons for the unprompted aggression. It takes him a while, but he manages to find some data, that High Command might be interested in, before retreating into the safety of the building. [Data Scan Classified completed].
The Farzan moves up, blowing up a Container that was riddled with El Propaganda, to make the city a safer space [Sabotage Classified completed].
TURN 3 || Ariadna
With their backs to the wall the rebellious Ariadna forces desperately try to win some ground.
Command's assumption turned out correctly and an antipode [Duroc] appears on the side of the battlefield, right next to Shaheed el-Sarwar. It stays vigilant [Vigilance Classified scored] before charging forward, savaging the Lieutenant-Decoy. The Áyyār has sight over this, desperately firing his Viral Pistol into the Antipode. While this turns out quite effective, it's not enough to put the beast down. It tries to draw back to establish a presence in the zone but a shot from the Áyyār's Breaker rifle seals the deal.
The second half of the Equipe Mirage, Margot, lands in the middle Zone, just to bring points into it.
The remains of the fireteam move into their Zone to crack down on it.
TURN 3 || Haqqislam
The Haqqislam forces are instructed to conquer all the zones.
The Fireteam inches forwards to hold the Ariadnan side. The Spitfire Asawira shoots at the exposed Bearpode who promptly goes into Dogged. The Barid Spotlights an enemy soldier, to make the upcoming exfiltration easier. [Telemetry Classified completed].
The Asawira Doctor rushes over to the stairs to delete 2 of the remaining Rokots. While she achieves her goal, unfortunately she dies to a critical pistol hit, making this a negative trade, value-wise. The remaining Soldiers move up to the zones which end with the following troop designations:
Ariadna Zone:
Asawira, Barid, Ghulam NCO, Farzan [94]
Rokot [9]
Middle Zone:
Áyyār, Ghazi [47]
Margot [37]
Haqqislam Zone:
Áyyār, Ghulam [56]
I have HVT: Assassination as Intelcom card, which goes into the middle.
The Ariadnan forces have the same and also another one for 11 points, who both go in the middle, giving them the Zone with a single-point advantage.
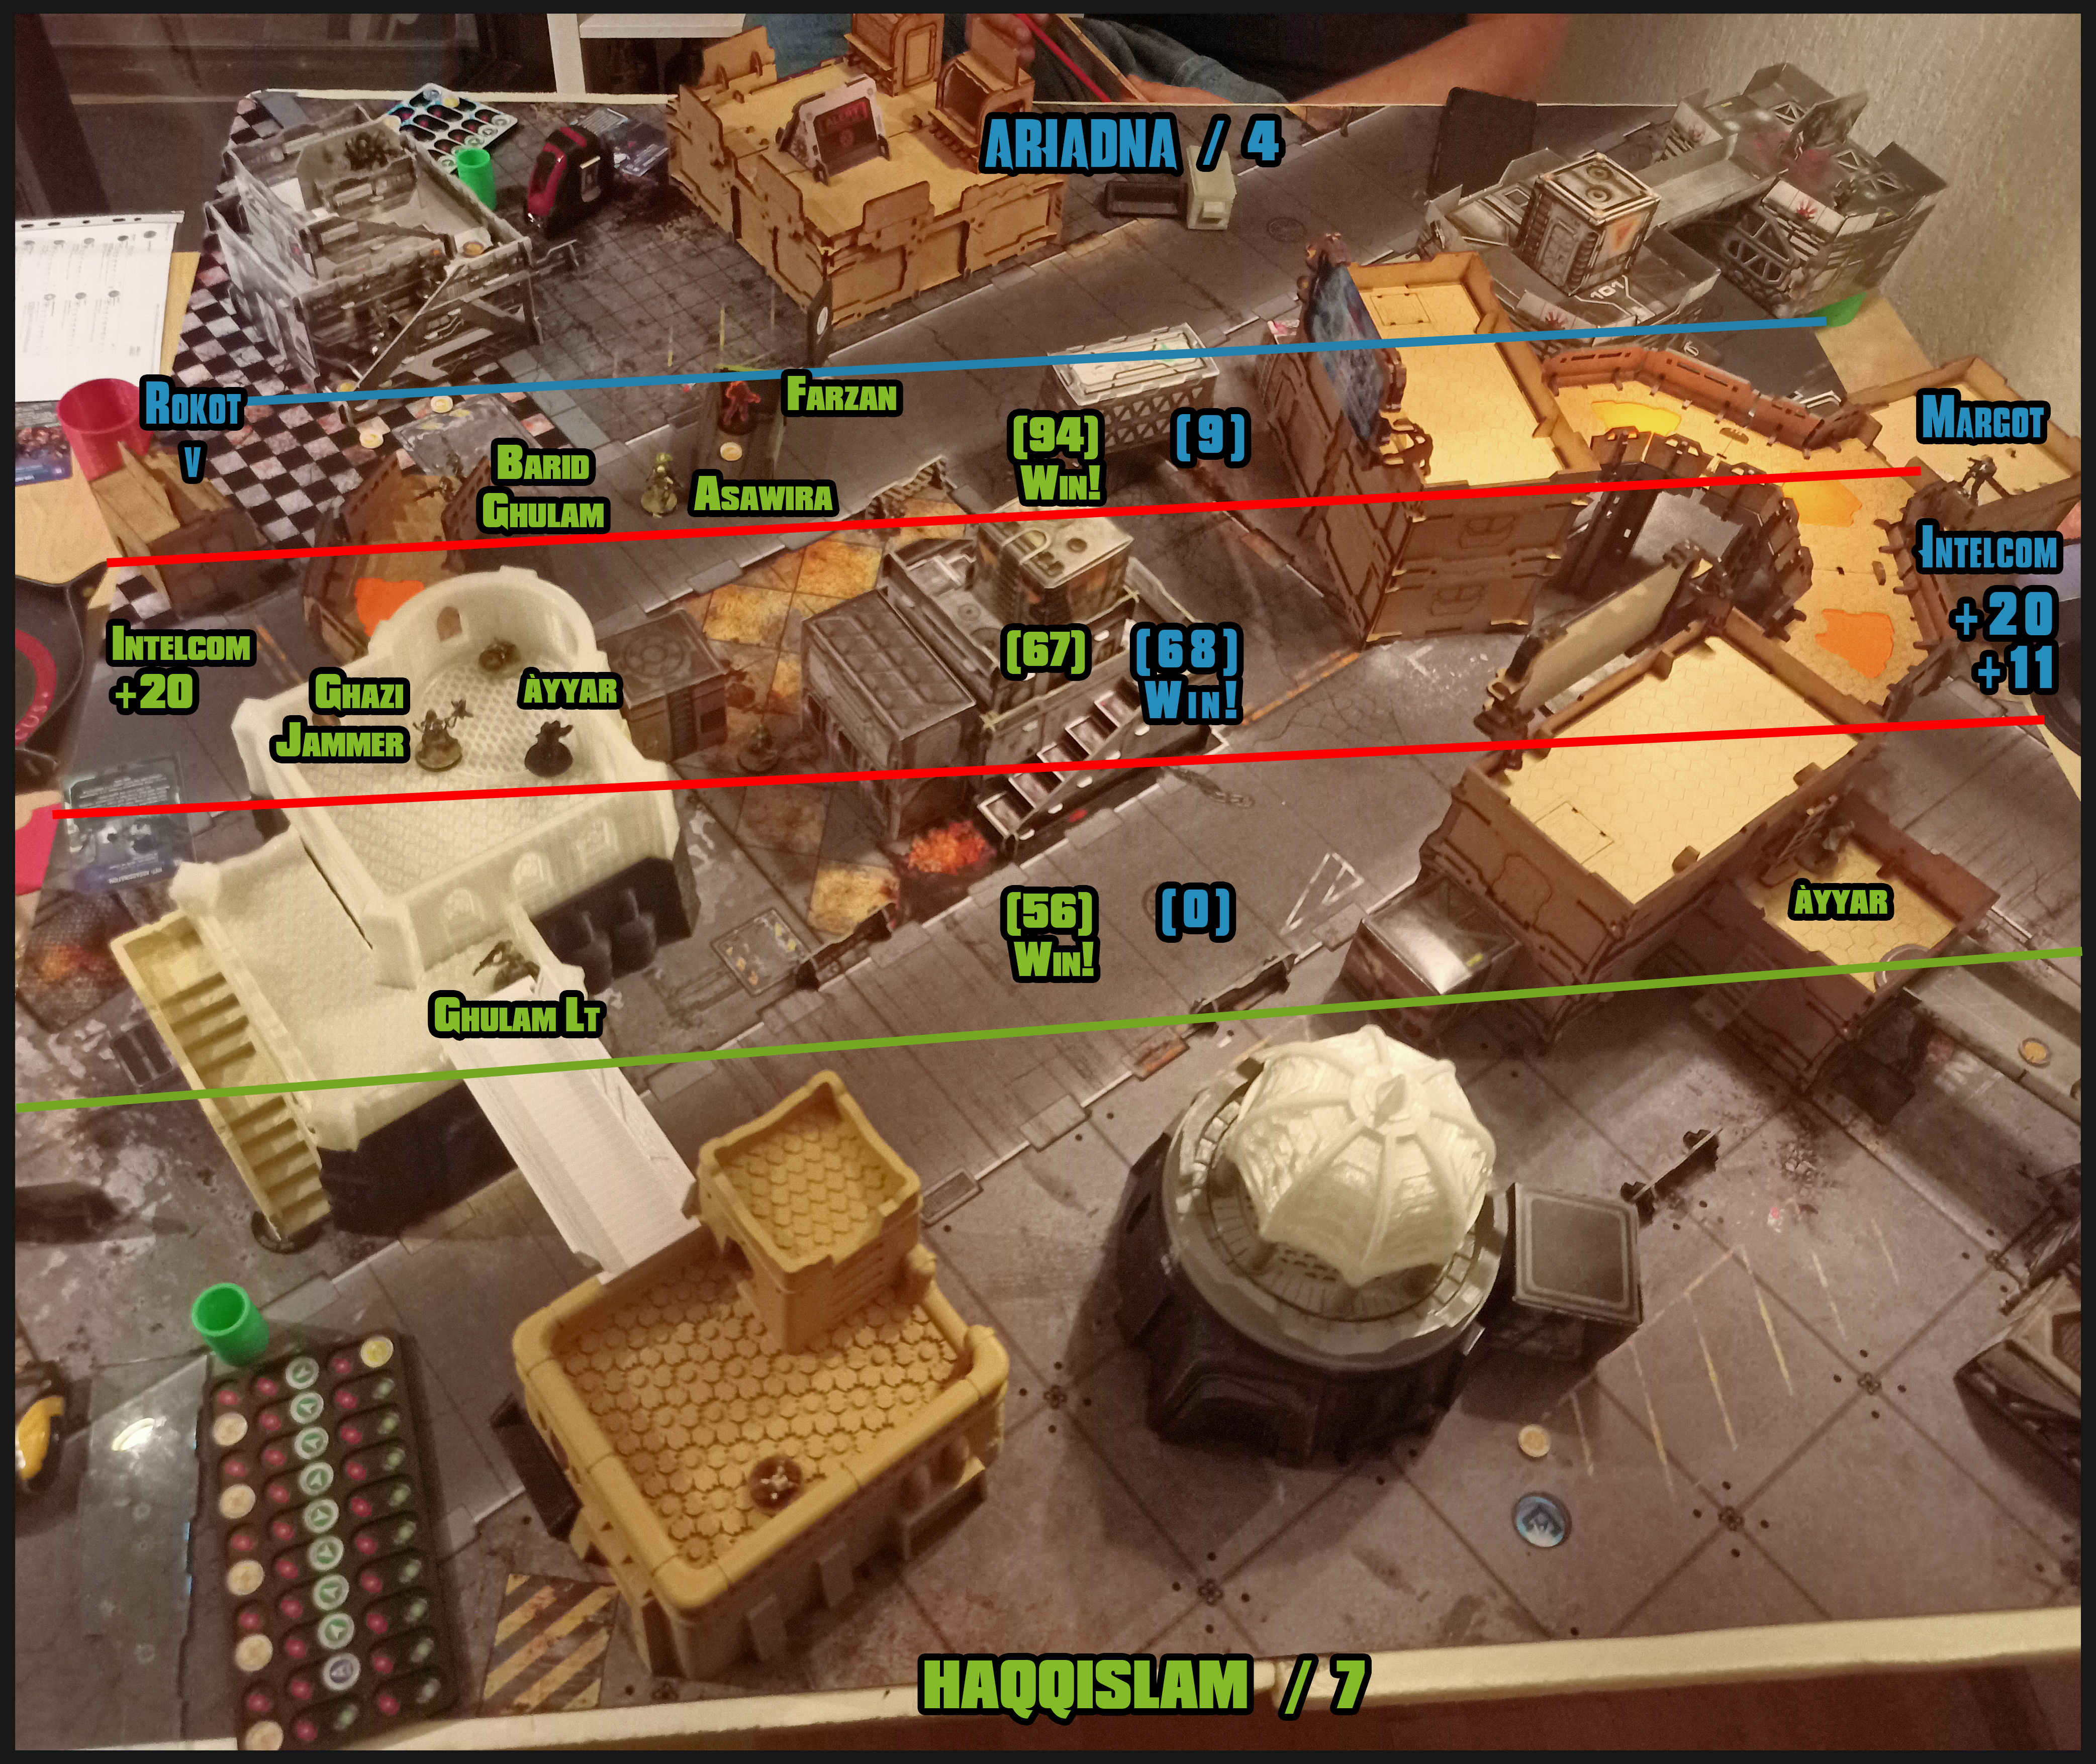
This still results in a great win for the Haqqislam forces who hold the near [1] and far [3] sector and have achieved three Classified Objectives [3], for an overall of 7 points, while Ariadna only gets the middle sector [2] and a two Classifieds [2], making it 7:4.
Therefore the Ariadnan troops are forced to leave the perimeter and Cpt. Kareem el-Abdi succesfully fulfilled his mission.
Battle Report Author

Army Lists Used In This Battle
Recommend Commander For Commendation
Share this battle with friends
FrodoWins

Amazing report! Keep up the great work!
Outstanding write up commander! I wasn’t aware of any rogue ariadnans up in Bhai that were assisting with the evac efforts in other zones, good to note!
Super cool report!
The Old Man in the Mountain is pleased.
Haqqislam High Command would like to remind all nations that entrance to the Shimmering Sky Tracking Station is expressly forbidden and will be met with aggression. Thank you, and have a wonderful day!
What a solid report! Very well done!
Good write up and a solid victory, keep it up!
(°∀°)b Great
Loved the write up, and many commendations for your victory ensuring the EIs dirty claws are not allowed to latch into Bhai! Inshallah we shall persevere!
Great stuff! Very cinematic.
Great writeup. Labels make it extremely easy to read and understand the flow of battle.