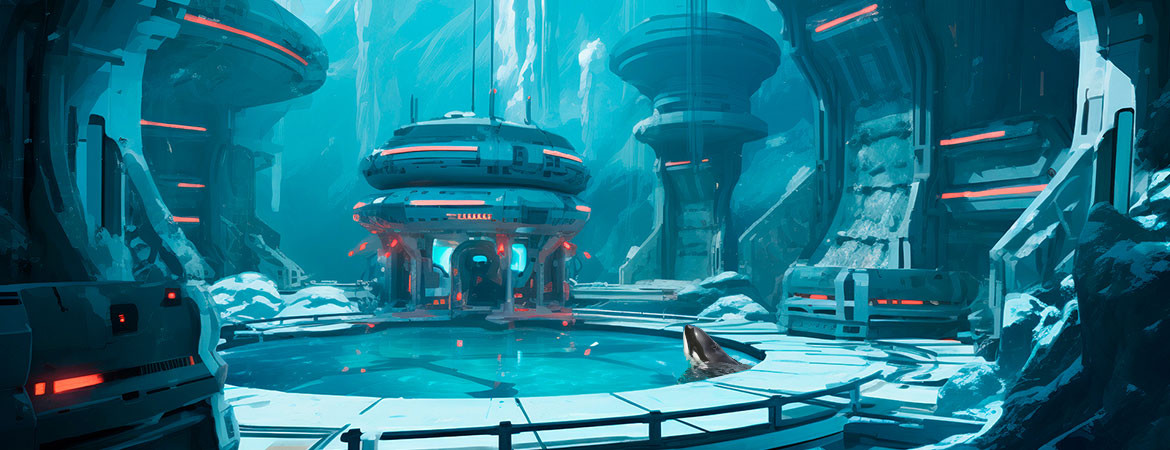
Fought At Montalbán: Underwater Marine Research Facilities
214 days 11 hours 46 minutes ago
Steel Sandcastle
300 POINTS
I've been taking a bit of a break from Infinity due to a big increase in workload at ye old day job, so it was nice to finally be able to get a game in for the Shattergrounds campaign. Jordan (sprocketgx) has been giving me a good challenge with his Steel Phalanx as of late, so this was great for the campaign narrative as well, with Nomads and ALEPH always being at odds. Oh yeah, did I mention that I'm helping organize a patch competition like we did last year?
Infinity Shattergrounds Patch Competition
Cassandra Kusanagi frowned as her comlog pulsed gently, her geist trying to attract her attention. A graphics display window slid into her field of view and began to play... an advertisement video?
This was ridiculous. Yes, everyone knows that Montalbán is a great place to visit, but certainly not with all the hazardous Quantum Anomaly Zones and an active Combined Army presence! How did this ad get past her comlog's security features?
The video continued to play. Annoyance changed to alarm. How did this ad get past her firewall? As if in answer, her geist paused the video and identified a steganographic signature in the last few frames.
After unpacking and decrypting the payload, a new comms channel appeared in her comlog's contextual menu with a waiting message:


Rogue Interventor WiseKensai
Aboard the Crypto WinterReverend Superior. Apologies for contacting you in this way, I don't trust our normal channels to be completely secure.
As you know, our ongoing operations to rescue our pilots at the Montalban research facilities have been fraught with complications and limited success.
Unfortunately, key intelligence recovered from experiments on our pilots is being smuggled out under cover of the Sandcastle Building Competition on Bianca island. ALEPH agents have been spotted planting memory modules in the beach to circumvent our quantronic jamming of their signals. These modules are then later recoved by Varuna Rapid Reaction Division amphibious commandos under the cover of night.
This data exfiltration cannot be allowed to continue. We have intercepted SIGINT traffic from PanOceanian commanders indicating that this is their top priority. I'm tasking you to intercept the latest data module. It's being carried by a Steel Phalanx force, so you'll need some extra firepower. To that end, I've requisitioned a Gator-class TAG from our Corregidorian friends.
What other resources do you need?
Reverend Superior Cassandra Kusanagi
Concilium PrimaMy Custodiers are busy at Lorena at the moment, I could use some additional hacking support. Some additional fire support would be nice as well.
Aboard the Crypto WinterUnderstood. I'll call in some favors. Data packet to follow with coordinates and as much intelligence on enemy dispositions that we have. Good hunting, Cassandra.
My local crowd is amazing and set up a table for Jordan and I to play, because we were both quite late due to work and family commitments. That really saves some time!
Overview
After the last Late Night Wargames, I really wanted to try out the new Resilience Operations from ITS15 using the new objectives deck:
You can watch the video if you'd like the full breakdown, but here's the executive summary:
- Each player has 3 objective cards, each worth up to 3 points.
- Each player applies one "Battlefield Condition" card.
- Both players deploy 4 HVTs, 3 Objectives, and 2 Beacons. It's a lot.
- Play the game normally.
- The 10th objective point is obtained if you score more objective cards than your opponent.
You draw four cards and keep 3, but you can draw an extra with a command token, which I elected to do.
- Mission: Resilience Operations
- Nomads
- Decapitation
- Decimate the Enemy Forces
King of the Hill- Interrupt the Signal
Survival
- ALEPH
- Central Control
- Guard the Supply Lines
- Z Domination
- Nomads
- Battlefield Conditions:
- Defense System Failure
- Night
- Forces: Nomads versus ALEPH (300)
- Deploy First: ALEPH
- First Turn: ALEPH
I got Decapitation, which is 2 points for 1 Lieutenant killed and an extra if I get more than one. Decimate the Enemy Forces is just more points for more murder, and then Interrupt the Signal is do 3 STR to an enemy Beacon... or in this case, Sandcastle holding a data module.
Jordan got Central Control, which is kind of like Frontline, Guard the Supply Lines, which is control his own objectives, and Z Domination, which is dominate 2 of the quadrants as depicted on the card. Since he's playing Steel, he took the Night battlefield condition card, which imposes a -3 to BS or WIP via Low Visibility Zone for anything outside of 24".
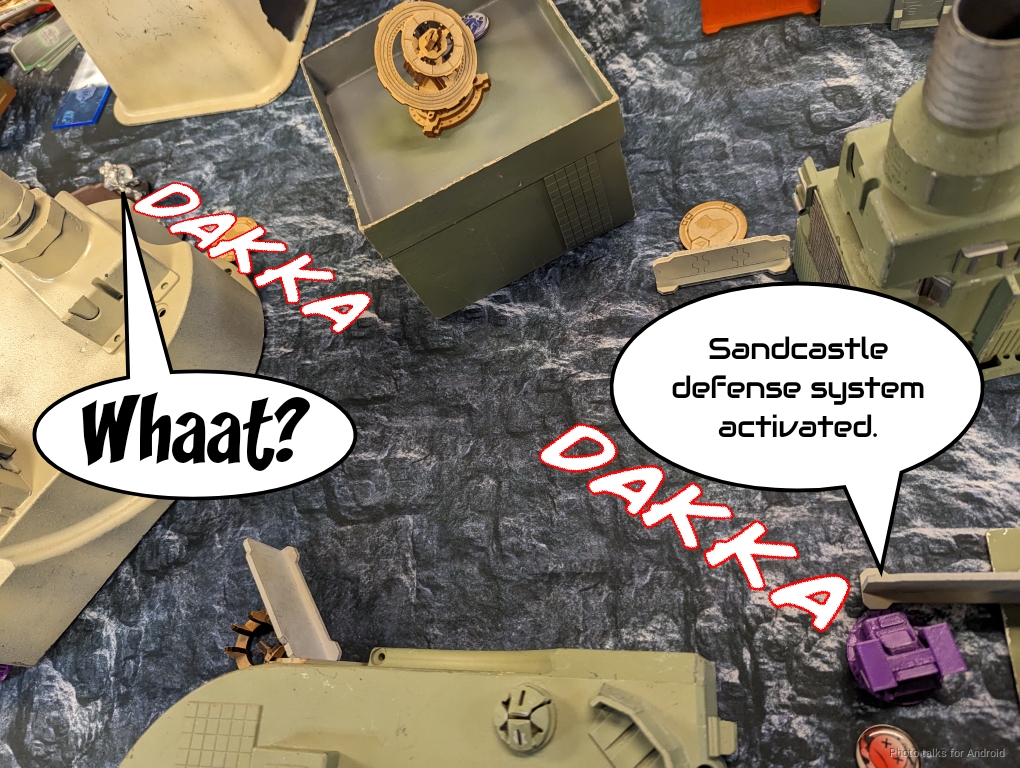
I chose Defense System Failure, which allows both of us to place two of the BS10 total reaction combi turrets somewhere in the center of the table. It's a bit of a mess of a deployment, honestly. There's 9 additional things you have to deploy, not including the turrets! Onto our lists.
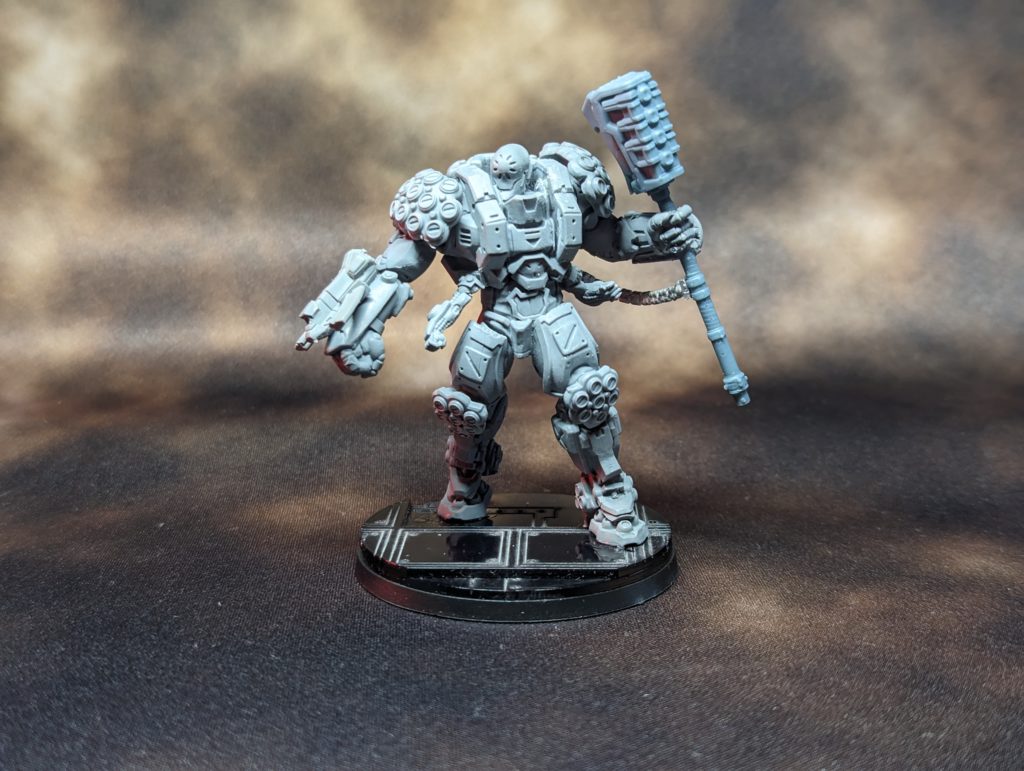
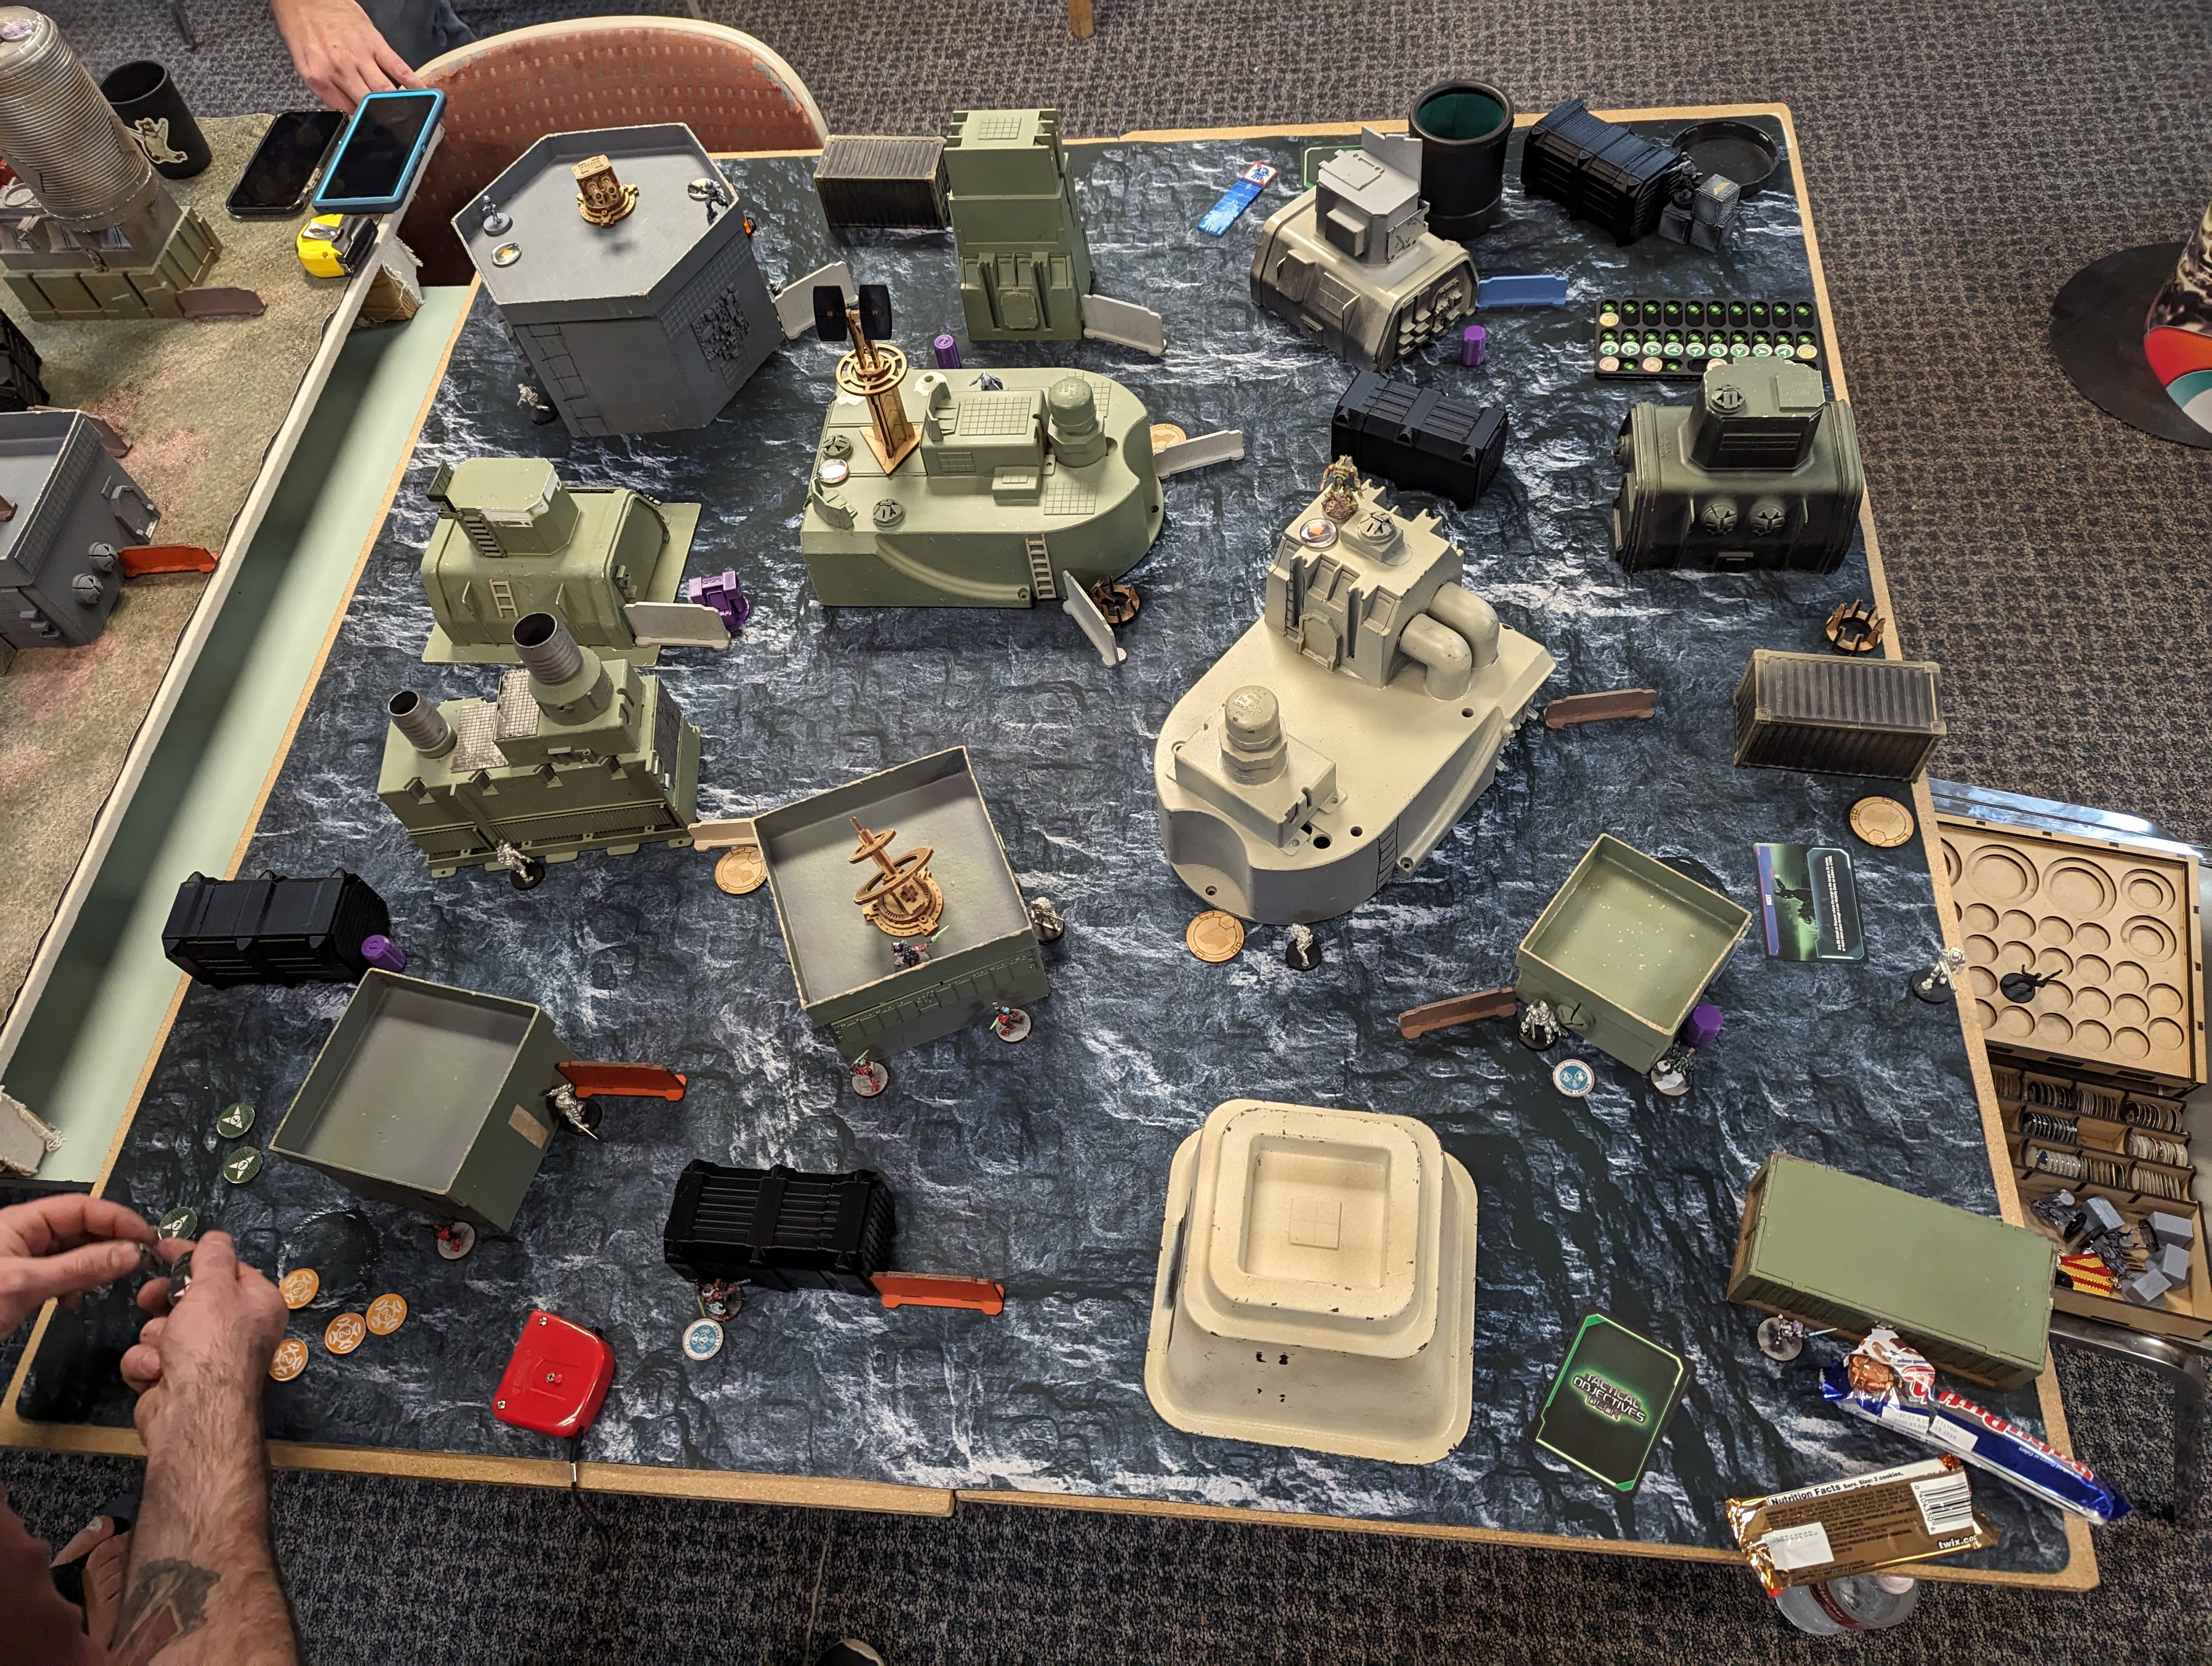
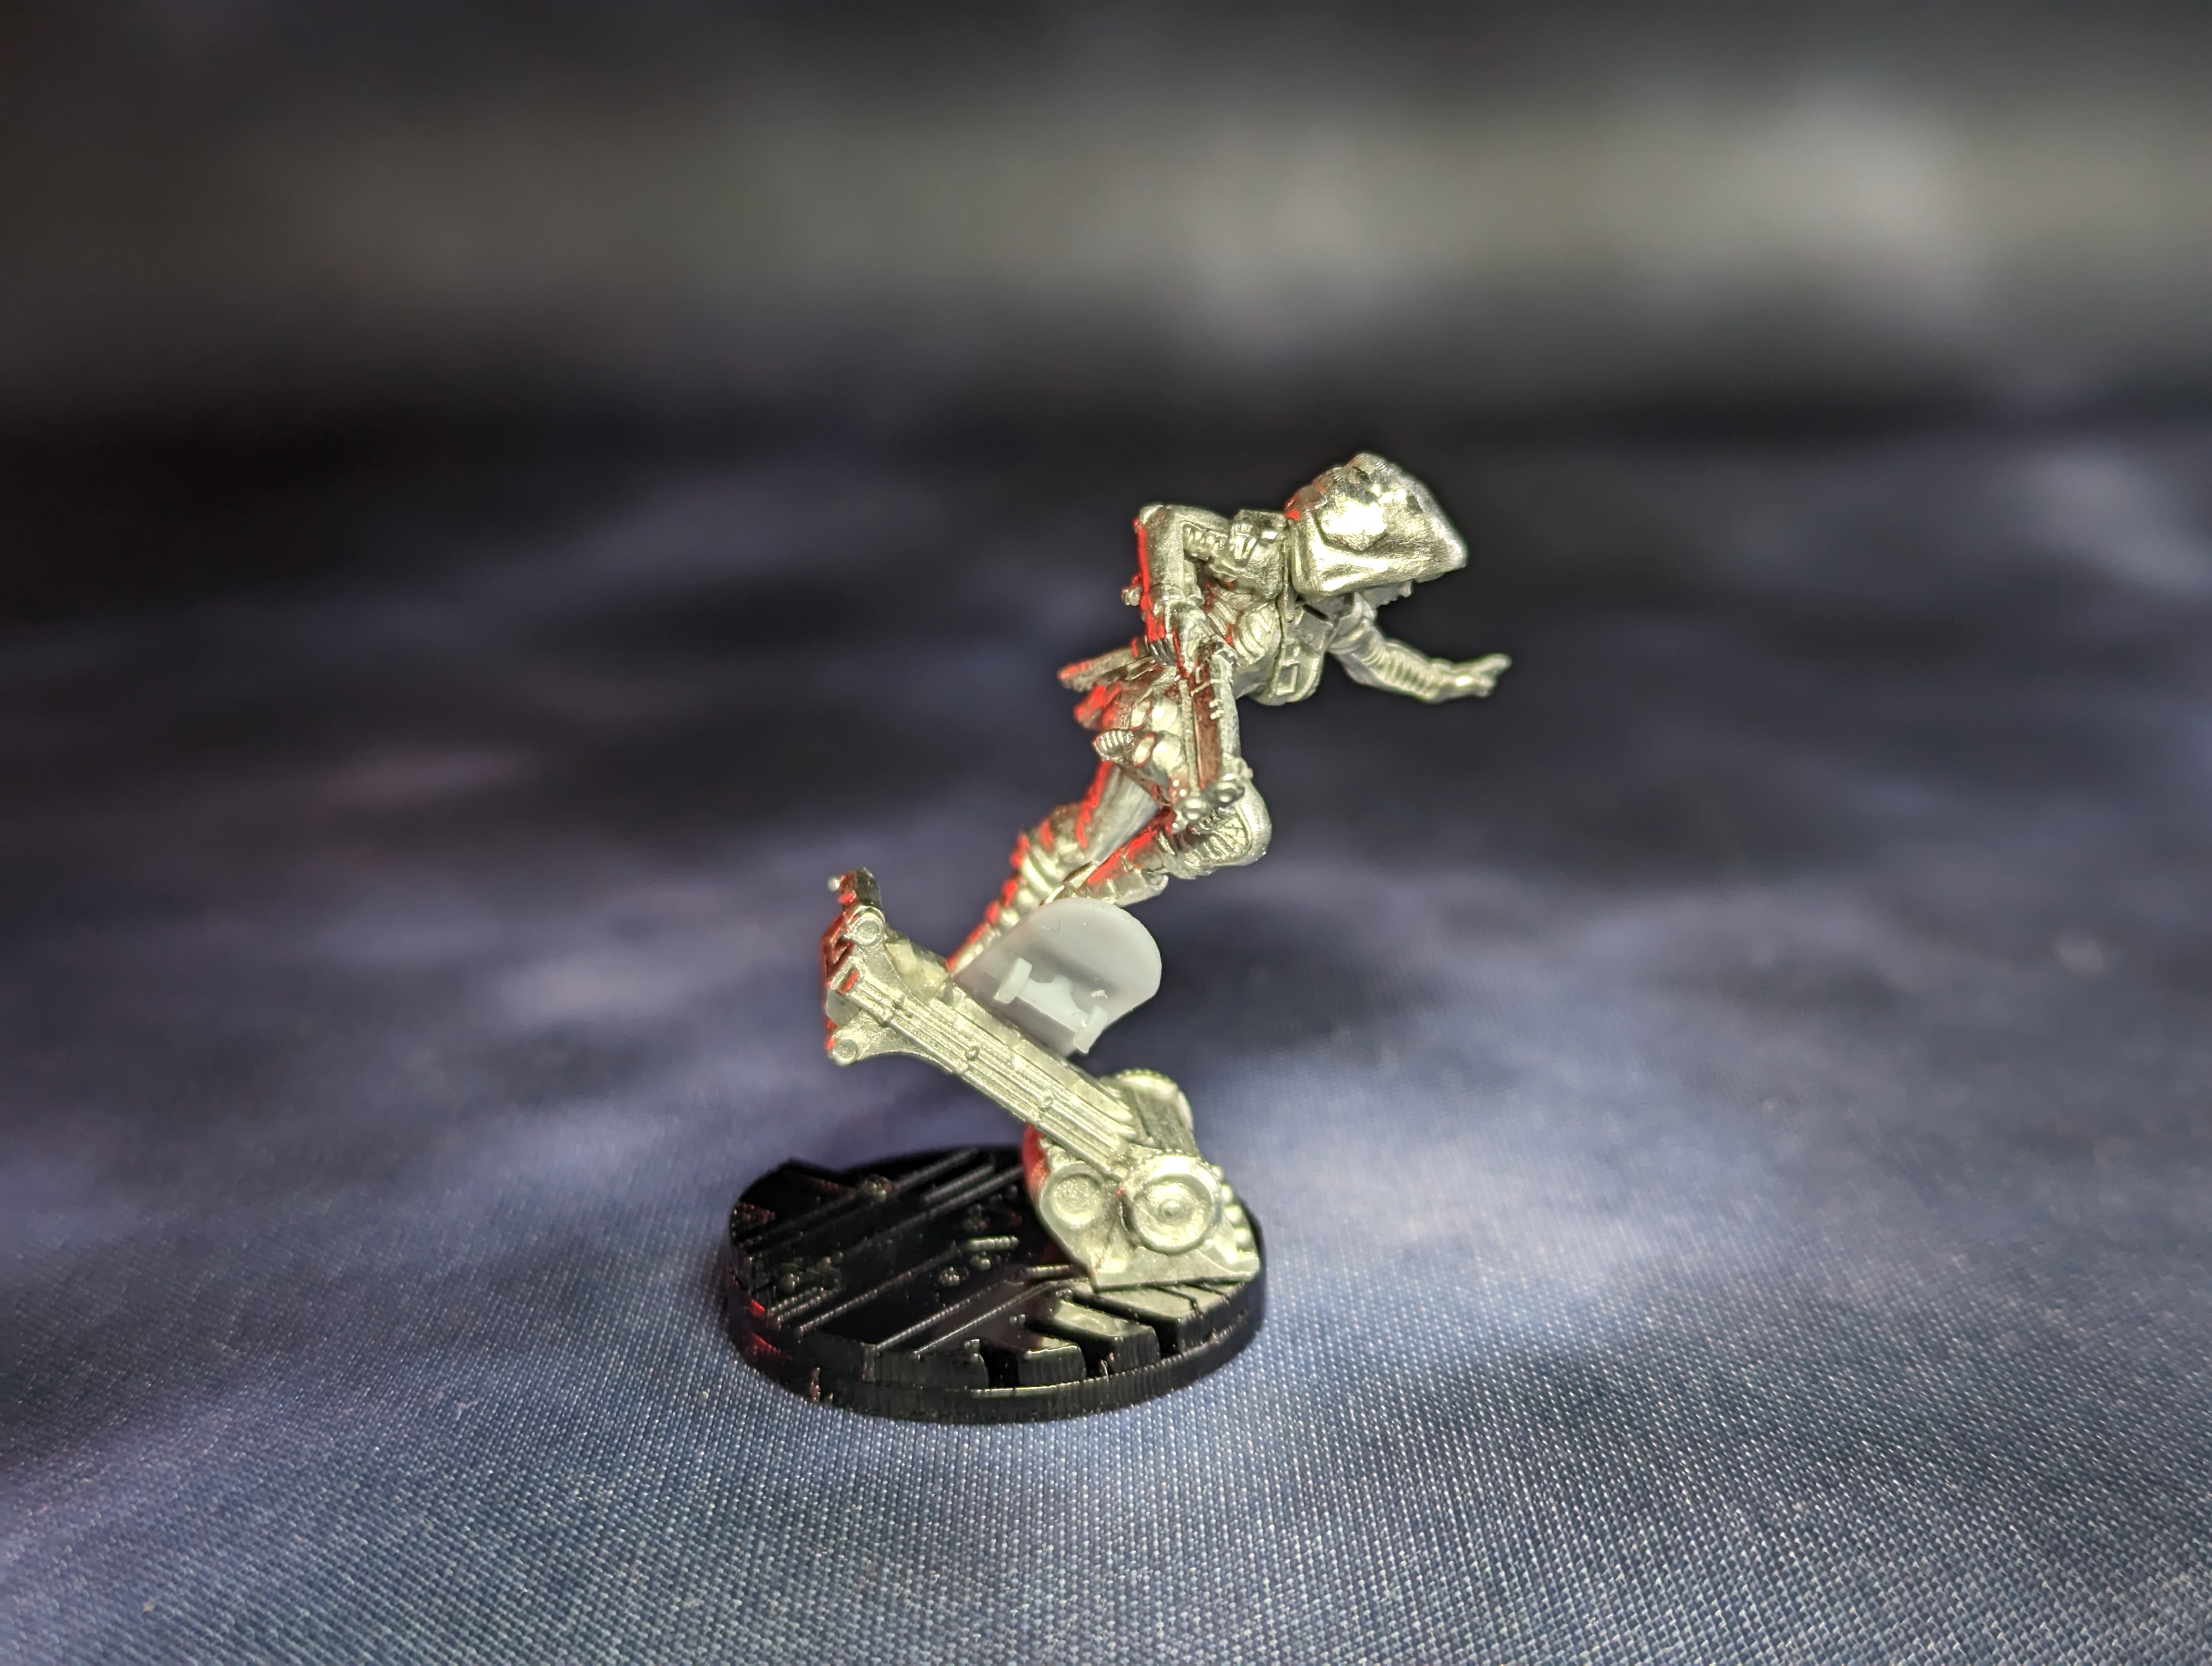
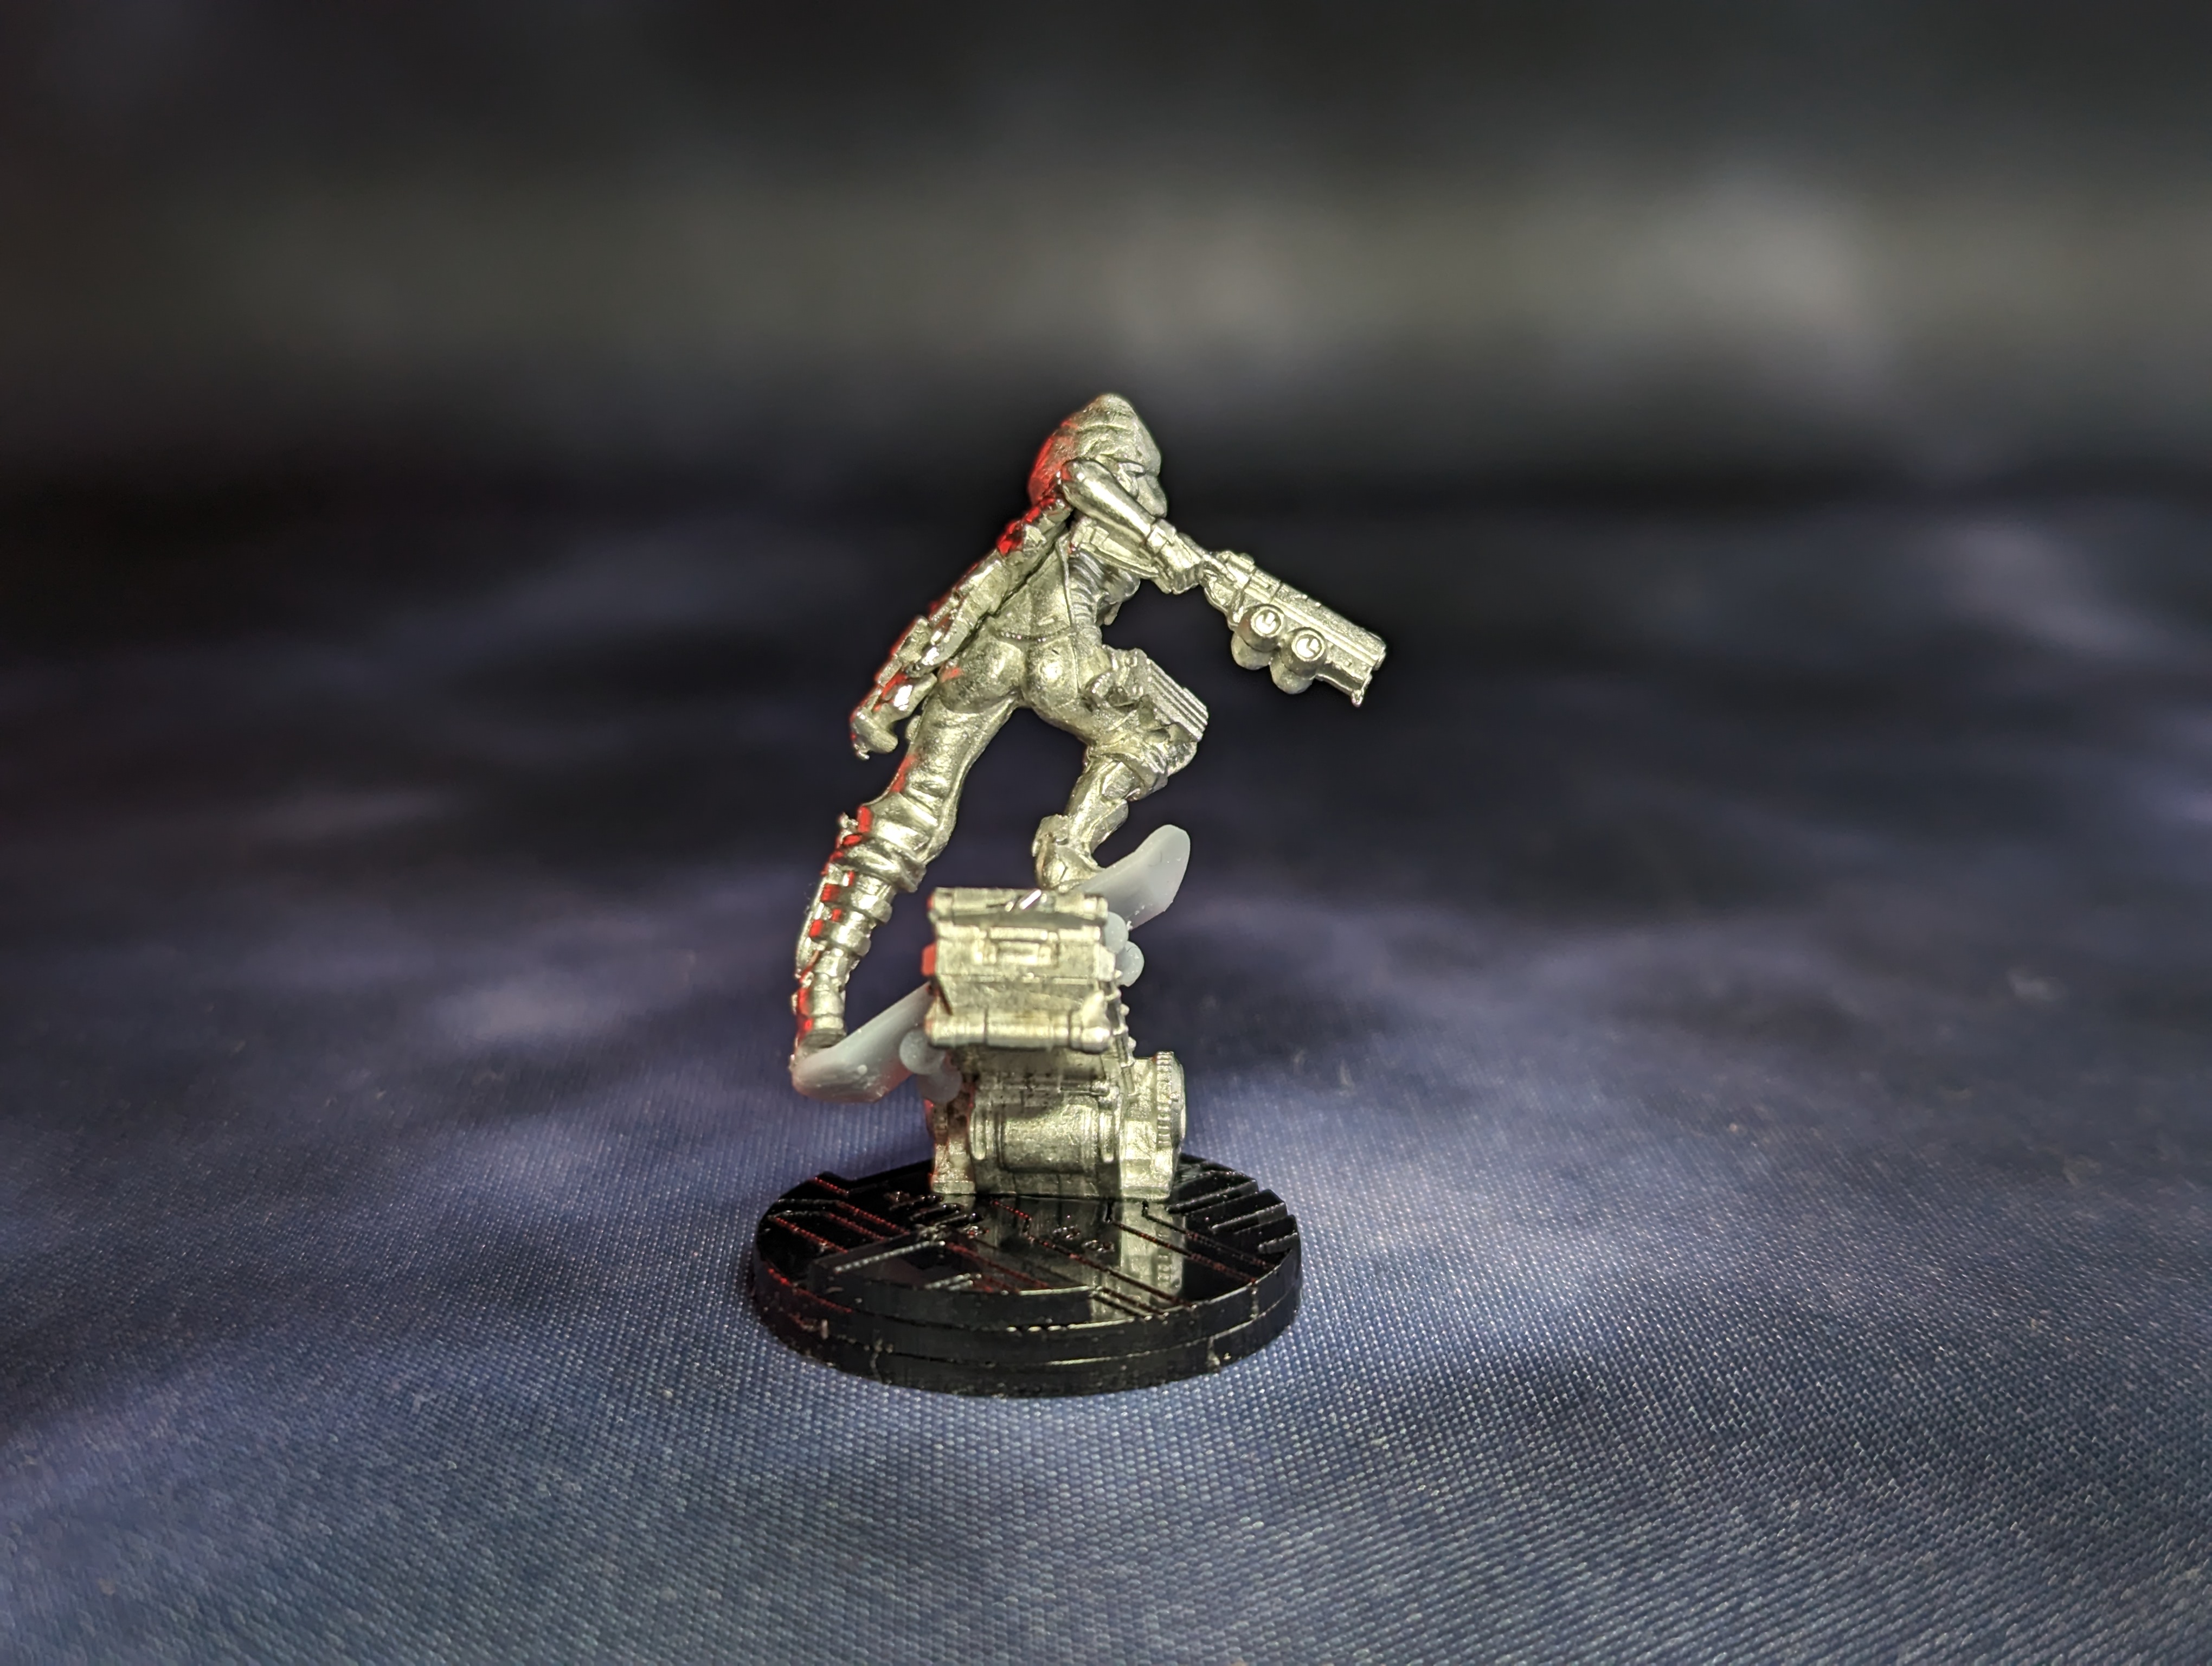
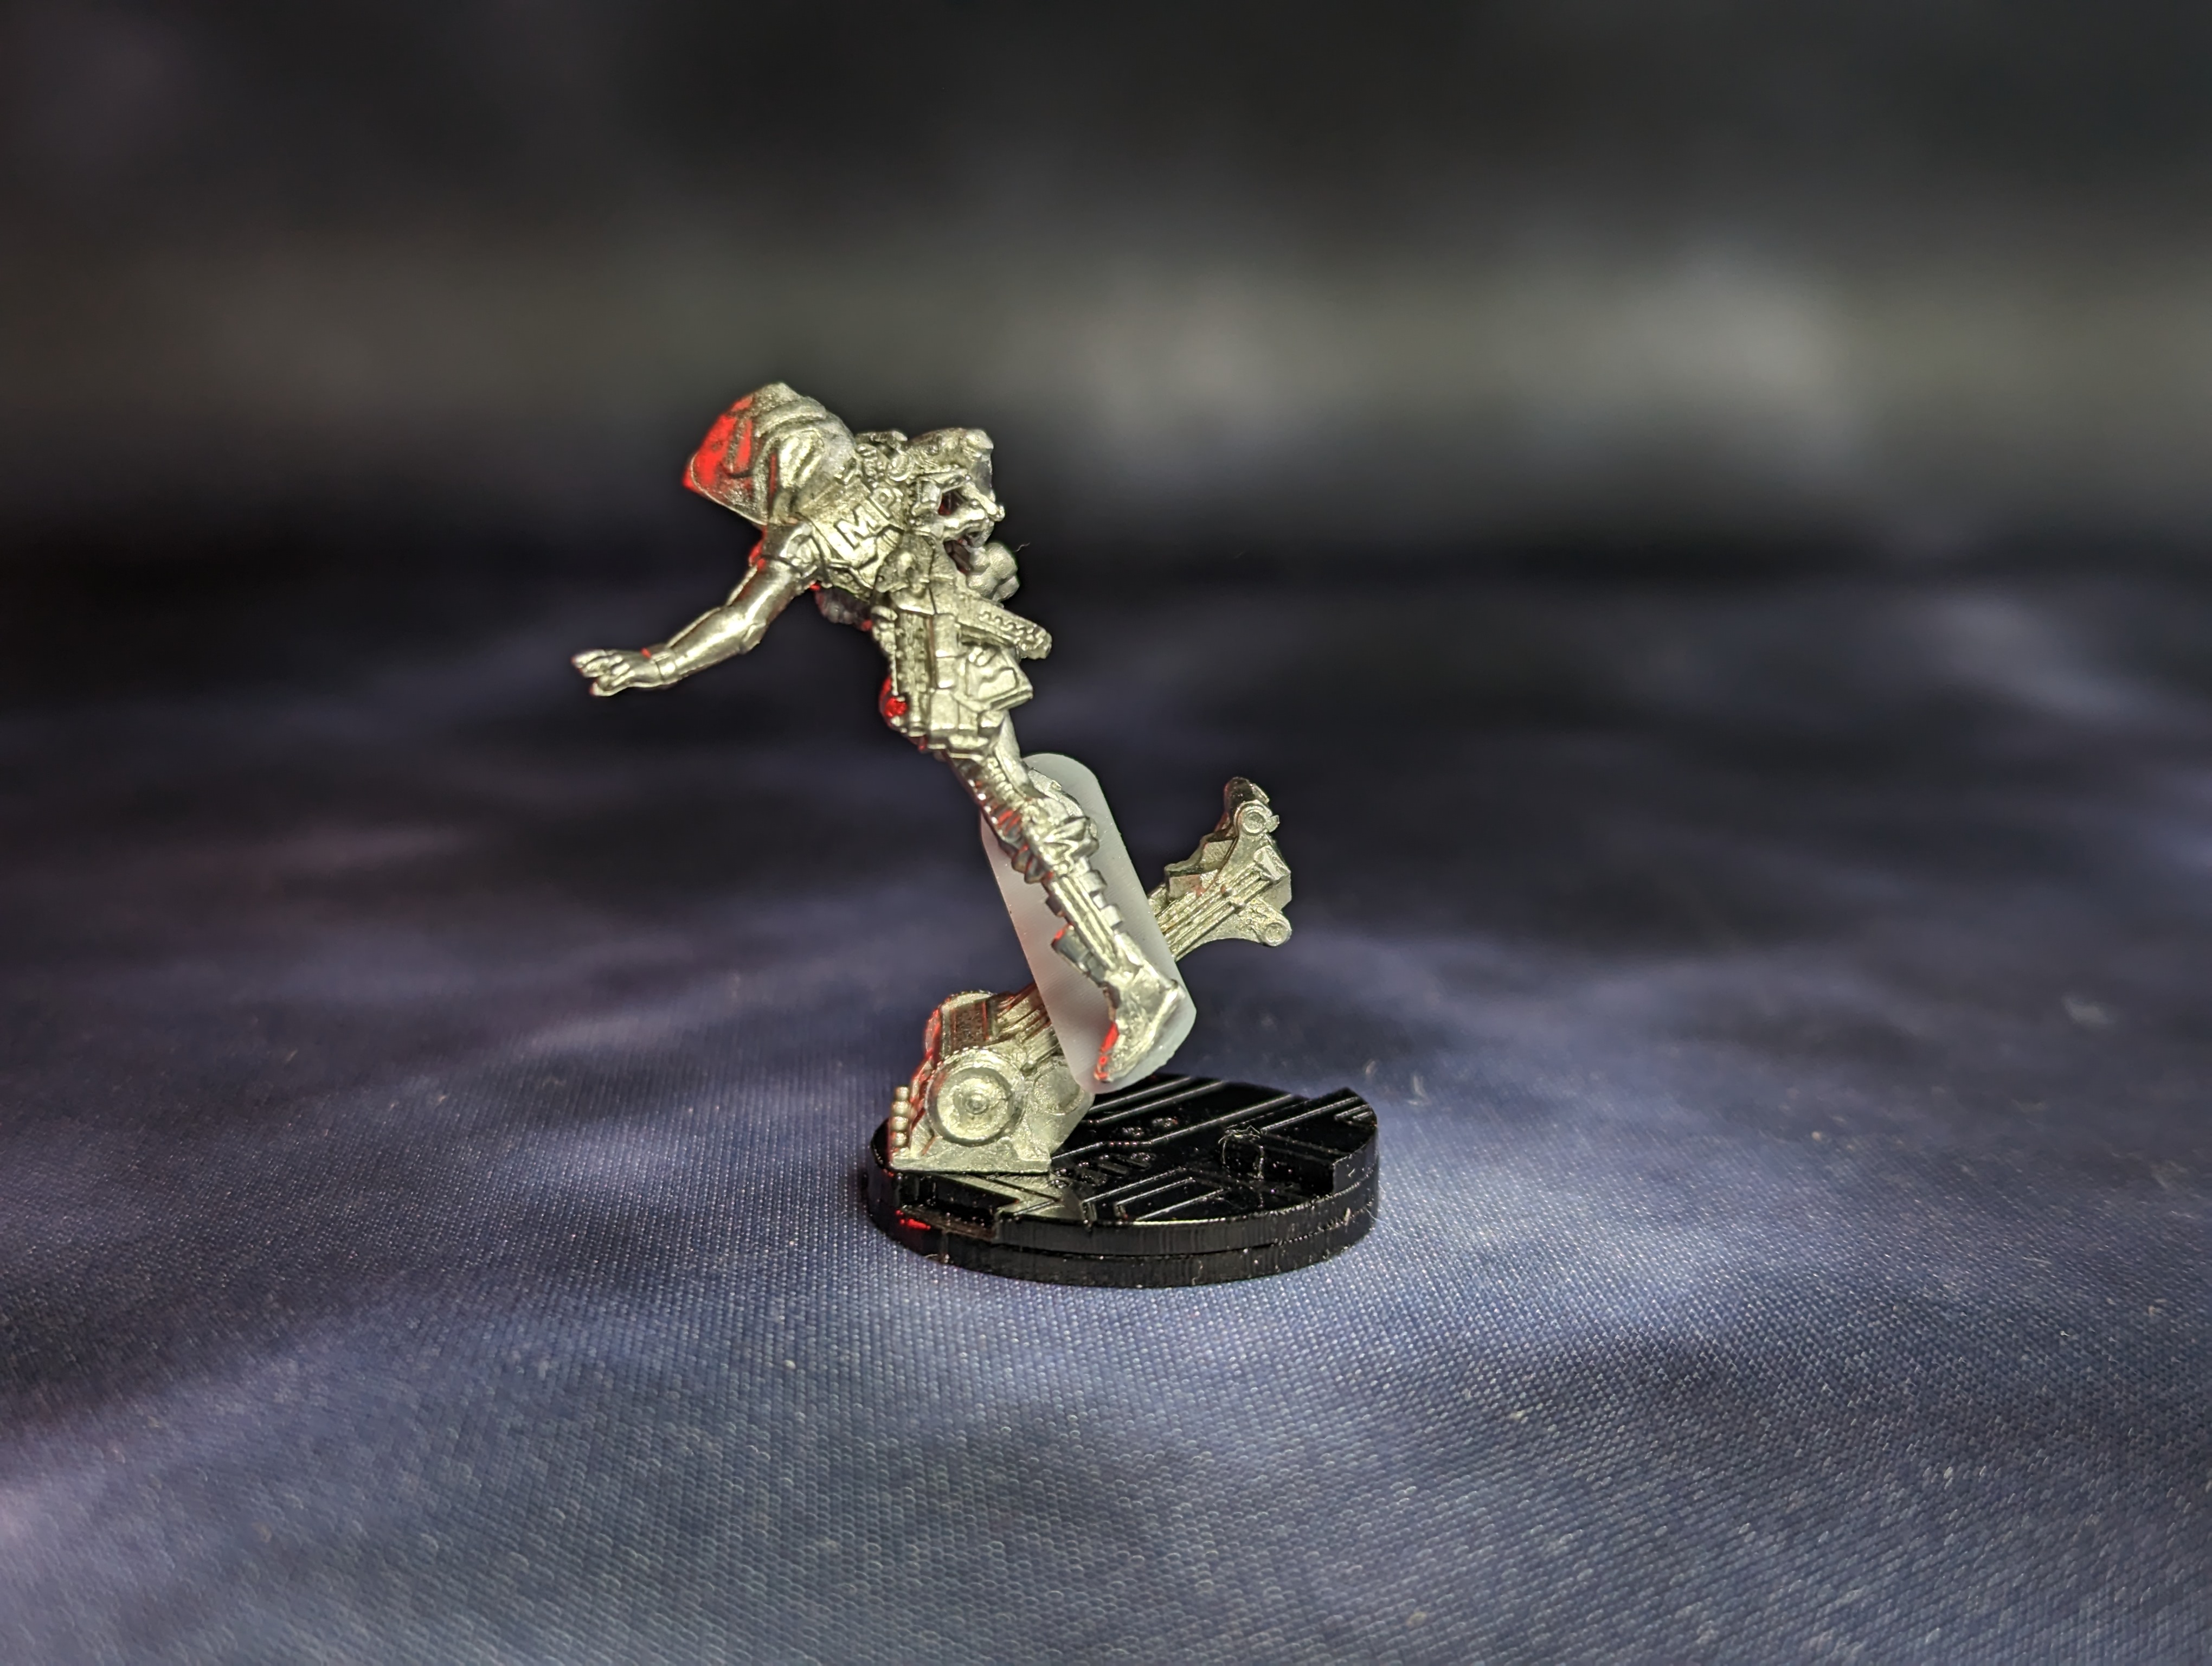
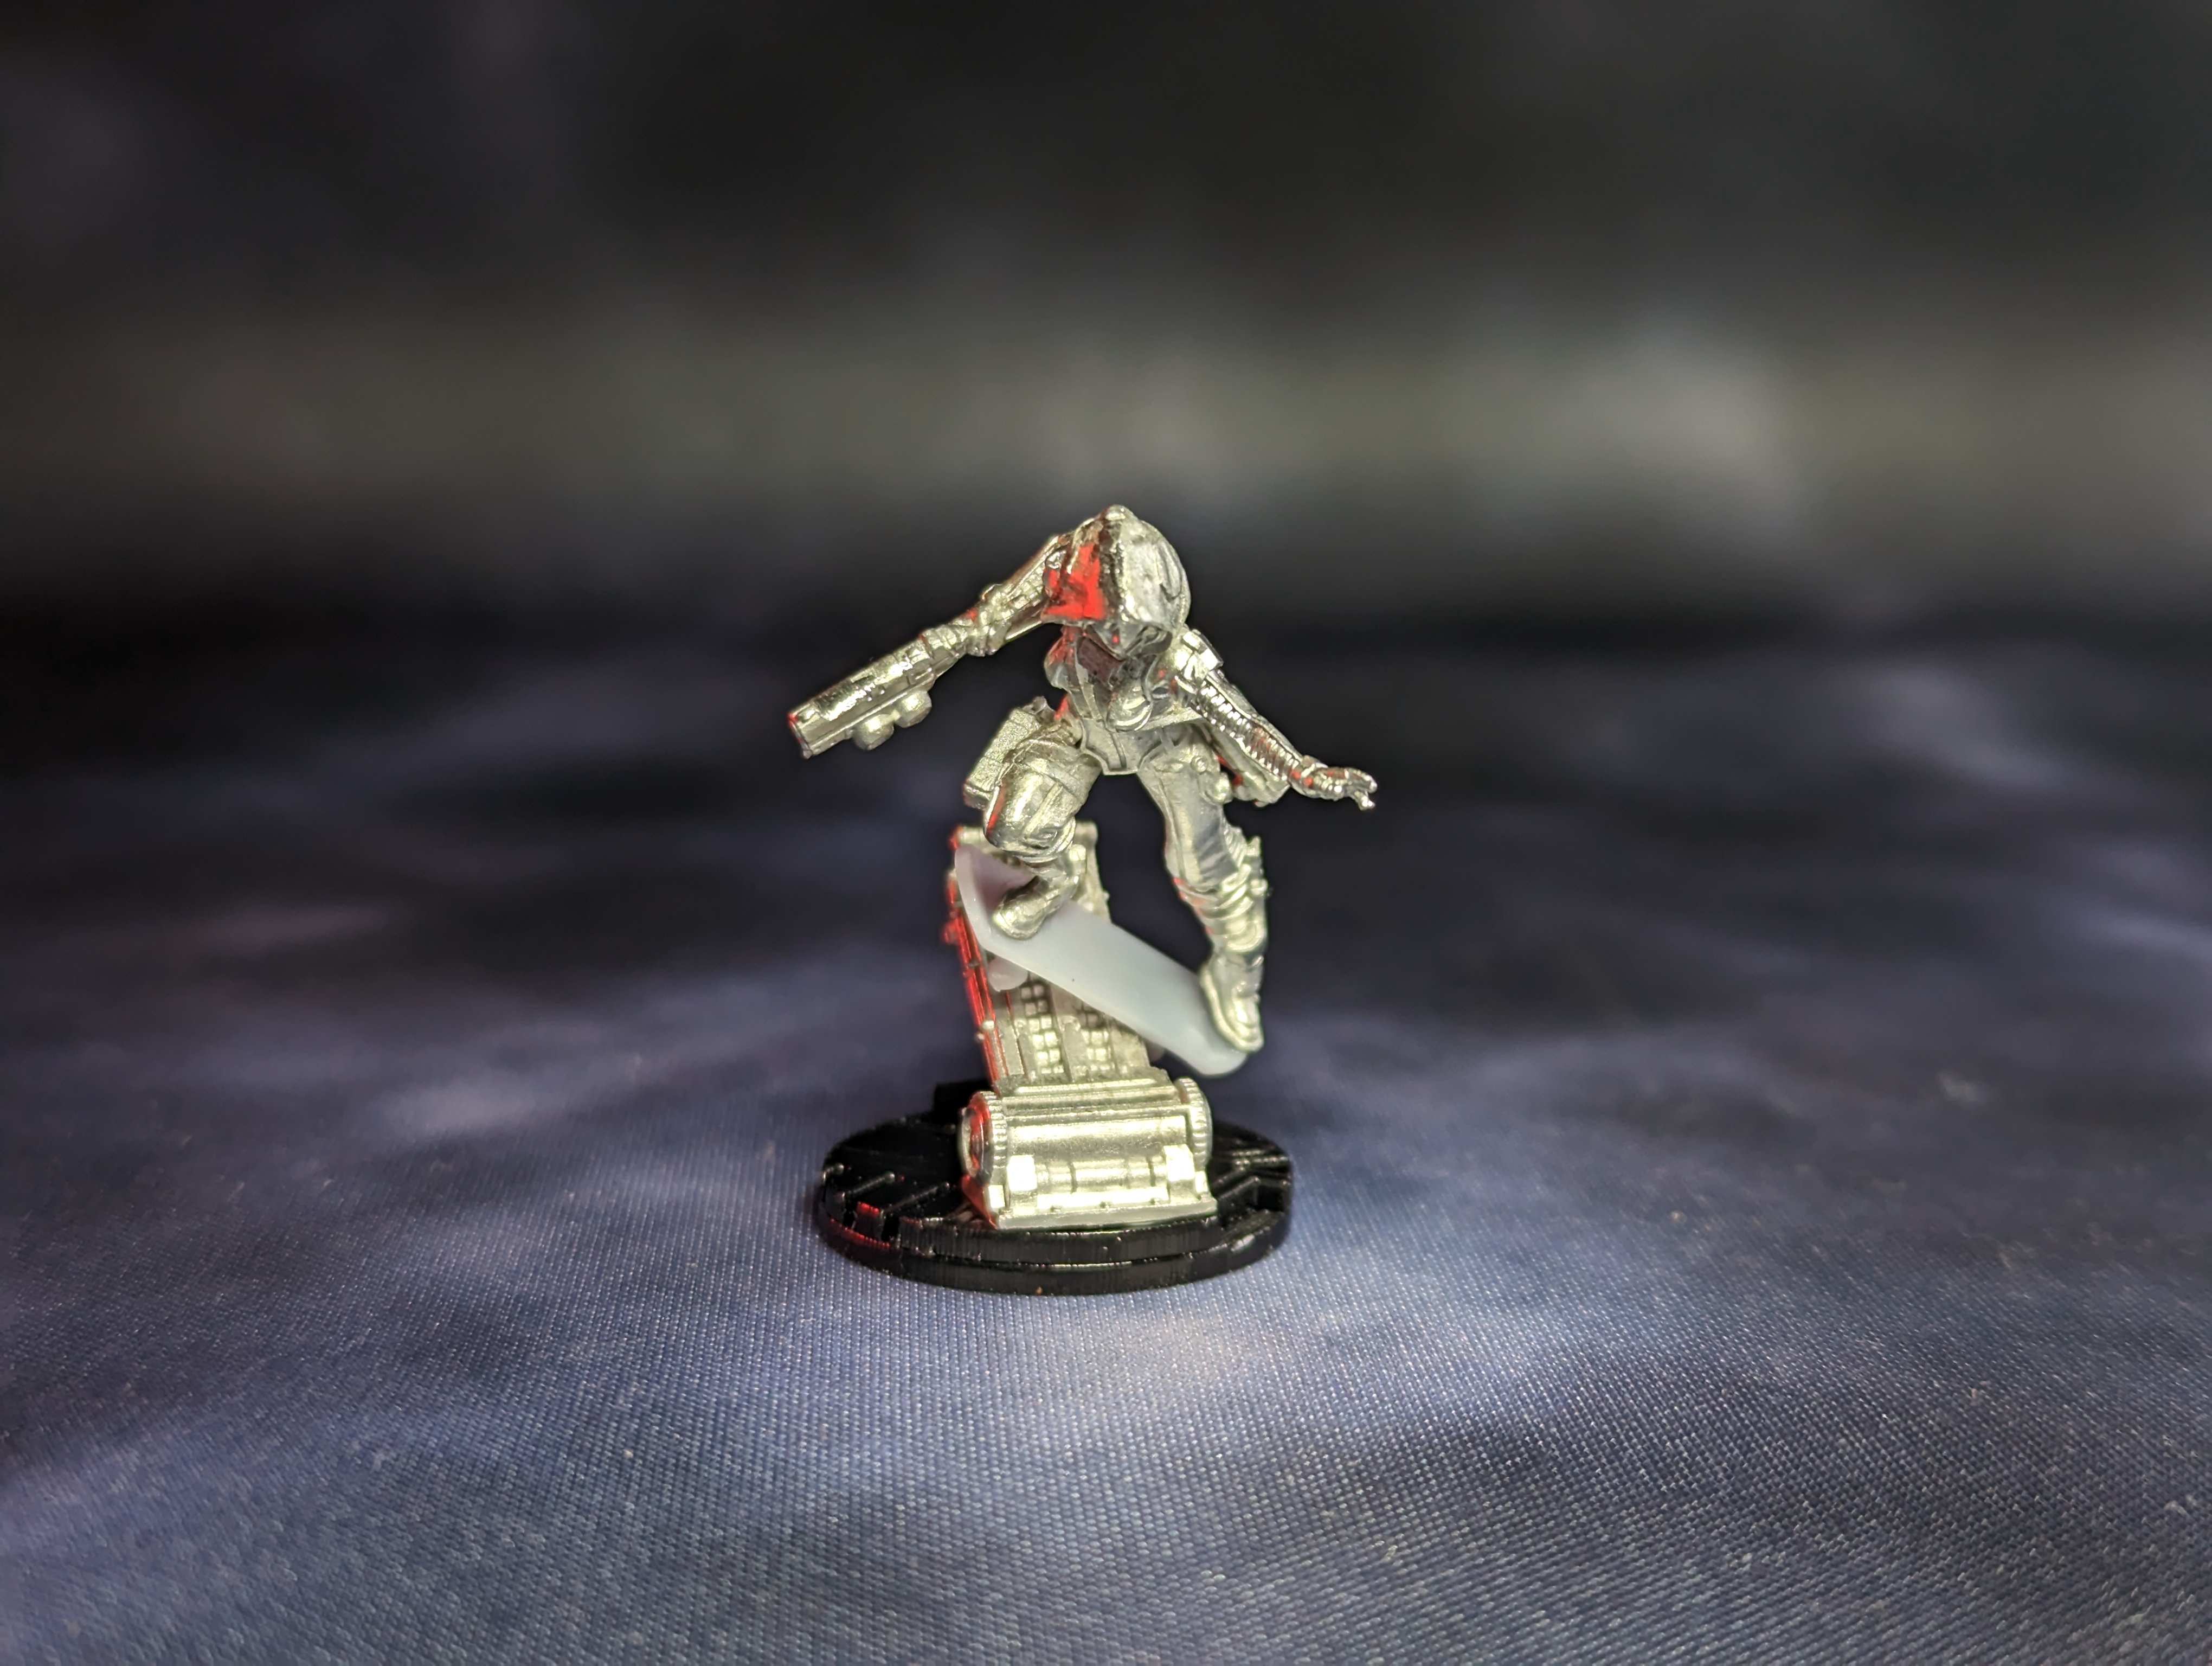
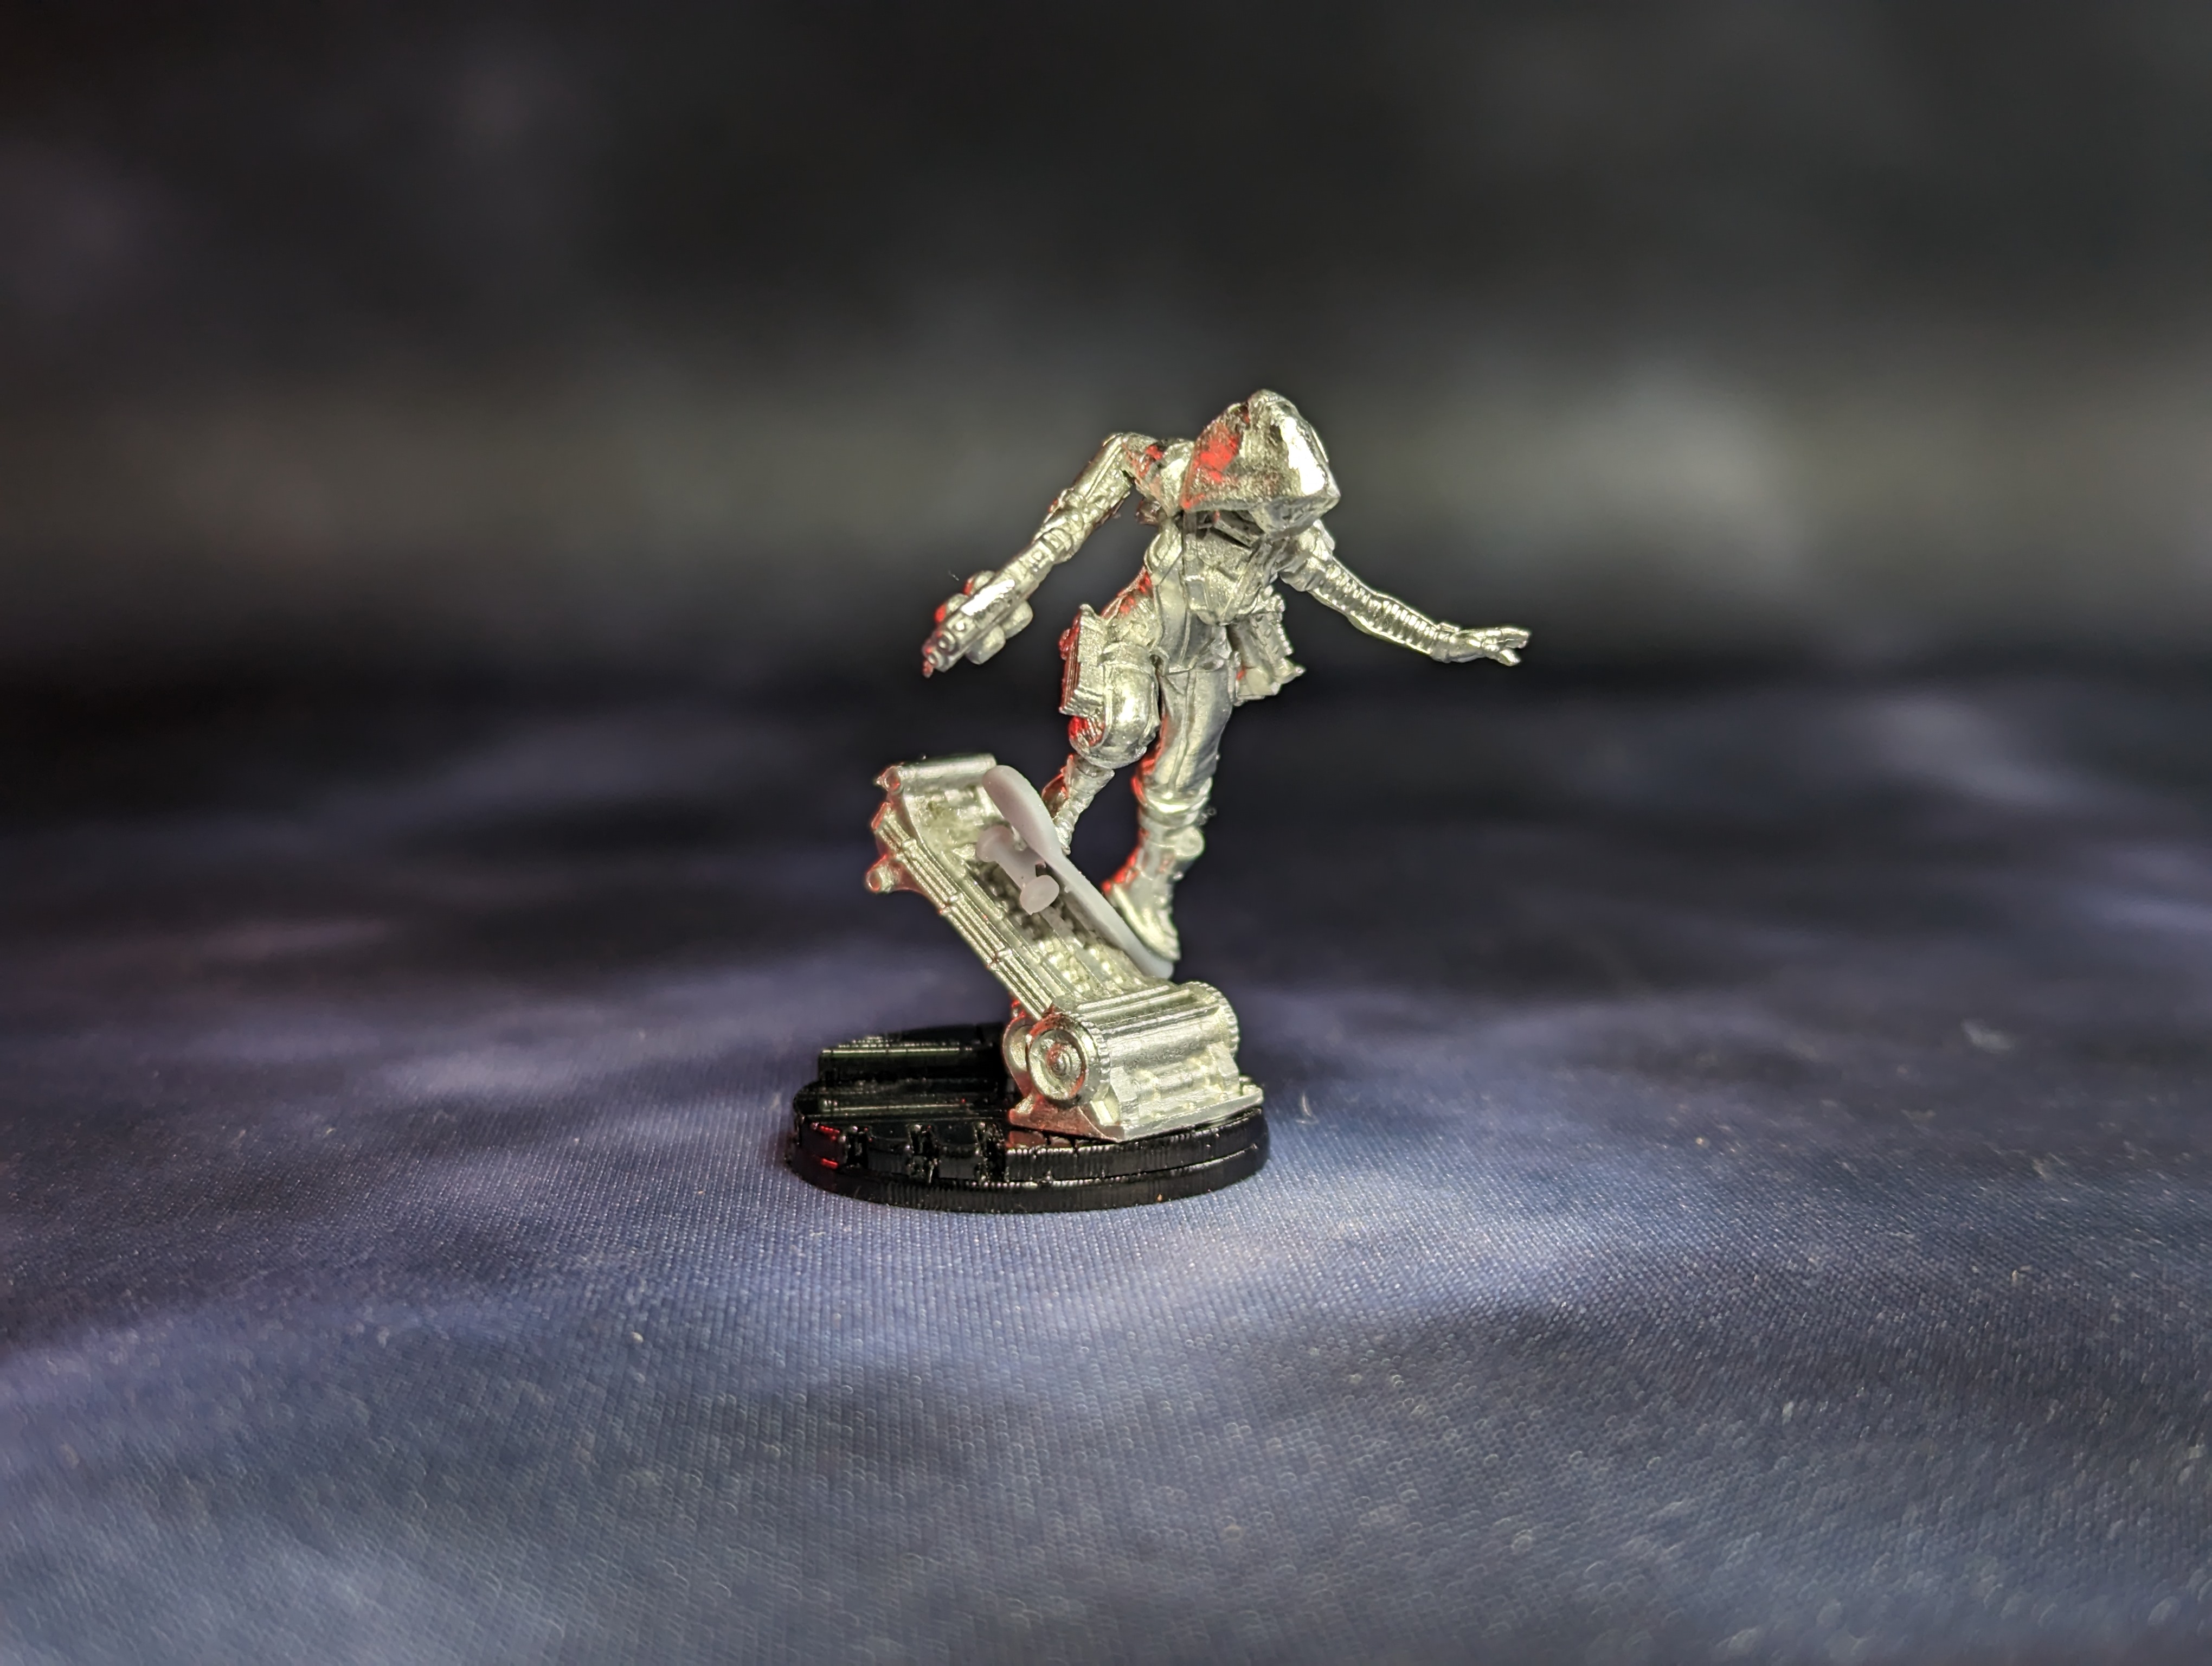
I've really been wanting to make Mary Problems work, mostly because I did this awesome repose of her, riding a skateboard Hackers style:
There's the aforementioned Gator, and I'm really loving Kusanagi as a lieutenant for the +1 SWC. I decided to a little heavy on the hackers by adding Jazz and a Zondnautica as well, and then added some firepower in the form of Le Muet and an Evader.
Skater Girl
ARMAND (Multispectral Visor L1) MULTI Sniper Rifle, Nanopulser ( ) / Breaker Pistol(+1B), Shock CC Weapon. (1.5 | 39)
EVADER (Engineer) AP Spitfire, D-Charges ( | GizmoKit, TinBot: Firewall [-3]) / Pistol, CC Weapon. (1.5 | 34)
ZONDNAUT (Hacker, Hacking Device) Combi Rifle ( ) / Pistol, CC Weapon. (0.5 | 23)

ZONDMATE Chain Rifle, Smoke Grenade Launcher / PARA CC Weapon(-3). (0 | 5)
JAZZ Hacker & BILLIE undefined / undefined. (0.5 | 25)
BILLIE Flash Pulse, E/M Mines / Pistol, PARA CC Weapon(-3). (0 | 7)
MARY PROBLEMS (Hacker) Submachine Gun, Zapper, Pitcher / Pistol, CC Weapon. (0.5 | 28)
SAMSA Plasma Rifle, D-Charges / Pistol, CC Weapon. (0 | 30)
GATOR MULTI Heavy Machine Gun, Chain Rifle(+1B), Mine Dispenser / E/M CC Weapon. (1.5 | 74)
GATOR PILOT Boarding Shotgun / Heavy Pistol, CC Weapon. (0 | 0)
LIBERTO (Minelayer) Light Shotgun, Shock Mines / Pistol, CC Weapon. (1 | 8)
9
2
1 | 7 SWC | 300 Points | Open in Army
I even managed to fit in the Samsa and a Libertos, thanks to the crazy affordability of Jazz and the extra +1 SWC from Kusnangi. Jordan's list is pretty straightforward. Hector and Machaon in a link, Pheonix powered by two Myrmidons, and a Hoplite/Scylla link. He's got an Agema as well.
Jordan (sprocketgx)
HECTOR (Lieutenant [+1 Order]) Plasma Rifle, Nanopulser, Grenades ( | TinBot: Firewall [-3]) / Heavy Pistol, EXP CC Weapon. (0 | 69)
MACHAON Combi Rifle, Nanopulser, Eclipse Grenades / Pistol, DA CC Weapon. (0.5 | 36)
MYRMIDON Chain Rifle, Nanopulser, Smoke Grenades / Pistol, DA CC Weapon. (0 | 16)
PHOENIX Heavy Rocket Launcher, Nanopulser, Smoke Grenades / DA CC Weapon, Heavy Pistol. (1.5 | 35)
HOPLITE Heavy Machine Gun / Pistol, Shock CC Weapon. (1.5 | 41)
Scylla FTO & Charybdis FTO undefined / undefined. (0.5 | 40)
AGÊMA Marksman Missile Launcher / Breaker Pistol, CC Weapon. (1.5 | 31)
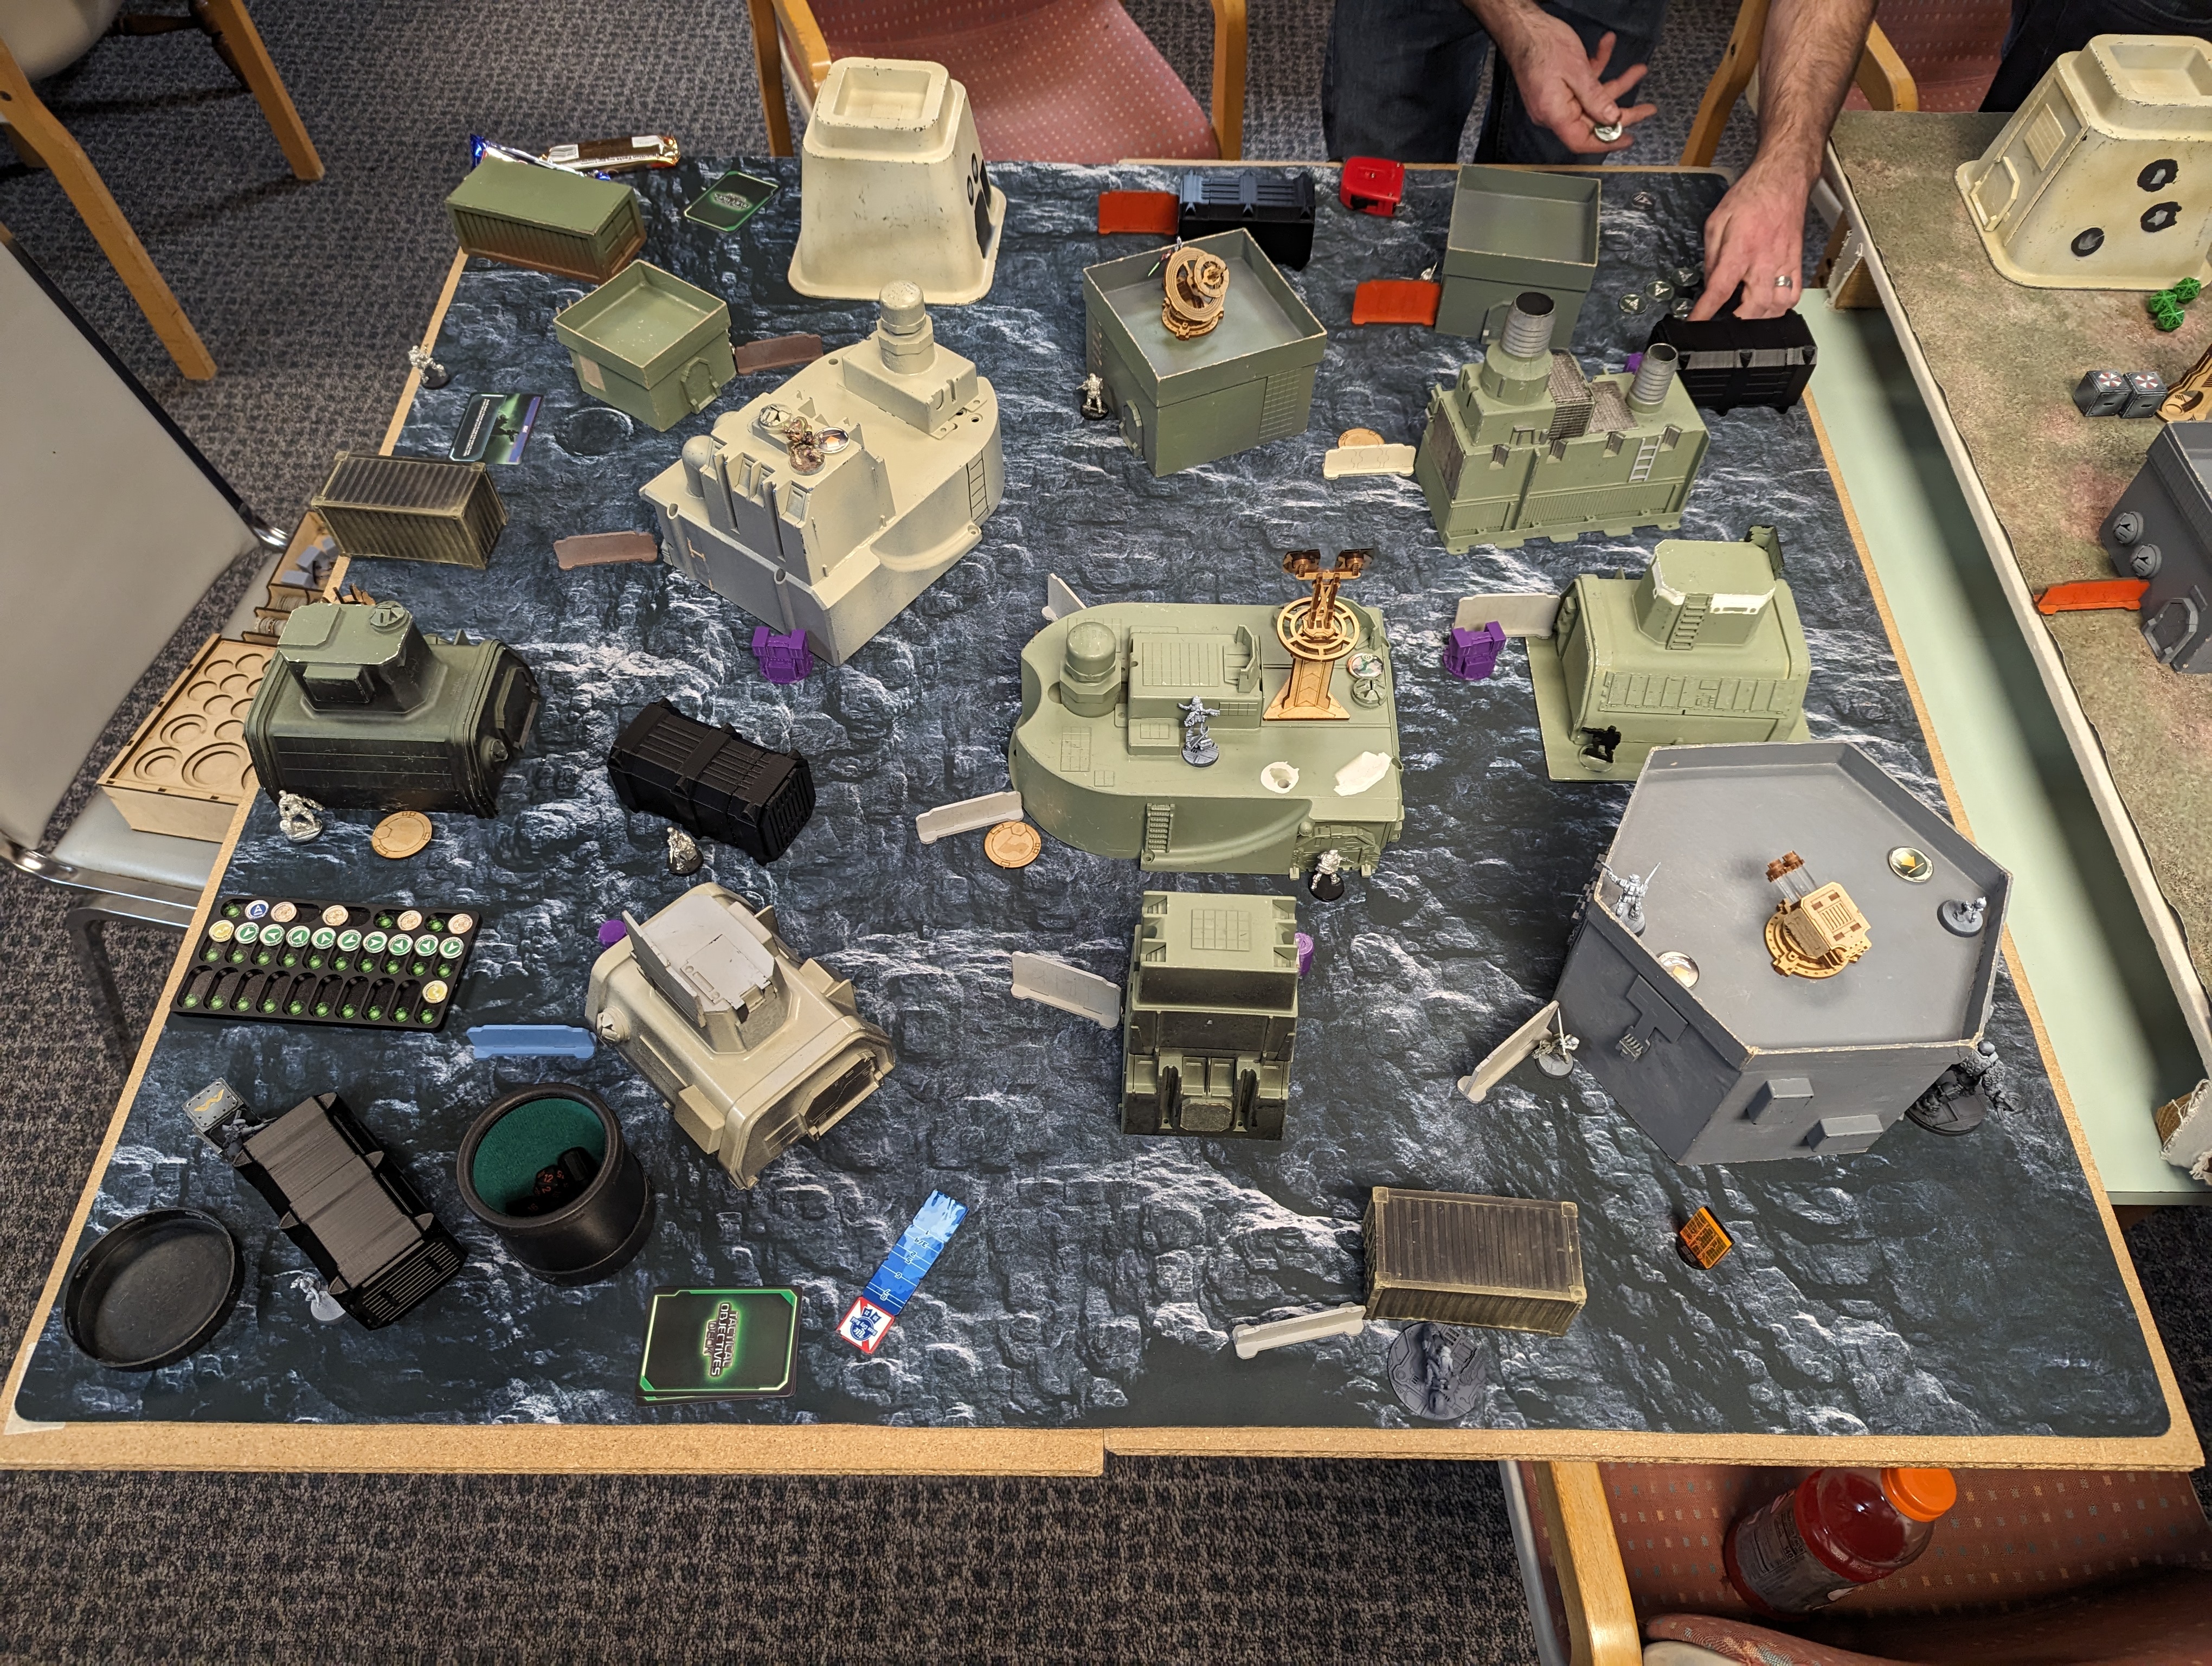
Deployment
I won the rolloff and had Jordan deploy his Steel first. He set up Phoenix in the center on a roof to be a base of fire, and then put Hector on the left and the Hoplite on the right. This made sense because he had to get into his far left quadrant, so having smoke from Machaon was good. There's really no deep strategy yet from either of us regarding the objectives, beacons, and HVTs. Deploying 9 things is basically a whole additional combat group--they just went where they fit. A little more thought went into turret placement for both of us, but not much.
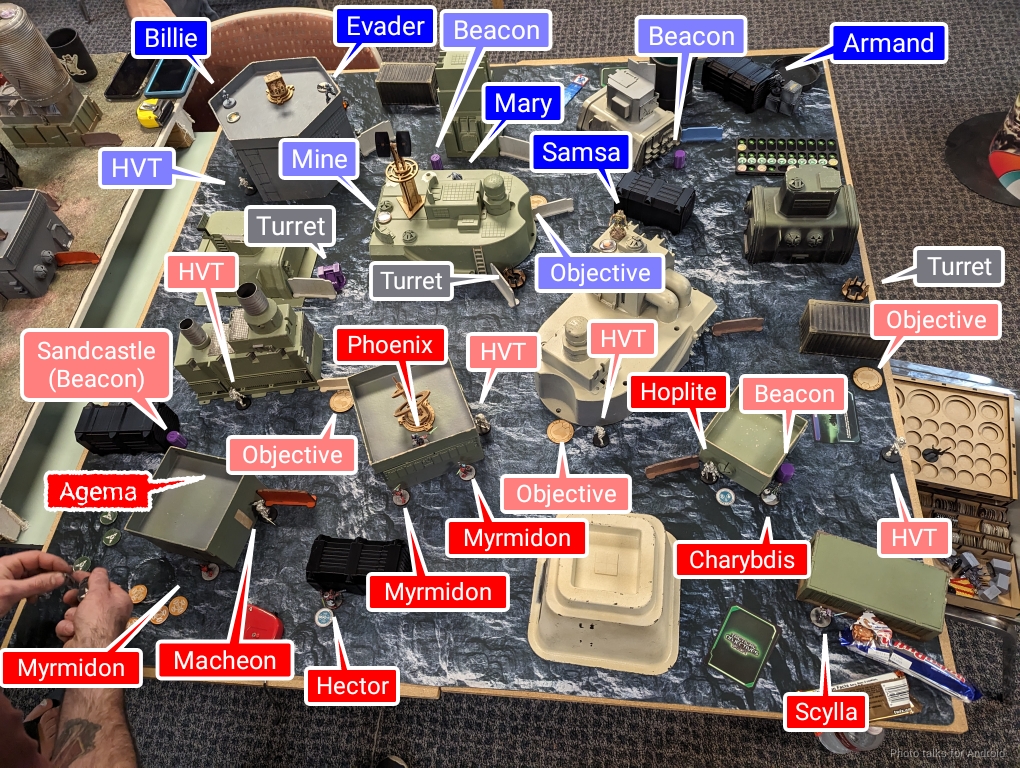
I was concerned that Jordan might be hyper aggressive with Hector or something, and I knew I had to have the Gator over on that side to attack the Sandcastle Beacon on my right (the other one was kinda hard to get to). I had another shot on it with Le Muet on the left, but I'd have to swing out wide and there was no guarantee that Le Muet would survive.
To better defend the Gator, I put Billie above it, paired with an Evader, since the Evader has Climbing+. Mary went in the middle to project hacking area there, and then Jazz went on the left to complete the coverage. I put the Zondnautica in the middle-ish, and Kusanagi nearby in what I thought was relatively safe.
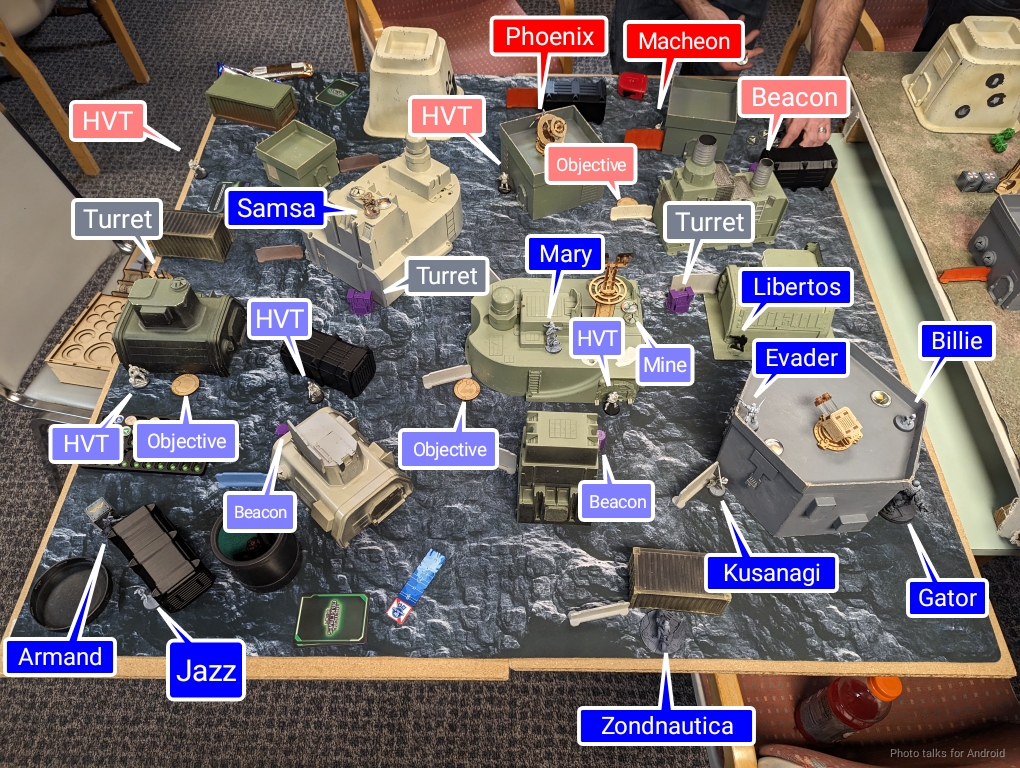
I added to the safety net by putting the Libertos in front of her and Le Muet watching a diagonal as well as where the Hoplite would have to advance through. Jordan's reserve was the Agema watching Le Muet and the Gator's advance, and mine was the Samsa right above where the Hoplite would likely end up, figuring plasma was the way to go in terms of removing a totally immune model.
Turn 1
Top of 1 - Steel Phalanx
My objectives for the first turn are to, well, do my objectives. Which is to murder the crap out of Jordan's stuff and blow up the Sandcastle. To do that, I need to keep my guys alive, so I need to play really cagey and carefully. To this end, I remove 2 orders, taking him down to 10. Stupid Hector.
Tactical Hacking TeamHi Rev, WiseKensai sent Billie and I to help.
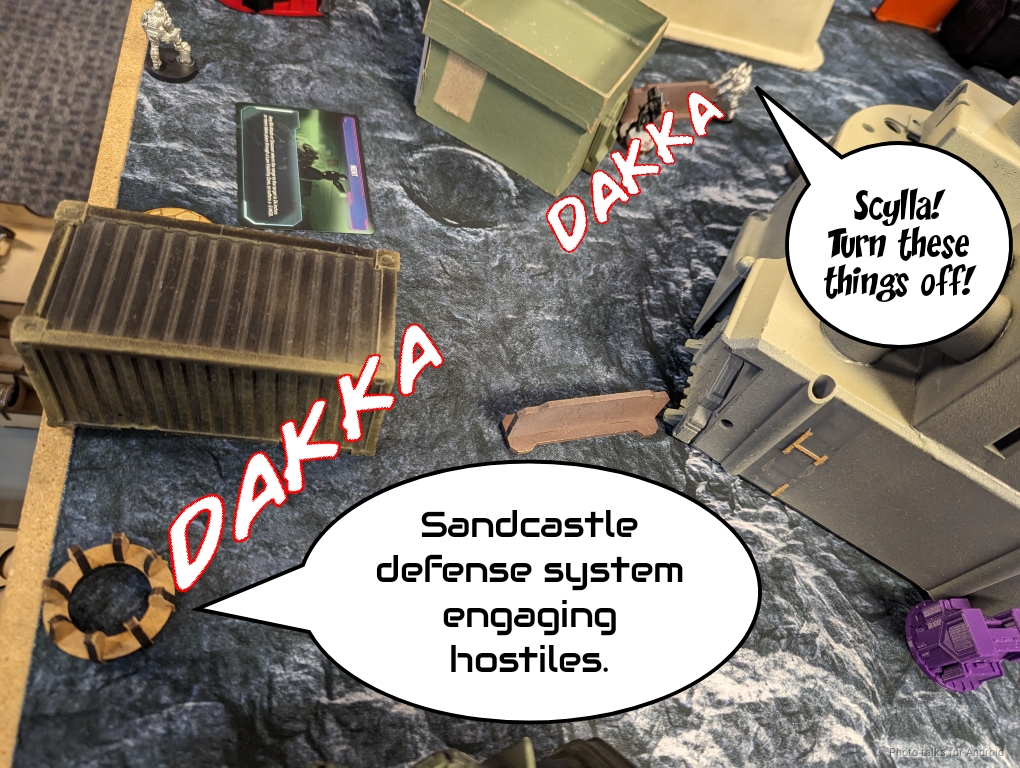
Reverend SuperiorGlad to have you, Jazz. Can you do something to slow them down? Maybe deal with that Hoplite?
Tactical UberhackerJust rolled up. I just pinged off some automated defense turrets. I'll activate them and see about hacking into their IFF systems. Jazz, can you maybe set up something for the Hoplite?
Tactical Hacking TeamOn it.
Freelance KillerMovement. Here they come.
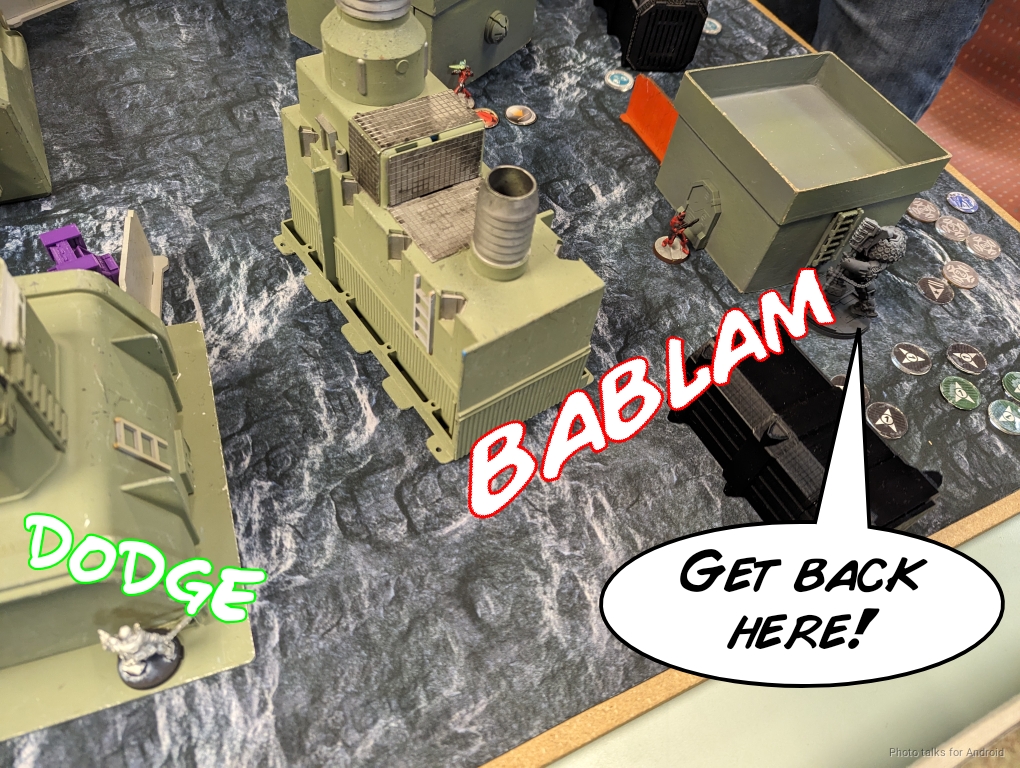
Jordan started things off by revealing an Agema missile and trying to drop Le Muet. Thankfully we're outside of 40", so even though the Agema has MSV2 the odds are still in my favor:
| 32.3 | 45.5 | 22.2 |
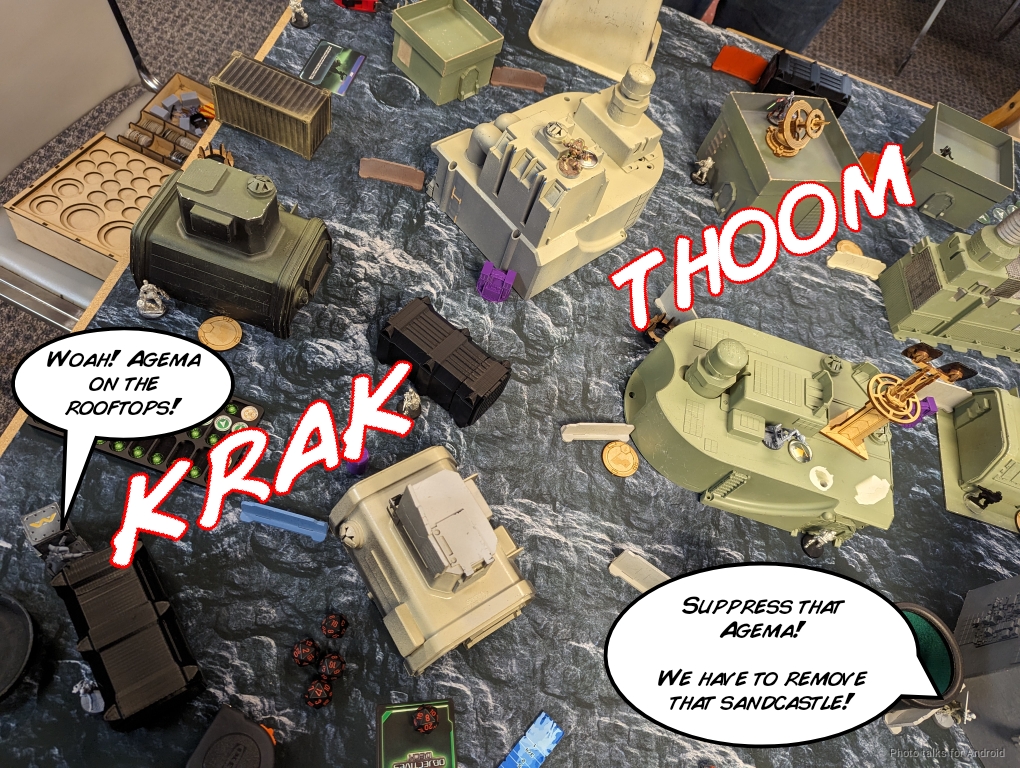
True to the odds, the first order has nothing happen... but he's lost surprise shot now:
| 43.0 | 39.0 | 18.0 |
I win the second face to face, and down goes the Agema. The Hoplite tries as well, on 4's thanks to Night and Mimetism -6:
| 32.3 | 40.1 | 27.6 |
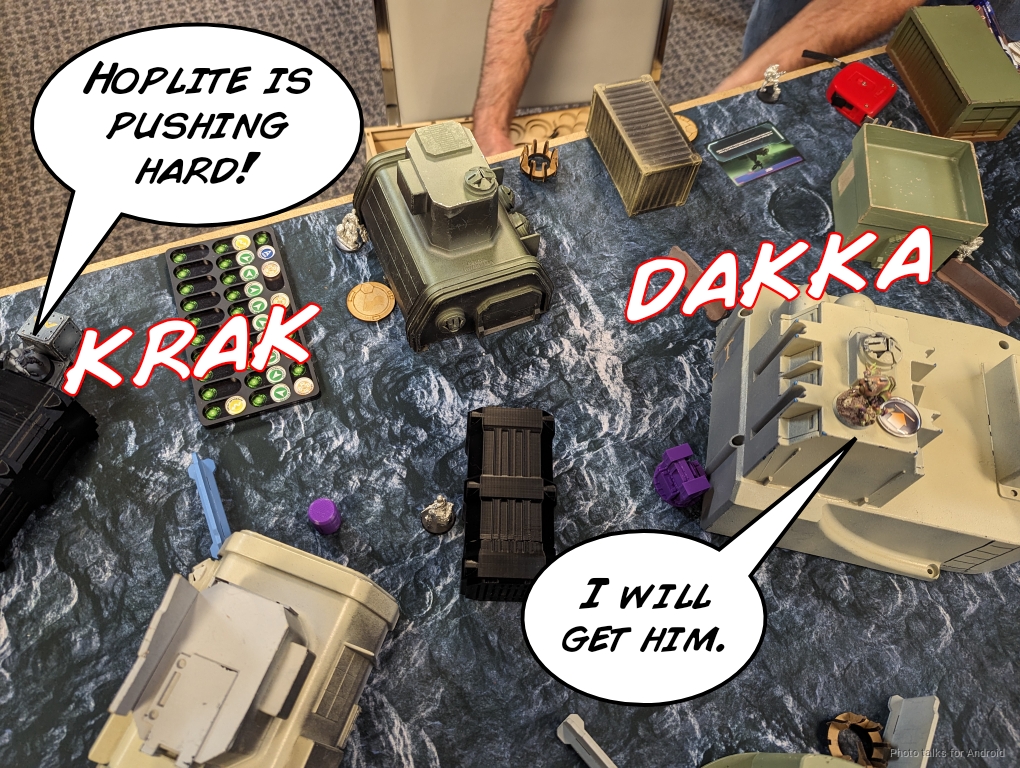
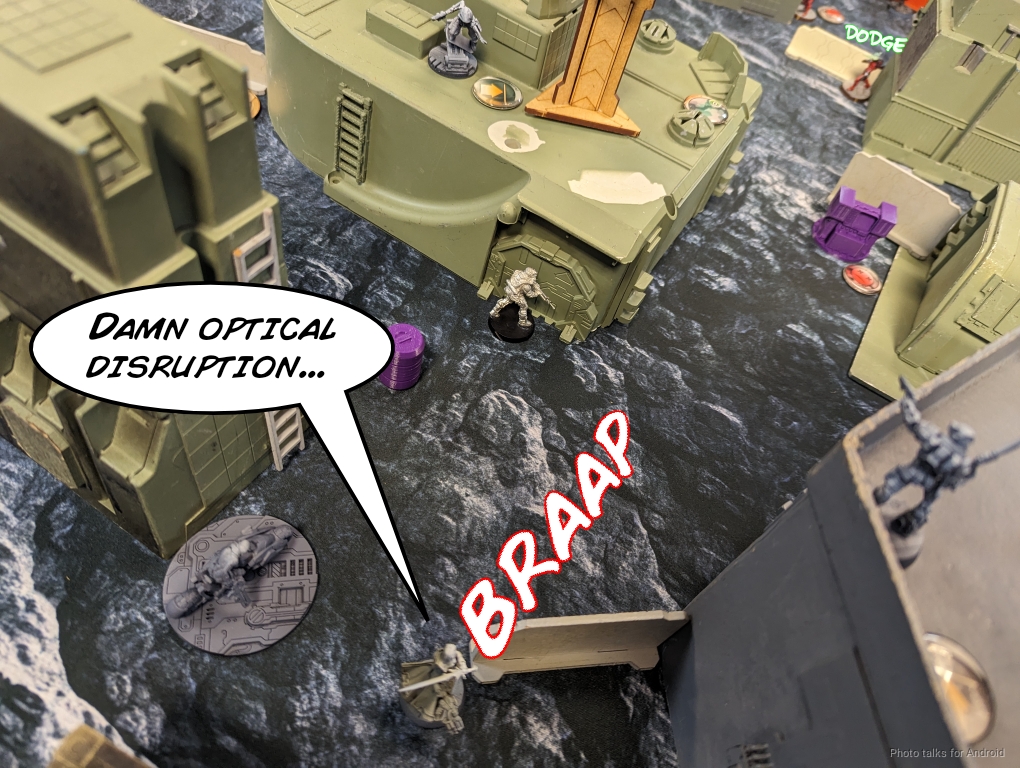
Turns out 5 dice is pretty good! The Hoplite wounds Le Muet, removing my Mimetism. I fail guts around the corner, and then the Hoplite starts engaging the turrets. One goes down...
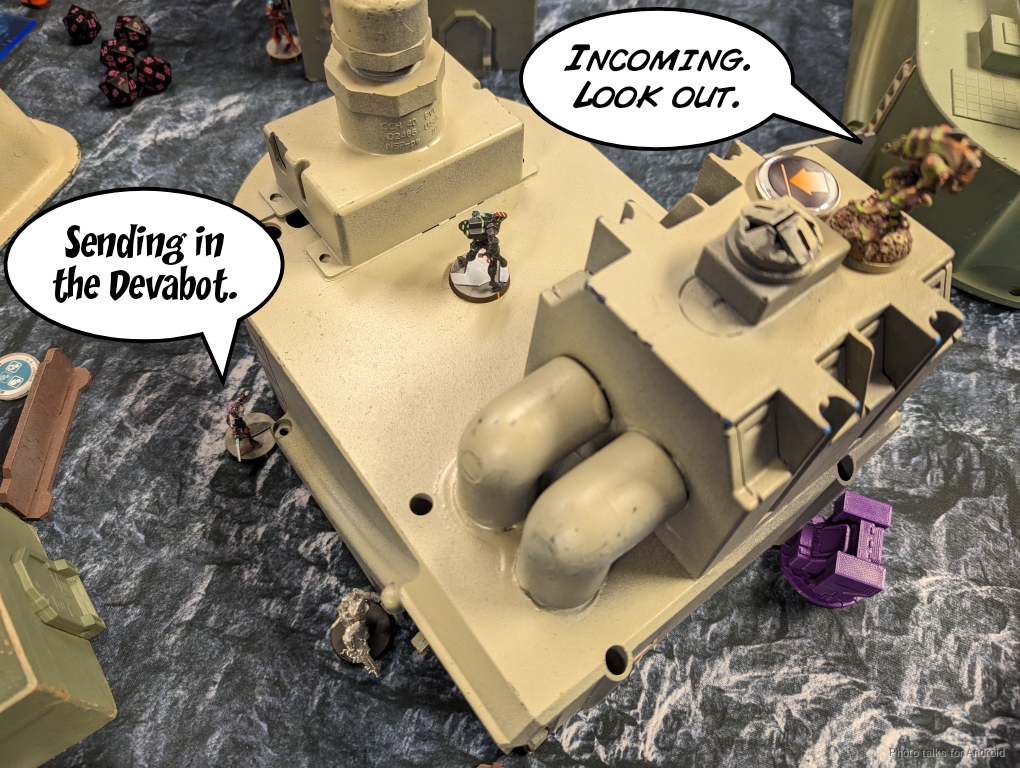
The Devabot has to get past one of the remaining turrets first. The Turret hits, but fails to wound.
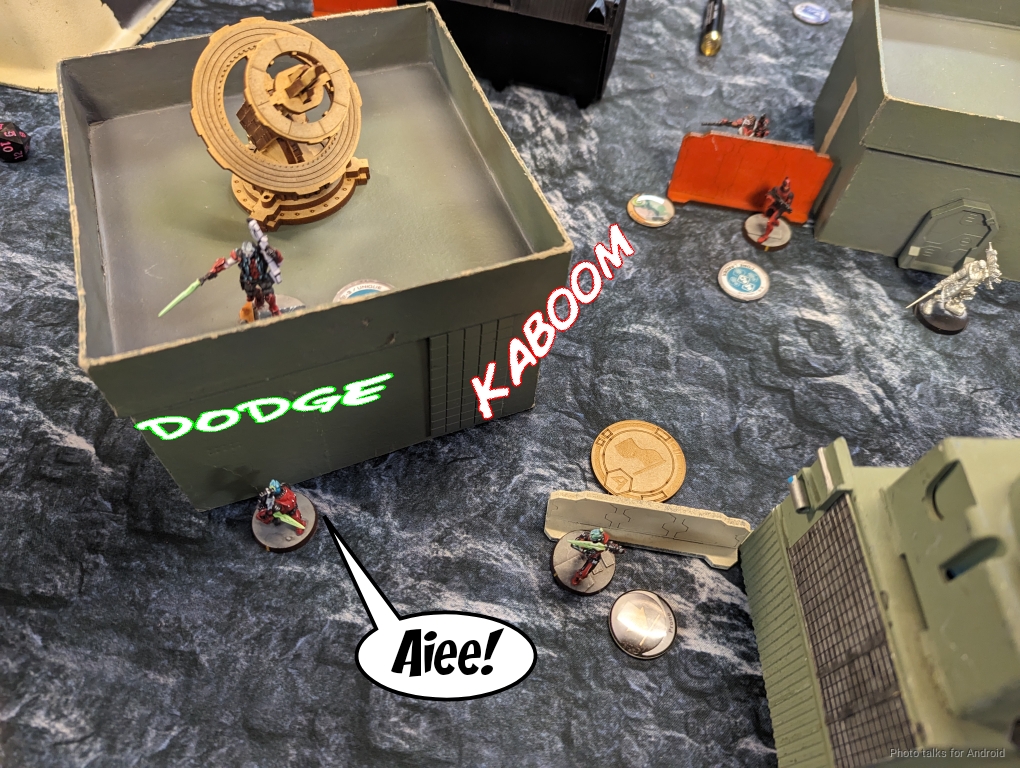
This lets the Devabot get to the rooftop and threaten a flamethrower, so I'm forced to dodge. I fail the dodge, losing the Samsa, but the turret finishes off the Devabot.
Jordan throws the Hoplite into suppression and shuffles Phoenix and his Myrmidons forward, passing turn.
Bottom of 1 - Nomads
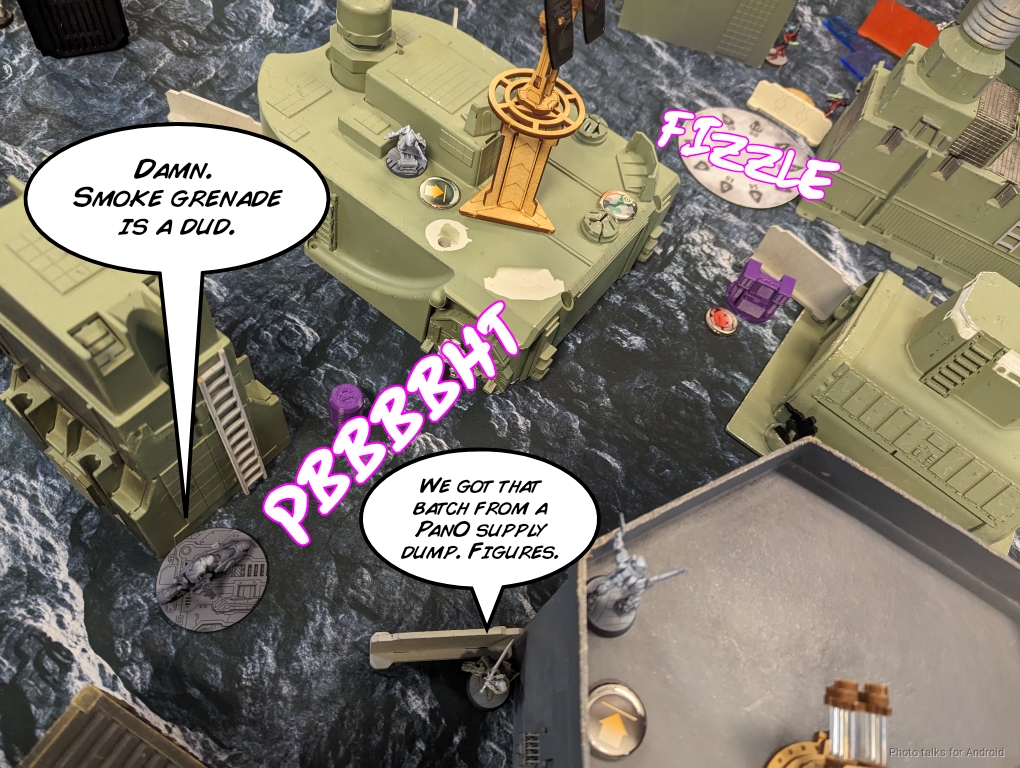
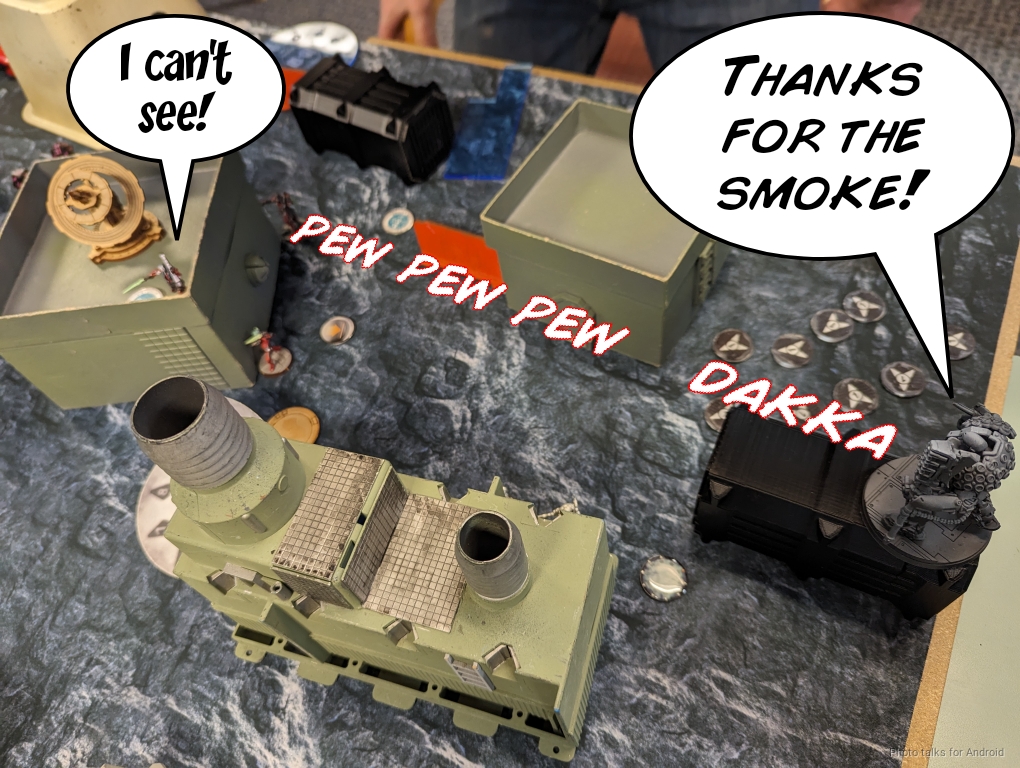
So far, so good. I haven't lost anything super important yet, although my left flank is quite vulnerable. I start things off by attempting to smoke out Phoenix, but the Zondnautica flubs her smoke shot.
I had intended to use the Gecko this turn, but might as well send in the Libertos instead. Camo state is like smoke, right? Jordan keeps delaying, which lets me walk the Libertos behind the Myrmidons and slug mode both of them. I drop one...
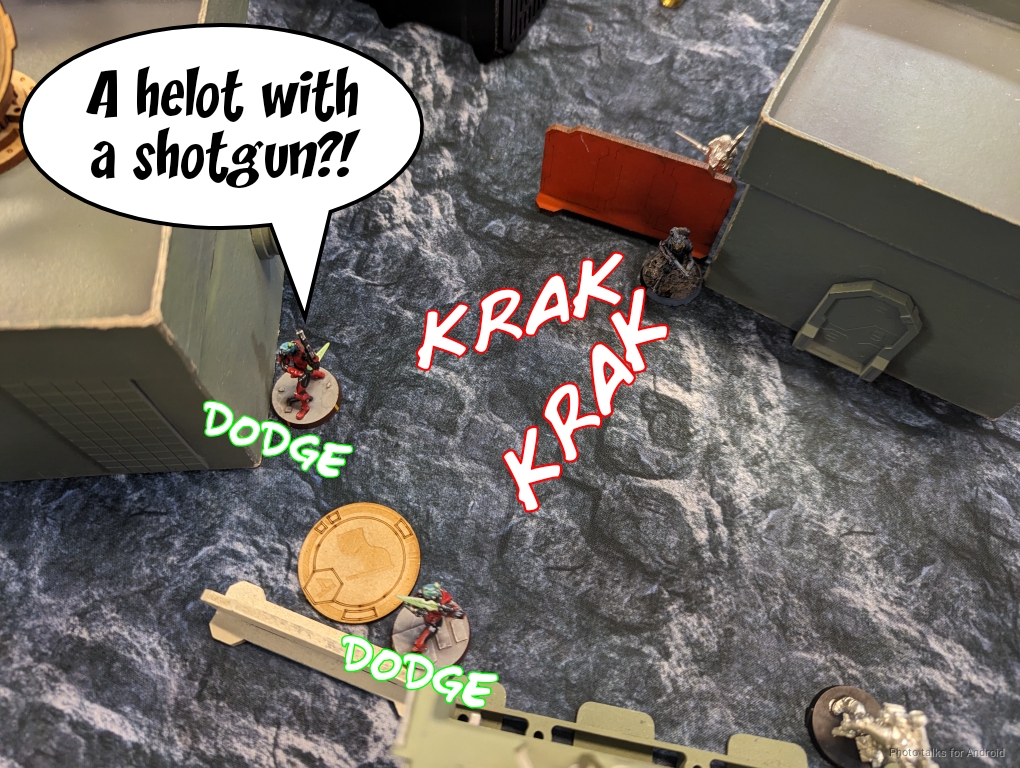
but the other one survives. I try again, this time putting both slugs into the remaining Myrmidon with no success. It passes ARM and fails guts over a small wall to gain cover.
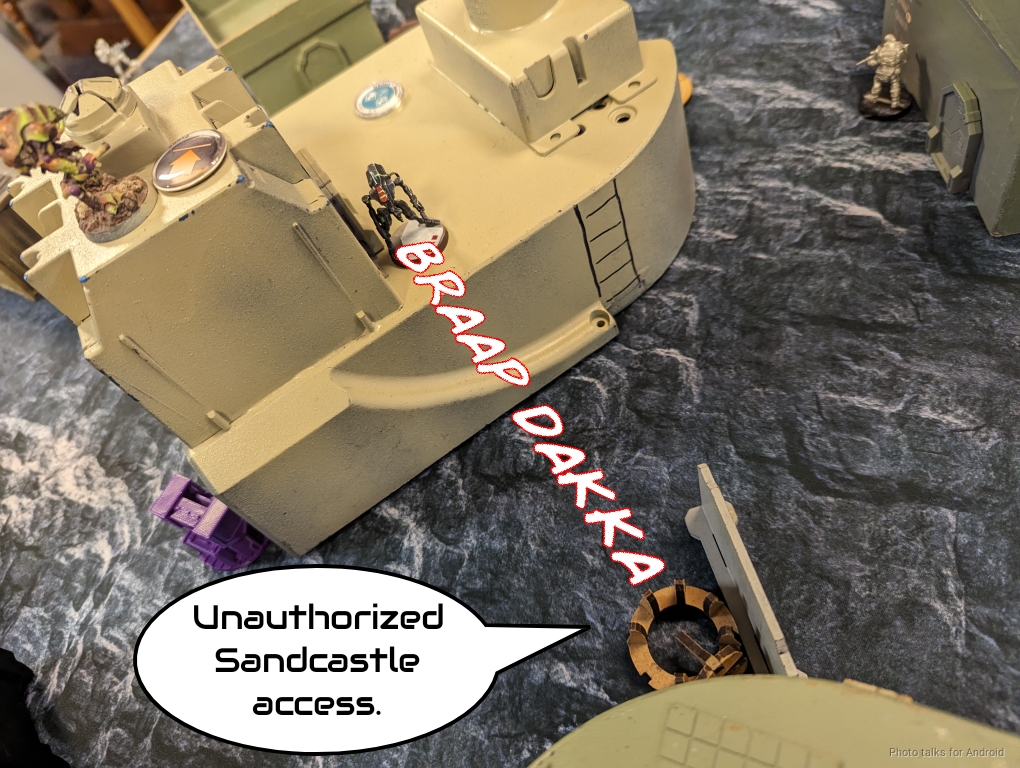
Freedom FighterSandcastle identified. I will never understand why you humans enjoy that nonsense.
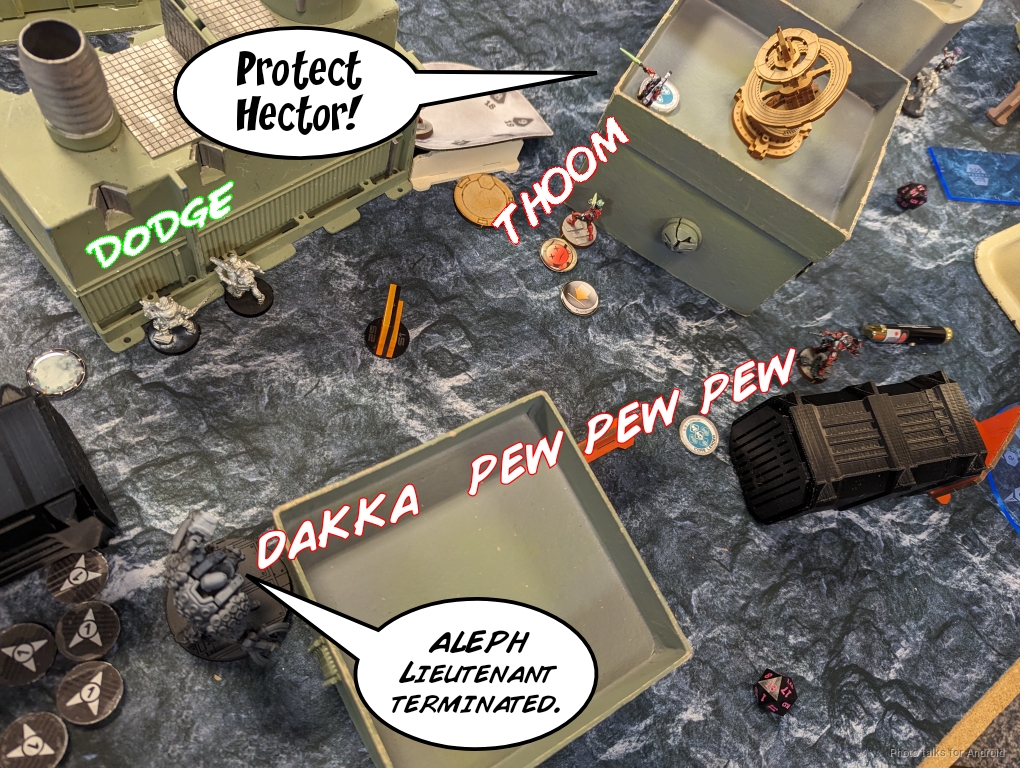
I'm squeezing out as much efficiency as I can this turn, so I reveal Kusanagi as my Lieutenant by using her order to try and drop the Myrmidon pinning the Libertos. We're within 24" but the dice fail me. Thankfully I have enough movement to get behind cover.
I keep throwing shots at the Myrmidon--this time I template it when it chain rifles in return, but it passes both saves. Unfortunate. That's 4 ARM saves now. It does, however, go prone.
This lets me peek the corner and template both Machaon and his Myrmidon friend. Machaon fails his dodge but passes both ARM saves, while the Myrmidon successfully dodges away.
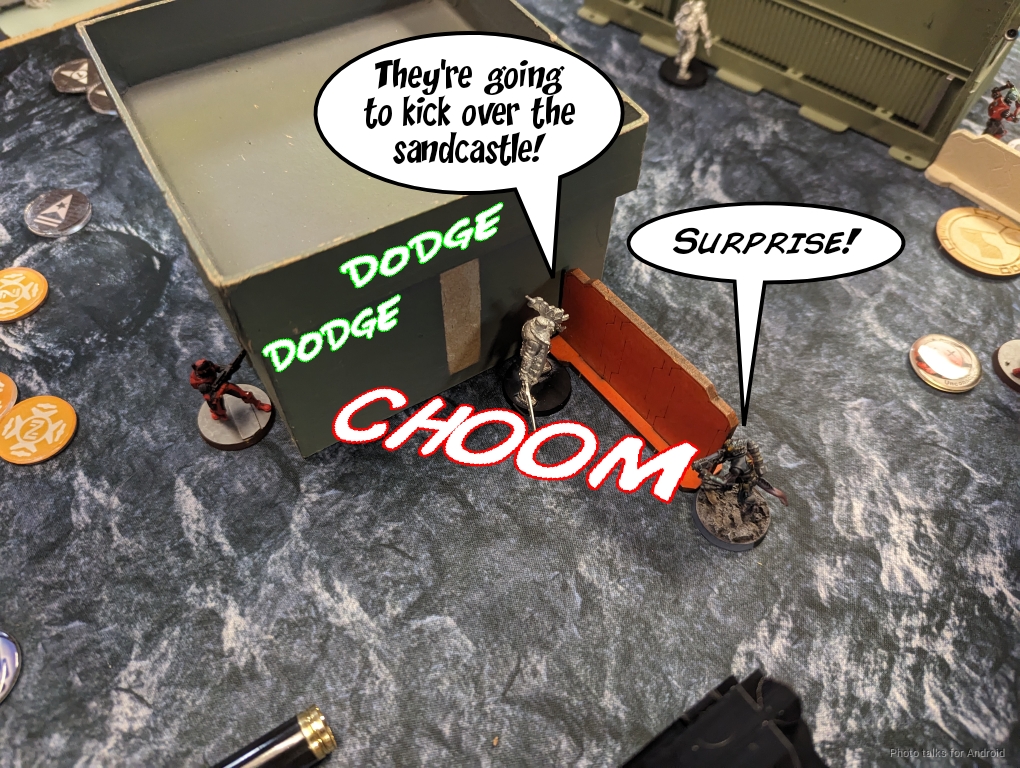
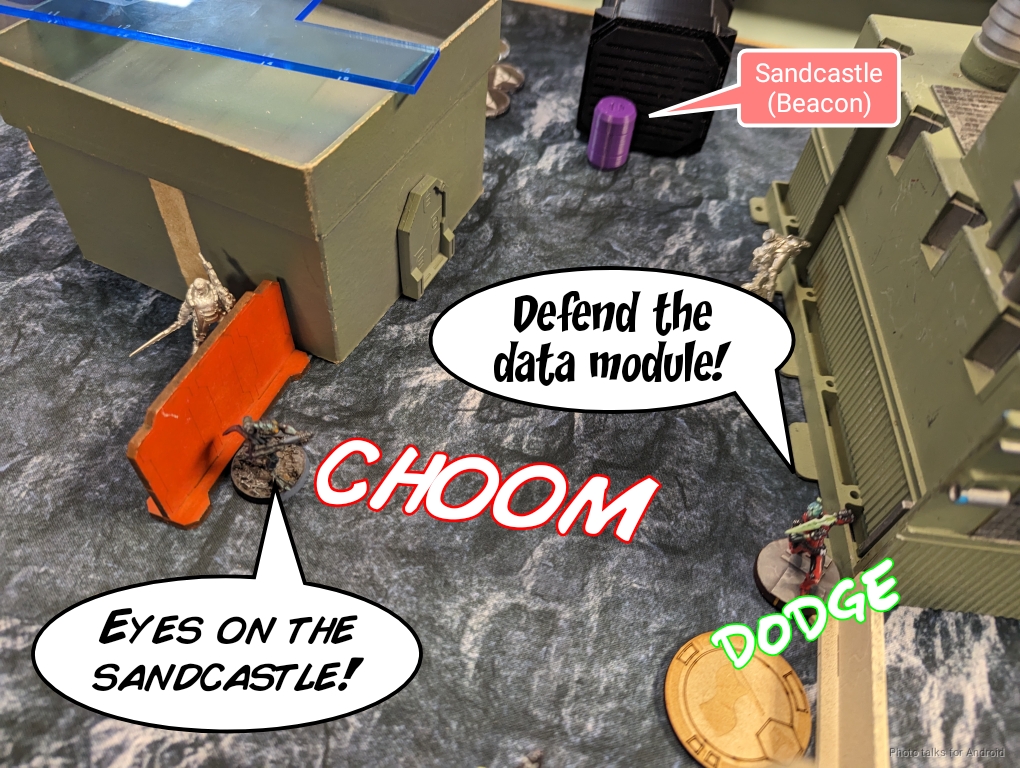
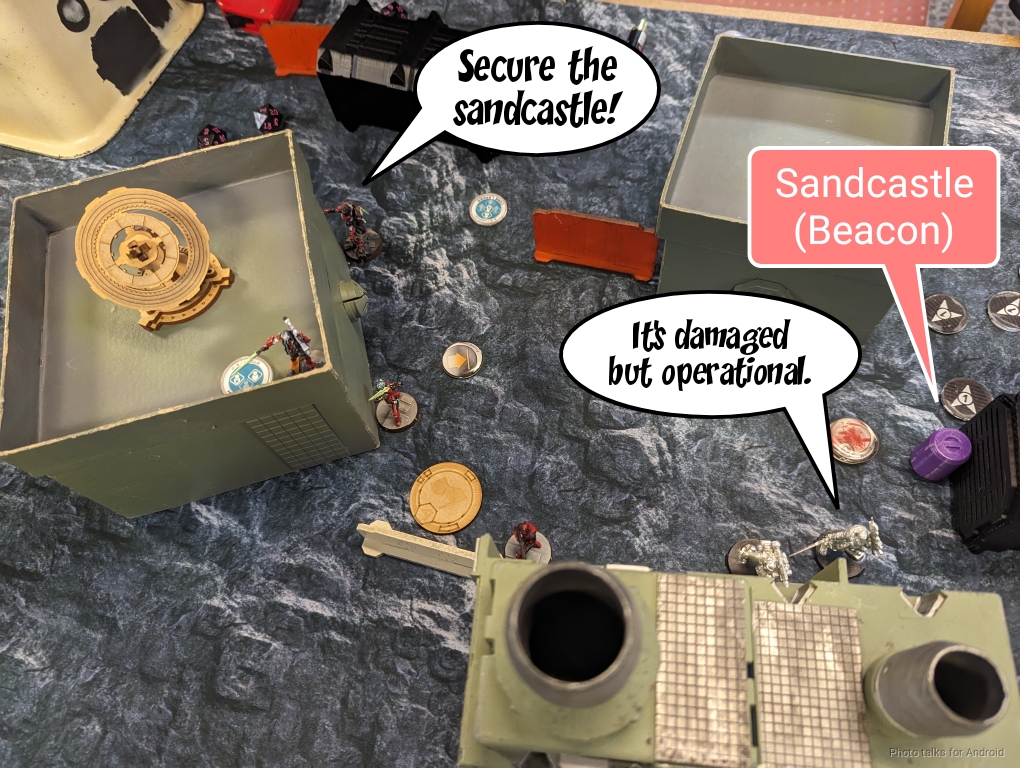
I've got the Gator's tac aware order, so I just do the thing I'm supposed to do and fire one EXP shot at the Sandcastle (beacon), doing two structure of damage to it.
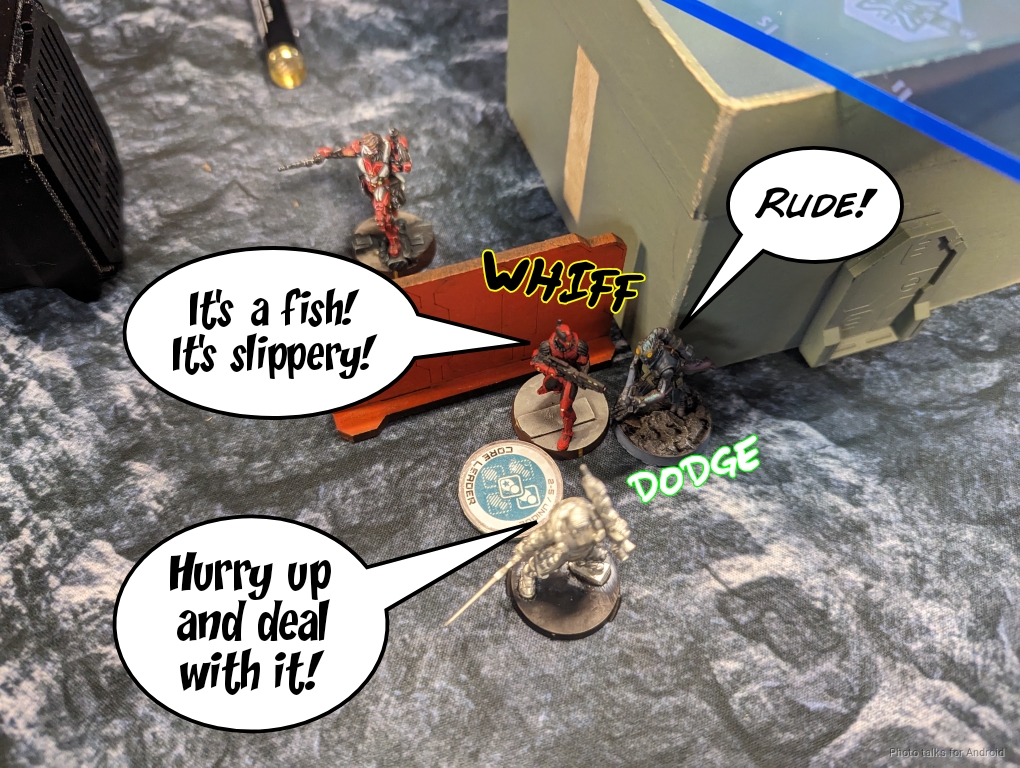
I spend my last order as a coordinated one to hide the Zondnautica and then fire pitchers with both Jazz and Mary to pin the Hoplite. Mary whiffs but Jazz gets hers down.
Turn 2
Top of 2 - Steel Phalanx
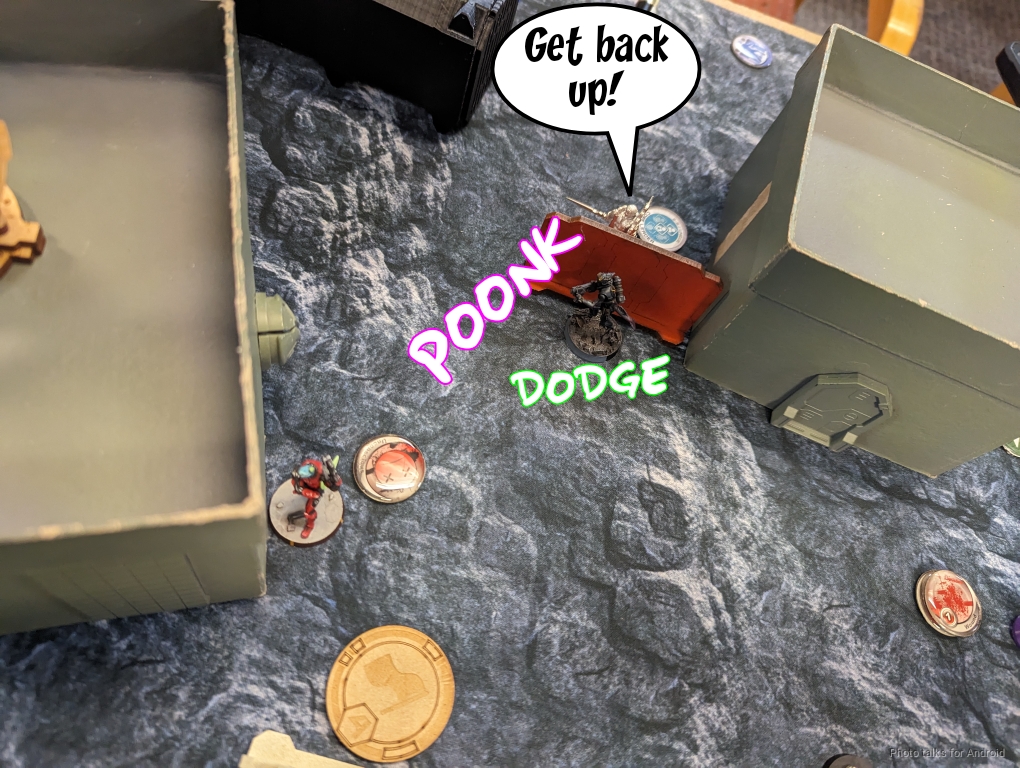
Somehow my Libertos is still alive. My objective is to just drain as many orders as possible. I intentionally left the Myrmidon on the table because I know Jordan loves to paramedic stuff. I'm hoping he'll either fail or it will take multiple orders... it takes two orders (first shot just misses entirely) but the Myrmidon is up. I'll take it.
Next the Myrmidon from Machaon's link comes around the corner to CC the Libertos. I manage to pass one of the saves...
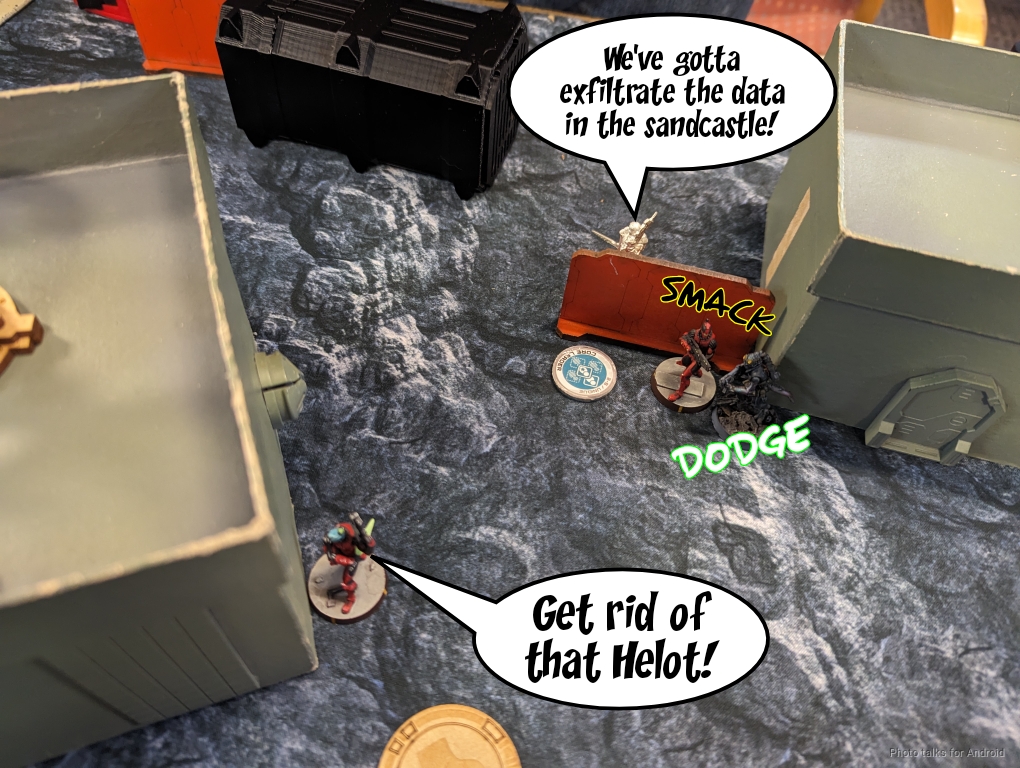
Jordan finishes the Libertos off with the freshly resuscitated Myrmidon, but I leave a mine as a parting gift.
Unfortunately, the mine goes off on the very same Myrmidon, killing it. Only way for that to go better is for the Libertos to still be alive.
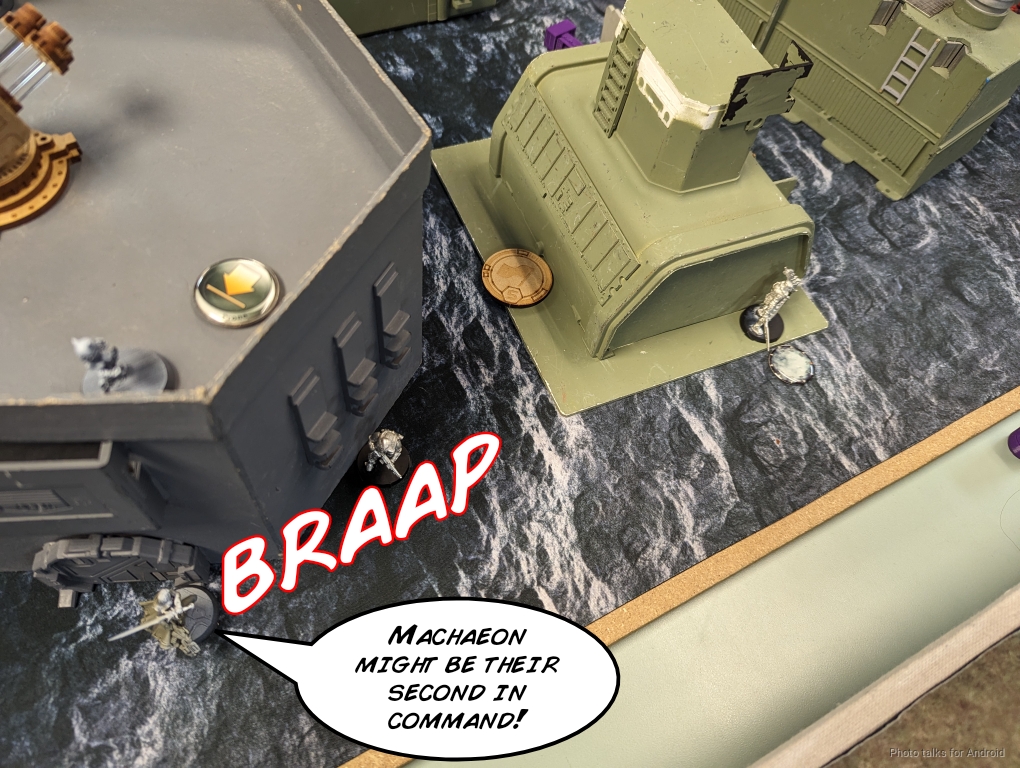
Jordan then makes a really clever move, pushing Hector and his Myrmidon up while placing Machaon on the flank by the Beacon.
The real big-brained part of this when he reforms a four man link with Hector, Phoenix, and the two remaining Myrmidon to get Sixth Sense.
Bottom of 2 - Nomads
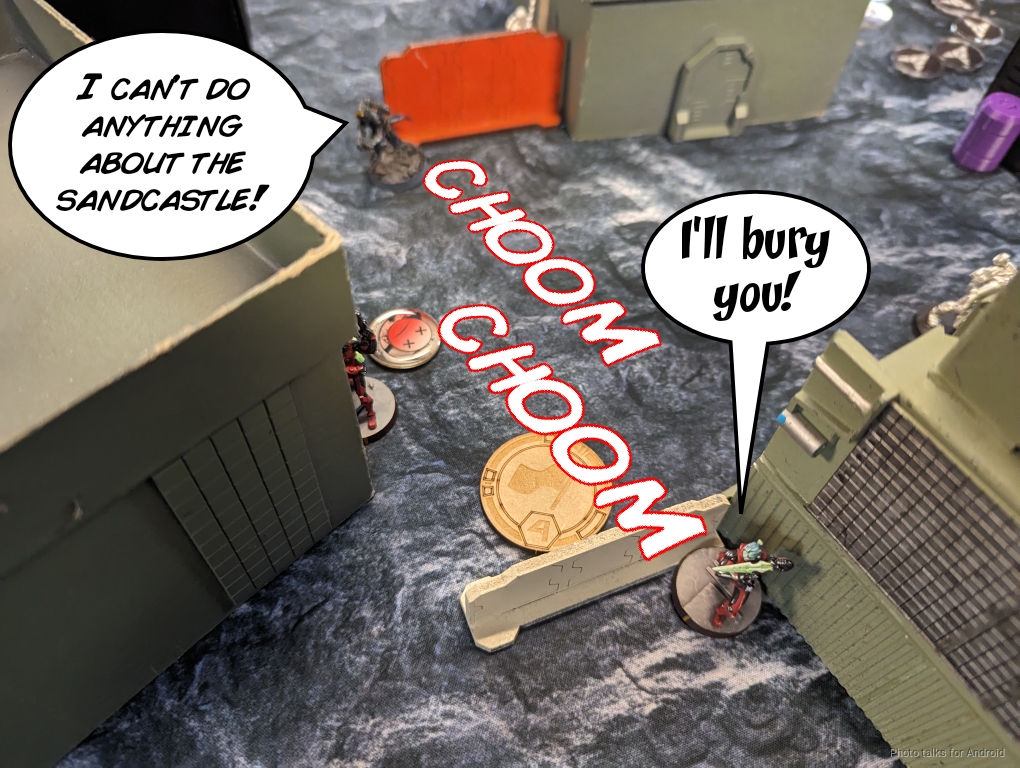
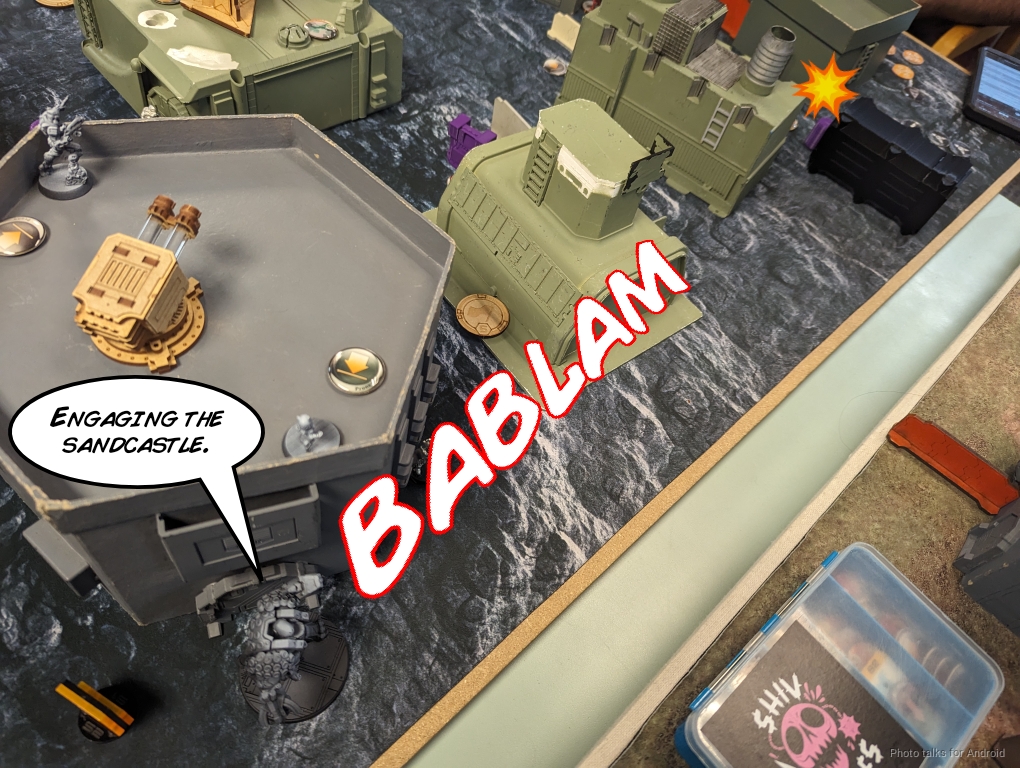
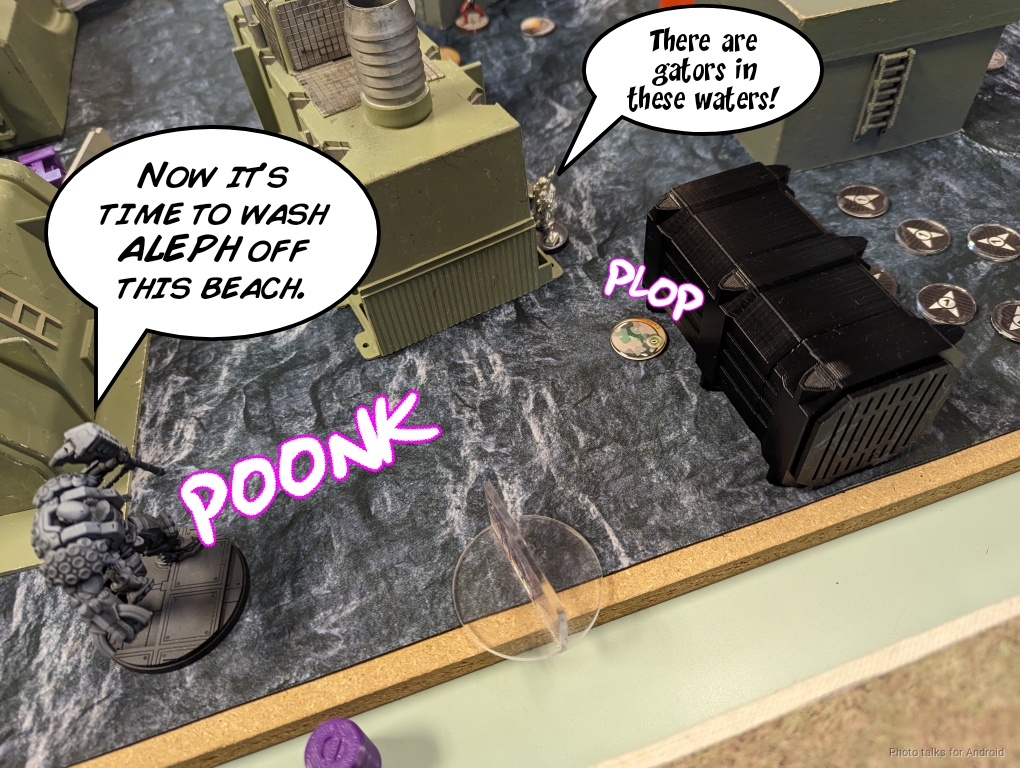
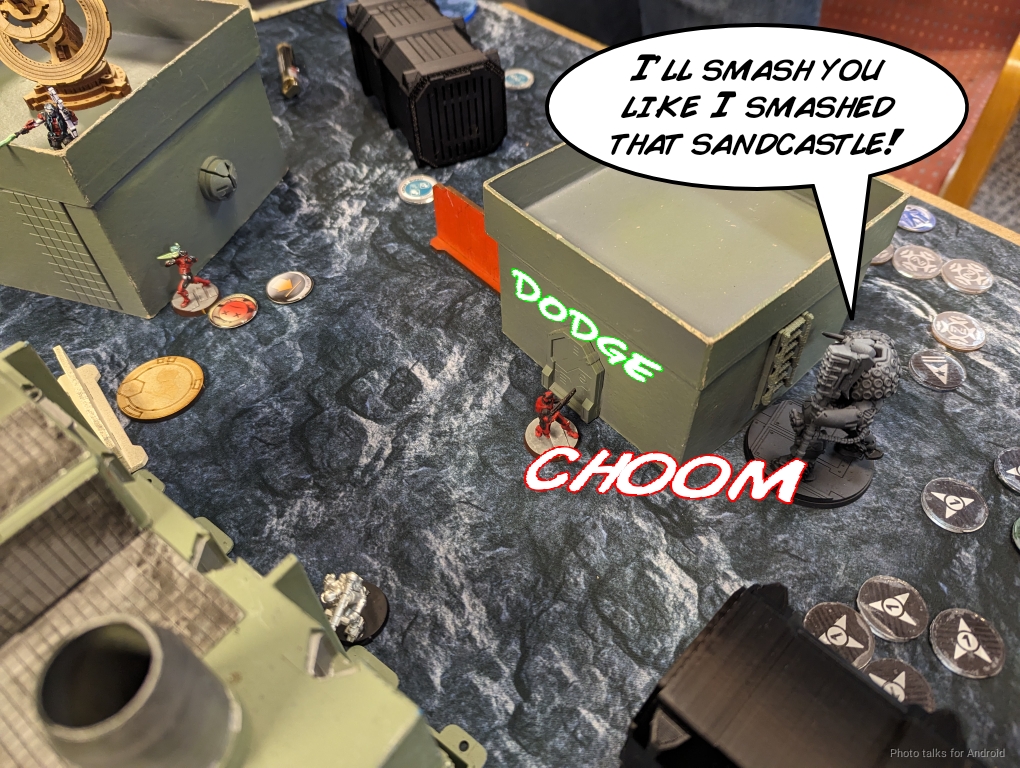
Objectives for this turn are to finish off the Sandcastle (beacon) and then go after Hector for Decapitation. The right tool is the Gator. Thankfully this time the Zondnautica lands its smoke, making the Gator's advance easy. I start by finishing off the Sandcastle.
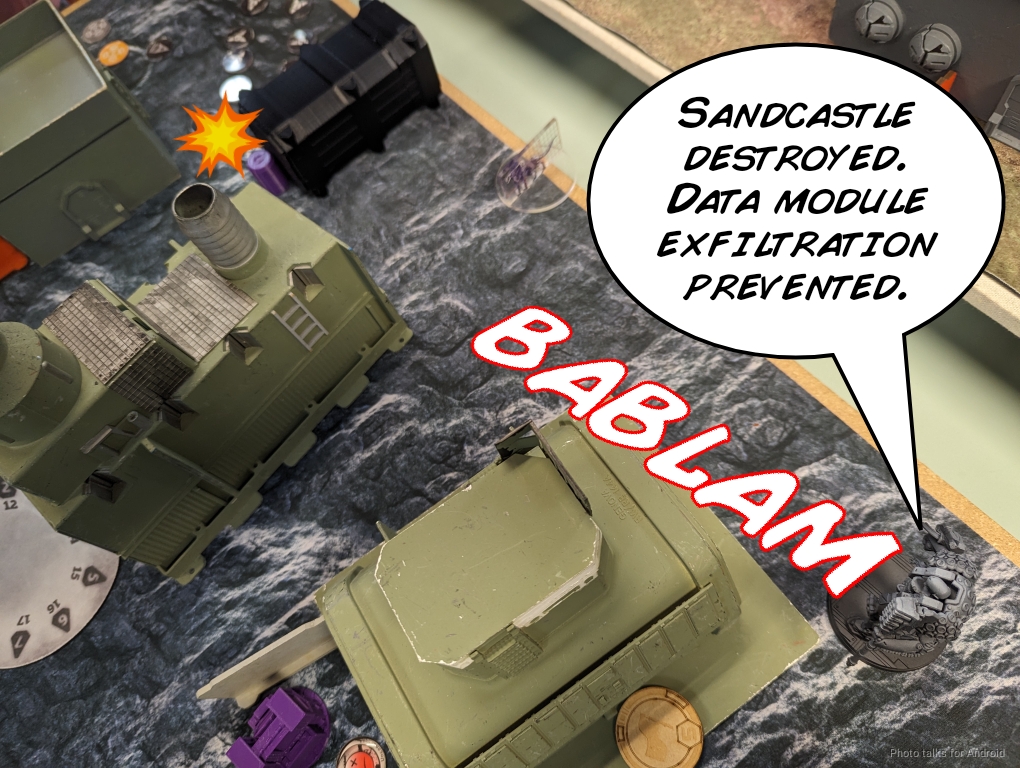
Gator SquadronReverend, Death Roll. Sandcastle is destroyed. Say again, Sandcastle destroyed.
Reverend SuperiorCopy, Death Roll. Proceed to secondary objectives.
Gator SquadronDeath Roll copies. Proceeding to secondary objectives with extreme prejudice.
I then set up some mines covering Machaon and a Myrmidon.
At this range, I'm going to be on -12 to BS trying to engage Machaon with the HMG, so I double chain rifle, hoping he'll fail his dodge. He dodges the HMG and tanks the mine hit.
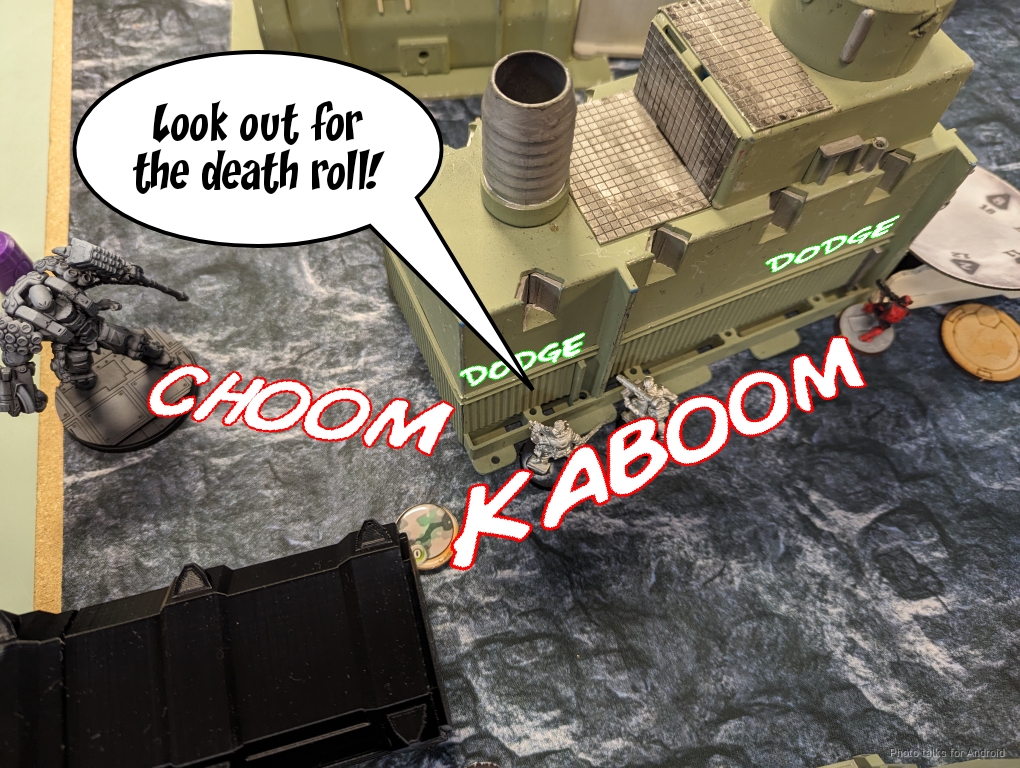
I then peek Hector, forcing a dodge on Hector while Machaon throws smoke to cover his boss. I double chain rifle again, and Machaon emerges unharmed.
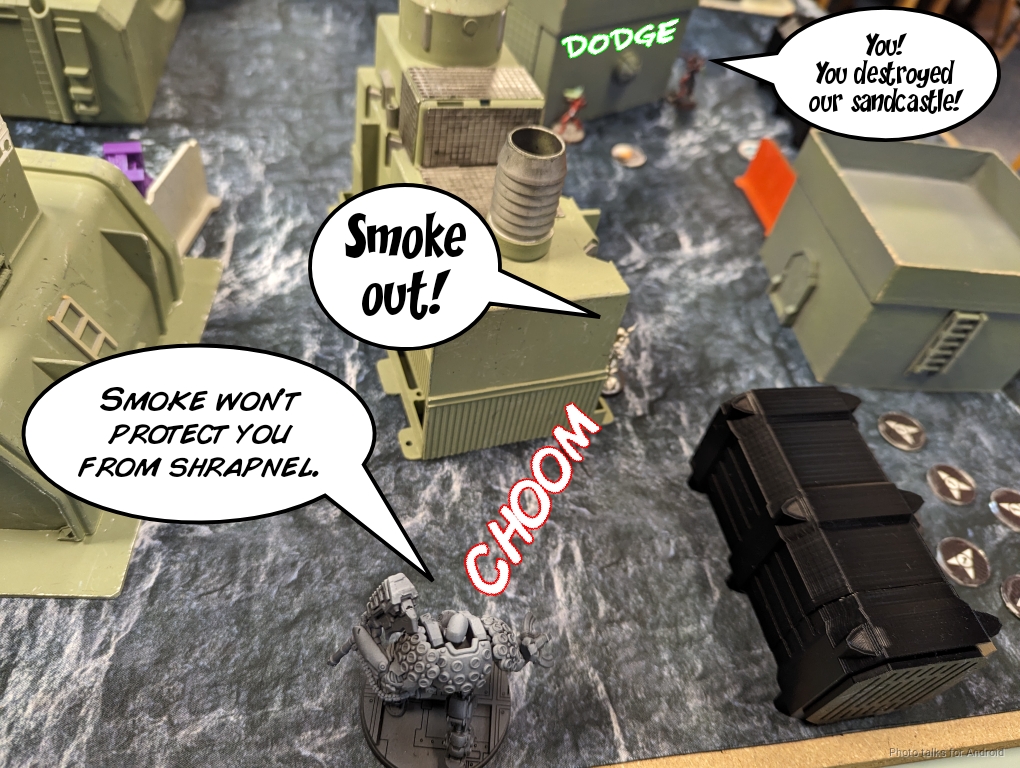
No matter, I've got smoke now, so I vault the nearby crate, now behind Phoenix, and put a wound on Hector.
We dance around a building for a bit, but I manage to finally get Hector out of cover after a risky guts fail move. I have to reveal to Phoenix to do this, who has turned around, but I tank the HRL save and delete Hector with a full burst landing.
I have just enough movement to move around the corner to break LoF to Phoenix thanks to guts fail.
Gator SquadronReverend, Death Roll. Hector KIA.
Reverend SuperiorCopy, Death Roll. Leave none alive.
Gator SquadronWith pleasure.
Turn 3
Top of 3 - Steel Phalanx
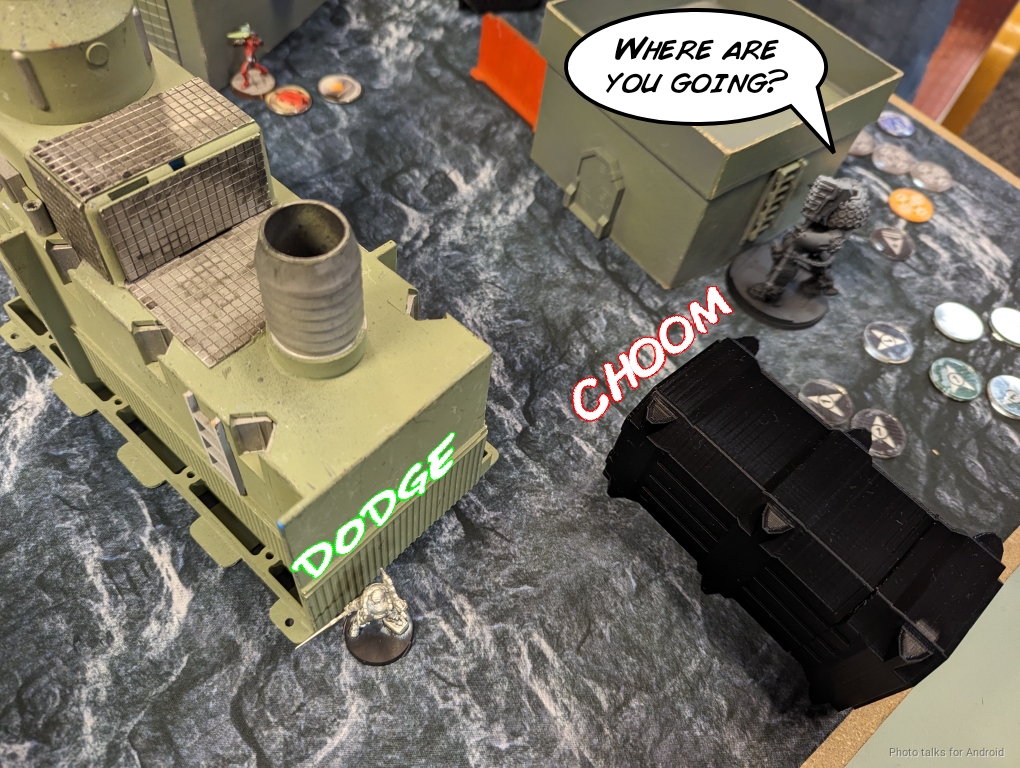
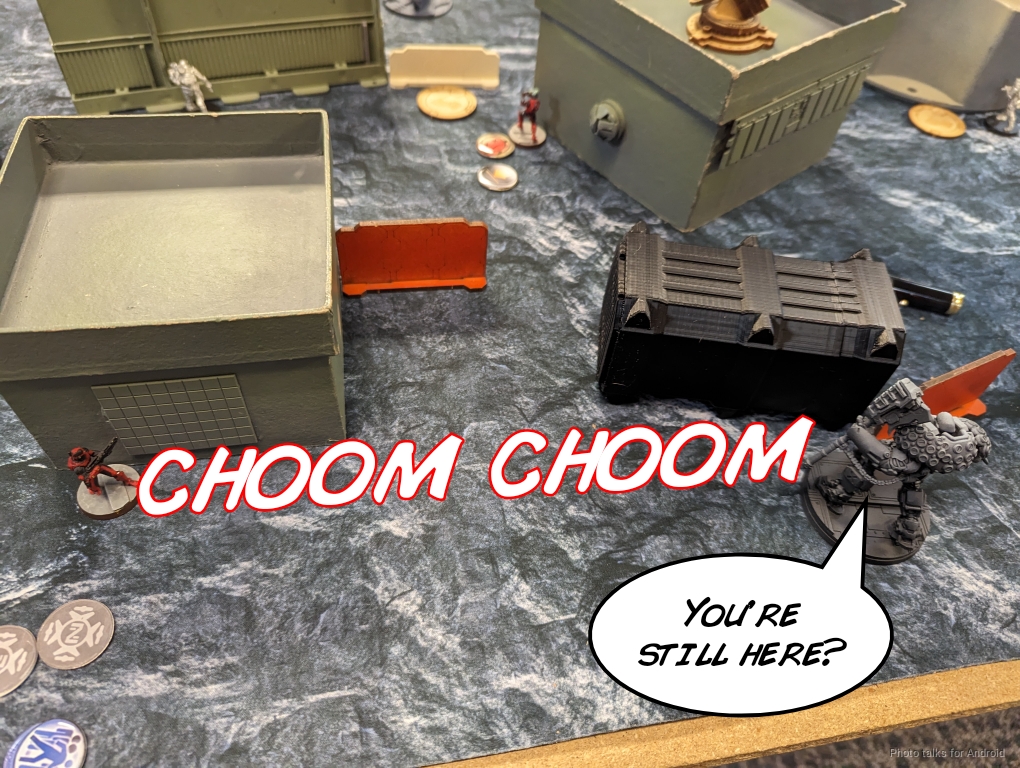
Steel is in loss now, which means the Hoplite breaks suppression. Jordan spends an order re-upping it, then tries to get Machaon to the zones he needs to secure. He has to go past the Gator, which he succeeds in doing.
I'm realizing now the he should've used the Myrmidon that was nearby to throw smoke first, but oh well. Instead he dodges the Myrmidon closer to threaten CC, which is not a guaranteed success against a Gator!
Bottom of 3 - Nomads
I start by trying to remove Machaon by shooting him in the back with Kusanagi. He passes ARM and then beats her with a smoke throw on the second order.
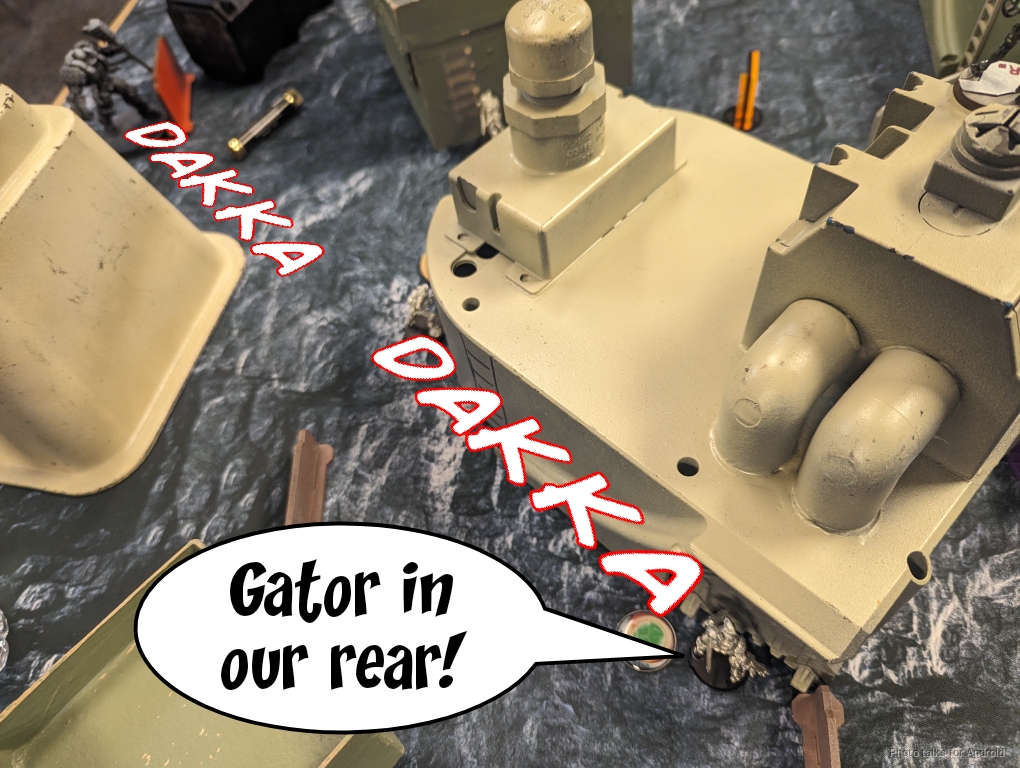
Ah well. The Gator starts his run on Scylla and the Hoplite, critting Phoenix off the table on the way.
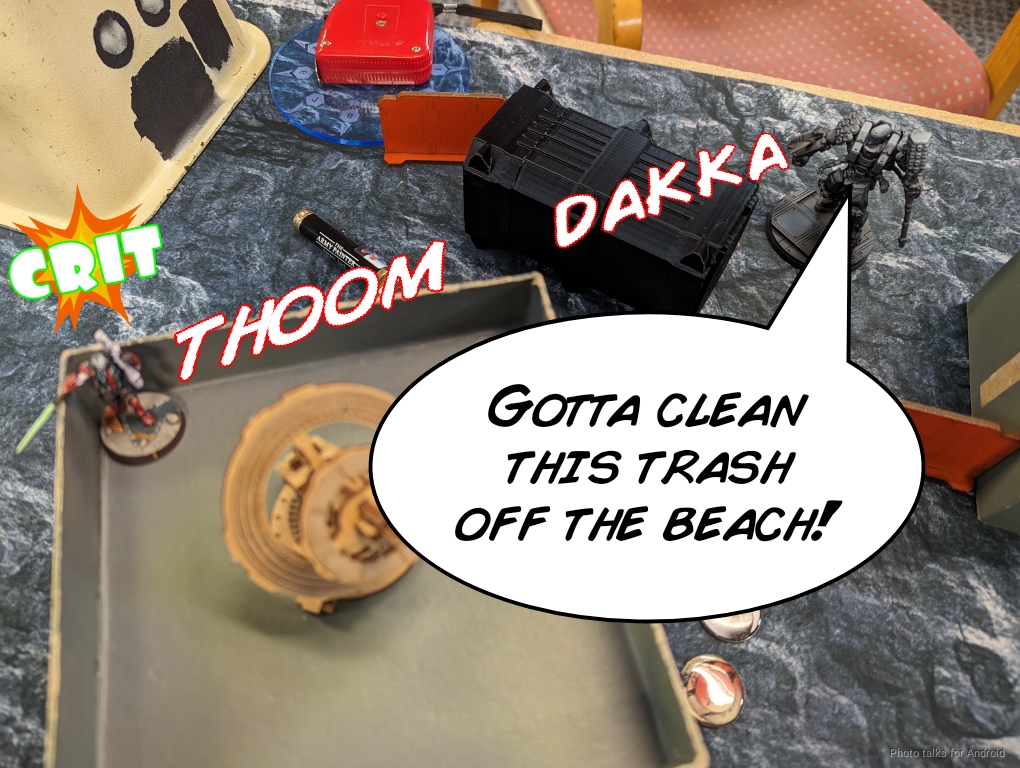
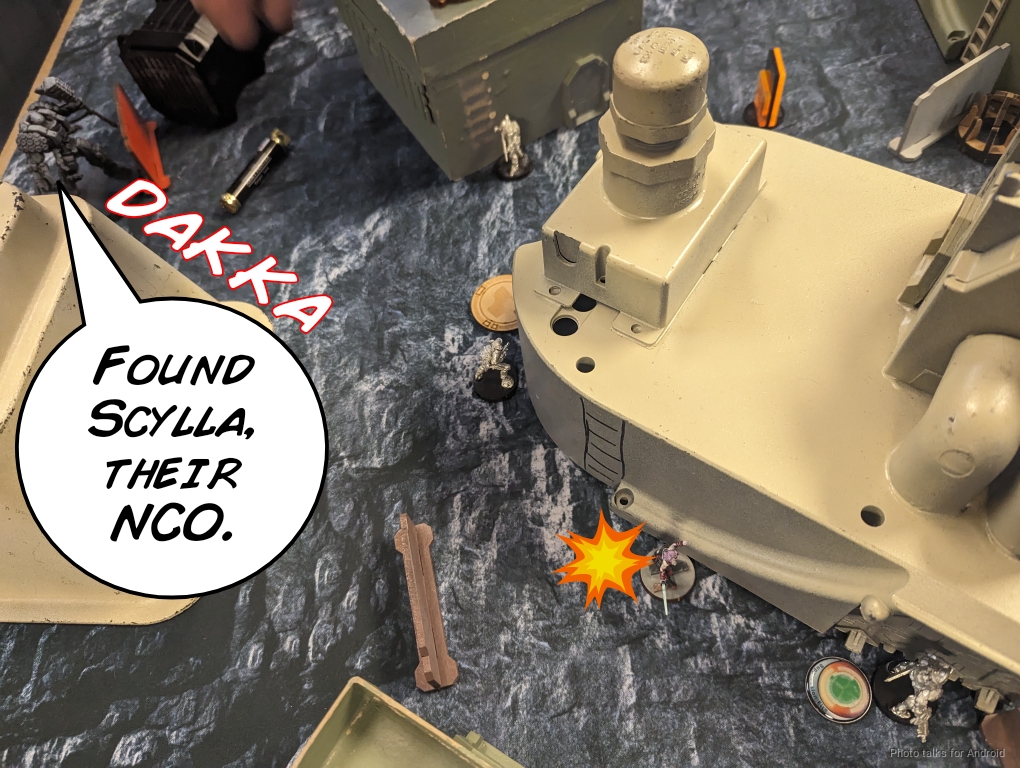
This leaves me with only one order to intuitive attack on Machaon. If I crit, I can take him down if he fails both saves. Sadly I don't crit.

That's game! Jordan has two area control objectives complete, but does not have the secure objectives one, and I have killed both of his Lieuteants (Hector and Scylla), have definitely removed more than 75% of his forces, and have taken out the Sandcastle (Beacon). Those area control objectives are worth quite a bit, meaning it's a
10-4, 262-36 Nomads Victory!
Reverend SuperiorAll stations, all stations. Mission complete. Good work out there.
Post Game Analysis
I really like Resilience Operations! It's really fun and brings back good memories of the old YAMS days when I started playing Infinity back in N2. I don't like how it makes you deploy 9 things in addition to your normal stuff, but it does give you a fair amount of options and variety. I don't really like the Battlefield Conditions stuff--it's kinda gimmicky and awkward, especially the terrain ones. I like terrain rules, but I don't like it when I feel like they're just sort of bolted on in a weird gamey way. Regardless of my reservations, Resilience Operations is a fun new way to play the game that I'm sure I'll enjoy for years to come.
As far as the game goes, I wish I had used Mary more, but there just wasn't a good way to do so. I think I paced things out well, and didn't over-invest when things didn't quite go the way I had expected, e.g. with Machaon passing something like 8 saves this game. Jordan I think missed an opportunity to punish my weak left flank with the Hoplite though. He would've had to spend some orders doing it because of the repeater that Jazz got down, and that would have meant the Libertos might still be around. He probably made the right decision, but could also have just left the Myrmidon in close combat and moved on with the rest of his turn.
Not a whole lot more to this game, just played a careful positioning game with reasonable tempo control and just kept pushing at the right time with the right pieces. A big thanks to Jordan for a very chill game and relaxed vibe. Just what I needed after a long break from the game and a stressful day at work. Thanks for reading!
Battle Report Author

Army Lists Used In This Battle
Recommend Commander For Commendation
Share this battle with friends
WiseKensaiWins

(ノ◕ヮ◕)ノ*:・゚✧
Always a pleasure to read your reports, such extensive ones! (also: nice ASCII arts in comments, Nomad stuff at its peak)
Super Sandcastle report thats a good teaser tp try out. Stylish and well written too.
I need to see that Mary Problems painted <3
Nice Work, the Crypto Winter comes for us all.
So much great work went into this! Incredibly detailed, engaging. Both the flow of the game and the flow of the narrative were easily to follow.
Fabulous work!
Congrats, Master.
⠀⠀⠀⠀⠀⠀⠀⠀⠀⠀⠀⠀⠀⠀⠀⠀⠀⠀⠀⠀⠀⠀⠀⠀⠀⠀⠀⠀⠀⠀⠀⠀⠀⠀⠀⠀⠀⠀⠀⠀⠀⠀⠀⠀⠀⠀⠀⠀⠀⠀⠀⠀⠀⠀⠀⠀⠀⢀⠎⠁⠠⠄⠀⠀⠀⠀⠀⡀⠀⠀⠀⠤⣀⠀⠀⠀⠠⡀⠀⠀
⠀⠀⠀⠀⠀⠀⠀⠀⠀⠀⠀⠀⠀⠀⠀⠀⠀⠀⠀⠀⠀⠀⠀⠀⠀⠀⠀⠀⠀⠀⠀⠀⠀⠀⠀⠀⠀⠀⠀⠀⠀⠀⠀⠀⠀⠀⠀⠀⠀⠀⠀⠀⠀⠀⠀⠀⢠⡇⠀⠀⡠⠂⠀⠀⠀⠀⠀⠈⠲⡄⠀⠀⠀⠀⠀⢀⠀⠀⠀⠀
⠀⠀⠀⠀⠀⠀⠀⠀⠀⠀⠀⠀⠀⠀⠀⠀⠀⠀⠀⠀⠀⠀⠀⠀⠀⠀⠀⠀⠀⠀⠀⠀⠀⠀⠀⠀⠀⠀⠀⠀⠀⠀⠀⠀⠀⠀⠀⠀⡆⠀⠒⠀⢰⠀⠀⠀⢼⠀⠀⢠⠡⠀⣧⠀⠀⣰⣶⠀⠀⠈⢷⠀⠀⠀⠀⠈⠆⢡⠀⠀
⠀⠀⠀⠀⠀⠀⠀⠀⠀⠀⠀⠀⠀⠀⠀⠀⠀⠀⠀⠀⠀⠀⠀⠀⠀⠀⠀⠀⠀⠀⠀⠀⠀⠀⠀⠀⠀⠀⠀⠀⠀⠀⠀⠀⠀⠀⠀⠀⠁⠀⣇⡀⢈⣁⠀⠀⠉⠀⠐⠒⣶⠀⣏⡄⣸⡟⠁⣠⡆⠀⠐⠋⠹⠀⠀⠀⠘⠀⠆⠀
⠀⠀⠀⠀⠀⠀⢀⣤⡀⠀⠀⠀⠀⠀⠀⠀⠀⠀⠀⠀⠀⠀⠀⠀⠀⠀⠀⠀⠀⠀⠀⠀⠀⠀⠀⠀⢀⡤⠀⠄⠀⠀⡀⠀⠀⠀⠀⠀⢠⠀⠐⢆⠀⡌⠄⢀⡀⢀⠠⠀⠱⣠⣏⠁⡀⠠⡾⠟⠉⠀⠀⡀⠀⠀⠠⠀⠀⠀⠀⠀
⠀⢰⣟⢲⣄⣴⡿⣧⠵⣄⠀⠀⠀⠀⠀⠀⠀⠀⠀⠀⠀⠀⠀⠀⠀⠀⠀⠀⠀⠀⠀⠀⠀⢀⣤⠔⡨⠄⣀⠀⠰⡄⠈⠢⡀⠀⠀⠀⠈⡄⠀⢫⠄⠰⡈⠁⠰⡈⢆⡱⠤⠝⠀⢑⠮⢥⣂⡖⠶⠶⠀⢁⠆⡾⠀⠀⠀⠀⠀⠀
⣾⡻⣿⣿⣿⣿⣿⣾⡀⠈⠳⣄⠀⠀⠀⠀⠀⠀⠀⠀⠀⠀⠀⠀⠀⠀⠀⠀⠀⠀⠀⠀⢀⢾⢀⣾⠖⢒⠑⠈⠻⠛⢷⢤⣐⠀⠀⠀⠀⠰⡀⠀⢀⠀⠱⡀⠀⠐⢄⠉⠒⡲⣤⡄⠀⣰⠋⠀⠀⠀⠀⢈⡼⠁⠀⠀⠀⠀⡄⠀
⠈⠻⡾⣻⣿⠟⠉⠳⣷⣄⠀⠈⢷⣄⠀⠀⠀⠀⠀⠀⠀⠀⠀⠀⠀⠀⠀⠀⠀⠀⠀⠀⢼⢇⢾⡃⠀⠀⠀⠀⠀⠀⠀⠠⠘⢿⠀⠀⠀⠀⠱⡀⠀⠁⠀⠐⢄⢐⠁⠀⣰⡉⡔⠉⢩⠃⠀⠀⠀⠠⠴⠋⠀⠀⠀⠀⠀⢠⠃⠀
⠀⠀⣻⢿⣻⡄⠀⠀⢈⡻⣷⣄⠀⠙⢷⣄⠀⠀⠀⠀⠀⠀⠀⠀⠀⠀⠀⠀⠀⠀⠀⠀⢚⢎⢮⣿⣯⣵⣤⣴⣶⣶⣦⠀⢠⣼⠀⠀⠀⠀⠀⠐⡄⠀⠀⢂⠀⠑⢅⣾⠋⠻⠶⣿⠇⠀⠠⠀⡀⢀⢠⠀⠀⠀⠀⡠⠁⠧⡀⠀
⠀⠈⠑⣅⠙⢝⢦⡀⠀⠶⠈⠺⣳⡄⣀⣿⠀⠀⠀⠀⠀⠀⠀⠀⠀⠀⠀⠀⠀⠀⠀⠈⣼⣤⣿⣿⣿⠿⠿⠏⠀⠿⣿⢿⣿⠟⠀⠀⠀⠀⠀⠀⠈⠢⡀⠀⠁⢀⣴⠁⠠⣼⣱⠋⠀⠐⠒⠀⠁⠈⠀⠀⠀⠠⠈⠀⠀⠀⠈⢂
⠀⠀⠀⠈⠪⢿⣵⣝⢦⣦⡗⠶⣟⢻⣾⣉⡄⠀⠀⡾⣦⡀⠀⠀⠀⠀⠀⠀⠀⠀⠀⠐⢻⡿⣻⣌⡇⠀⠀⢀⡀⡀⢠⡿⠀⠀⠀⠀⠀⠀⠀⠀⠀⠀⠐⠢⡰⡎⠀⠀⠀⣤⠃⠐⠀⠀⠀⠀⠀⠀⠀⠀⠀⠀⠀⠀⠀⠀⡐⠁
⠀⠀⠀⠀⠀⠀⠉⠻⣿⣤⠙⢷⣿⡽⡒⢚⣥⣀⣠⣿⣮⡻⣆⠀⠀⠀⠀⠀⠀⠀⠀⠀⠀⠙⣿⡿⣧⡀⠐⠖⠚⣷⠃⠀⠀⠀⠀⠀⠀⠀⠀⠀⠀⠀⢀⡰⠝⠀⠀⠀⢠⠃⠐⠀⠀⠀⠀⠀⠀⠀⠀⠀⠀⠀⠀⠀⠀⠊⠀⠀
⠀⠀⠀⠀⠀⠀⠀⠀⠈⠓⠻⣿⣽⡳⣾⣾⣿⣿⢯⡻⣼⡿⠿⠇⠀⠀⠀⠀⠀⠀⠀⠀⠀⠀⠰⣿⡿⣿⣷⣦⣴⣁⡀⢀⣠⣤⣤⣀⣀⣀⣠⠴⠒⠋⠉⠀⡀⢀⣠⣿⠃⠠⠀⠀⠀⠀⠀⠀⠀⠀⠀⠀⠀⠀⠀⠀⠀⠀⠀⠀
⠀⠀⠀⠀⠀⠀⠀⠀⠀⠀⠀⠹⣏⢹⡿⡫⣿⣿⣿⣿⣯⣧⠀⠀⠀⠀⠀⠀⠀⢀⣠⡶⣤⣤⣾⣿⠛⣯⣿⣿⡿⣻⣿⣽⣿⣿⣿⠟⠋⠃⠁⠀⡀⣄⢤⣲⡿⠞⠋⠁⠀⠀⠀⠀⠀⠀⠀⠀⠀⠀⠀⠀⠀⠀⠀⠀⠀⠀⠀⠀
⠀⠀⠀⠀⠀⠀⠀⠀⠀⠀⠀⢀⣹⣎⣿⣿⡷⣾⣿⠿⠿⢿⡄⠀⠀⠀⠀⠀⢀⣾⣿⠵⢻⢷⡿⡴⣶⣷⠉⠙⣷⡭⡩⣍⣷⢿⣣⡰⣄⢶⣧⣷⠿⠞⠋⠁⠀⠀⠀⠀⠀⠀⠀⠀⠀⠀⠀⠀⠀⠀⠀⠀⠀⠀⠀⠀⠀⠀⠀⠀
⠀⠀⠀⠀⠀⠀⠀⠀⡏⢸⡇⢻⣿⣧⢡⣿⣿⣞⣿⣿⣿⣶⣥⠀⠀⠀⠀⠀⣸⣫⣿⣶⡱⠋⢀⢏⣼⣿⣷⣶⢩⠾⣿⡽⢮⣳⠽⠿⠛⠉⠉⠀⠀⠀⠀⠀⠀⠀⠀⠀⠀⠀⠀⠀⠀⠀⠀⠀⠀⠀⠀⠀⠀⠀⠀⠀⠀⠀⠀⠀
⠀⠀⠀⠀⠀⠀⠀⠀⡿⢾⣿⠾⣿⣿⠦⠟⠋⠙⣾⣿⡿⣿⣽⣧⠀⠀⠀⣠⡿⠋⠉⣿⠃⣰⡷⠋⠀⠈⣼⣫⠯⠭⢭⣻⣟⣿⣋⣐⠄⠀⠀⠀⠀⠀⠀⠀⠀⠀⠀⠀⠀⠀⠀⠀⠀⠀⠀⠀⠀⠀⠀⠀⠀⠀⠀⠀⠀⠀⠀⠀
⠀⠀⠀⠀⠀⠀⠀⠀⠙⠚⠋⠀⠉⠀⠀⠀⠀⠘⣿⣿⣿⣿⣿⣿⣗⢢⣼⠁⢀⡀⣼⣿⣸⣿⡁⠀⠀⠀⡟⢻⣏⣙⣶⡞⠘⠛⠣⣿⣆⡯⠀⠠⠄⡀⠀⠀⠀⠀⠀⠀⠀⠀⠀⠀⠀⠀⠀⠀⠀⠀⠀⠀⠀⠀⠀⠀⠀⠀⠀⠀
⠀⠀⠀⠀⠀⠀⠀⠀⠀⠀⠀⠀⠀⠀⠀⠀⢀⣼⣿⣽⣿⡿⡿⠻⡌⢾⡽⣦⣿⣿⣿⣿⢿⣿⣧⡀⣀⡼⢡⢷⠡⠴⢽⠁⠀⠀⠀⠀⠈⠒⠢⣛⢐⡏⢢⠀⠀⠀⠀⠀⠀⠀⠀⠀⠀⠀⠀⠀⠀⠀⠀⠀⠀⠀⠀⠀⠀⠀⠀⠀
⠀⠀⠀⠀⠀⠀⠀⠀⠀⠀⠀⠀⠀⠀⠀⠀⢸⣽⣾⣽⣿⡿⡆⠀⢸⣟⣿⣿⡿⢻⣿⣿⢸⣝⣿⡭⢭⡔⣿⠧⠽⢩⠃⠀⠀⠀⠀⠀⠀⠀⠀⠀⠙⠲⡾⢼⣄⠀⠀⠀⠀⠀⠀⠀⠀⠀⠀⠀⠀⠀⠀⠀⠀⠀⠀⠀⠀⠀⠀⠀
⠀⠀⠀⠀⠀⠀⠀⠀⠀⠀⠀⠀⠀⠀⠀⠀⠈⢻⣿⣿⠿⠁⣰⣄⣼⣿⣯⣿⣷⡸⡼⢟⡊⣛⡣⢽⡿⣣⢗⣞⣀⡾⠀⠀⠀⠀⠀⠀⠀⠀⠀⠀⠀⠀⠘⡞⣼⡀⠀⠀⠀⠀⠀⠀⠀⠀⠀⠀⠀⠀⠀⠀⠀⠀⠀⠀⠀⠀⠀⠀
⠀⠀⠀⠀⠀⠀⠀⠀⠀⠀⠀⠀⠀⠀⠀⠀⠀⠀⠻⣿⣤⣪⠛⣿⣿⣿⢁⣿⢹⢡⣸⢻⢇⢿⣧⠹⡆⣿⠽⠄⢸⠃⠀⠀⠀⠀⠀⠀⠀⠀⠀⠀⠀⠀⠀⢸⣳⡇⠀⠀⠀⠀⠀⠀⠀⠀⠀⠀⠀⠀⠀⠀⠀⠀⠀⠀⠀⠀⠀⠀
⠀⠀⠀⠀⠀⠀⠀⠀⠀⠀⠀⠀⠀⠀⠀⠀⠀⠀⠀⠈⠹⣿⣿⣭⡊⢉⠁⠈⣿⡯⠏⡜⡜⣸⣸⡀⣷⢱⣂⠁⢸⠁⠀⠀⠀⠀⠀⠀⠀⠀⠀⠀⠀⠀⠀⠘⣿⡇⠀⠀⠀⠀⠀⠀⠀⠀⠀⠀⠀⠀⠀⠀⠀⠀⠀⠀⠀⠀⠀⠀
⠀⠀⠀⠀⠀⠀⠀⠀⠀⠀⠀⠀⠀⠀⠀⠀⠀⠀⠀⠀⠀⠈⠙⠛⢿⢦⣝⣾⣿⣽⢯⢱⢳⠃⡇⣇⢹⡏⣿⠖⡘⣧⡀⠀⠀⠀⠀⠀⠀⠀⠀⠀⠀⠀⠀⣸⡿⠁⠀⠀⠀⠀⠀⠀⠀⠀⠀⠀⠀⠀⠀⠀⠀⠀⠀⠀⠀⠀⠀⠀
⠀⠀⠀⠀⠀⠀⠀⠀⠀⠀⠀⠀⠀⠀⠀⠀⠀⠀⠀⠀⠀⠀⠀⠀⠀⠑⠪⢿⠿⠋⢐⡋⡜⡾⣸⢸⠸⣷⢻⣋⣤⣒⠉⠻⣄⠀⠀⠀⠀⠀⠀⢠⡶⠋⢉⣿⠁⠀⠀⠀⠀⠀⠀⠀⠀⠀⠀⠀⠀⠀⠀⠀⠀⠀⠀⠀⠀⠀⠀⠀
⠀⠀⠀⠀⠀⠀⠀⠀⠀⠀⠀⠀⠀⠀⠀⠀⠀⠀⠀⠀⠀⠀⠀⠀⠀⠀⠀⠀⠀⠀⠀⣷⢣⢳⣇⣧⡇⢿⡌⣻⣿⣯⣶⠞⣋⠹⢄⠀⠀⠀⠀⠀⢧⣆⡞⠁⠀⠀⠀⠀⠀⠀⠀⠀⠀⠀⠀⠀⠀⠀⠀⠀⠀⠀⠀⠀⠀⠀⠀⠀
⠀⠀⠀⠀⠀⠀⠀⠀⠀⠀⠀⠀⠀⠀⠀⠀⠀⠀⠀⠀⠀⠀⠀⠀⠀⠀⠀⠀⠀⠀⢠⡿⡼⡎⣿⡸⣿⡼⣟⣿⣿⣿⣿⣧⠄⠀⠩⠷⡄⠀⠀⠀⠈⠟⠃⠀⠀⠀⠀⠀⠀⠀⠀⠀⠀⠀⠀⠀⠀⠀⠀⠀⠀⠀⠀⠀⠀⠀⠀⠀
⠀⠀⠀⠀⠀⠀⠀⠀⠀⠀⠀⠀⠀⠀⠀⠀⠀⠀⠀⠀⠀⠀⠀⠀⠀⠀⠀⠀⠀⠀⠀⣿⣦⡻⣜⣿⣿⣿⣿⣿⢿⡛⣿⣿⡛⢧⠂⢨⣽⣄⠀⠀⠀⠀⠀⠀⠀⠀⠀⠀⠀⠀⠀⠀⠀⠀⠀⠀⠀⠀⠀⠀⠀⠀⠀⠀⠀⠀⠀⠀
⠀⠀⠀⠀⠀⠀⠀⠀⠀⠀⠀⠀⠀⠀⠀⠀⠀⠀⠀⠀⠀⠀⠀⠀⠀⠀⠀⢠⡆⣷⡆⢸⣿⣿⣿⣿⣿⣿⣿⣻⣥⡽⣶⣌⡁⠈⢢⠀⠐⢛⡆⠀⠀⠀⠀⠀⠀⠀⠀⠀⠀⠀⠀⠀⠀⠀⠀⠀⠀⠀⠀⠀⠀⠀⠀⠀⠀⠀⠀⠀
⠀⠀⠀⠀⠀⠀⠀⠀⠀⠀⠀⠀⠀⠀⠀⠀⠀⠀⠀⠀⠀⠀⠀⠀⠀⠀⠀⢸⣿⣿⣧⣿⢟⣿⣿⣿⣿⣿⣿⣿⣿⣿⣷⣿⣻⣧⣈⡆⠀⢨⣽⡄⠀⠀⠀⠀⠀⠀⠀⠀⠀⠀⠀⠀⠀⠀
⠀⢀⣣⠏⠀⠀⠀⠀⡟⠀⠀⠀⠀⠀⠀⠀⠀⠀⠀⠀⠀⠀⣰⠃⠀⠀⠀⣧⣀⡀
⠀⢼⠏⠀⠀⠀⠀⢠⡃⠀⠀⠀⠀⠀⠀⠀⠀⠀⠀⠀⠀⠐⣗⠀⠀⠀⣰⡟⠀⠀
⠀⡾⠀⢀⣀⣰⣤⣼⣷⣼⣿⣷⣮⣕⡒⠤⠀⠀⠀⠀⠀⠀⠙⣦⣤⣴⡟⠀⠀⢠
⢰⡇⢐⣿⠏⠉⠉⠉⠙⠙⠋⠉⠁⠀⠈⠢⣄⡉⠑⠲⠶⣶⣾⣿⣿⣿⣿⣄⣠⣿
⢸⡇⣿⡿⠀⠀⠀⠀⠀⠀⠀⠀⠀⠀⠀⠀⠈⠙⠷⣶⣮⣭⣽⣿⣿⣿⣿⣿⣿⣿
⢸⣿⣿⡇⠀⠀⠀⠀⠀⠀⠀⠀⠀⠀⠀⠀⠀⠀⠀⠈⠹⣿⣿⣿⣿⠿⢿⠟⢁⣭
⢸⣿⣿⡇⣀⠠⠀⡀⠀⠀⠀⠀⠀⠀⠀⢀⣠⣄⣀⠀⡠⠨⡙⠻⣿⣿⠏⢠⣏⠳
⠘⢿⣿⣿⠀⢱⢉⠿⠳⣆⠀⠀⠀⠀⠩⠋⢲⡿⠈⢙⣶⠄⠘⢆⢹⡟⠀⣿⢿⠀
⠀⠈⠻⣿⡇⠈⠄⢿⣤⣬⠀⠀⠀⠀⠀⢀⡈⠻⠶⢾⡟⠀⠀⡸⠀⠀⢔⠅⢚⣴
⣄⣴⣾⣿⣿⠀⠀⢑⠒⠋⠀⠀⠀⠀⠀⠀⠀⠉⢏⠀⠀⠀⠔⠀⠀⠀⠁⡤⢿⣿
⠿⢿⣿⣿⣿⣷⢴⠟⠀⠀⢀⡀⠀⠀⠀⠀⠀⠀⠙⠵⠤⠊⠀⠀⣼⣿⡏⢀⠔⠁
⠀⠀⠹⣿⣿⠟⢮⠀⠀⠀⠈⠉⠁⠀⠀⠀⠀⠀⠀⠁⠀⠀⣠⣾⣿⣿⡷⠉⠀⠀
⣆⠀⠀⢿⡇⠀⠀⢱⣤⡀⠀⠉⠛⠋⠉⠁⠀⠀⠀⢀⣴⣾⣿⣿⠟⠛⠢⡄⠀⠀
⠈⠀⠀⠸⣿⣆⠀⠀⢿⣿⣦⣀⠀⠀⠀⠀⣀⢤⣾⣿⣿⡿⠟⠁⠀⠀⠀⠹⡄⠀
⠀⠀⠀⠀⠀⠈⠀⠀⠀⠛⠛⠿⠷⠒⠒⠯⠀⠀⠶⠾⠋⠀⠀⠀⠀⠀⠀⠀⠿⠄
As cool as always! Good job, Commander.
(°∀°)b
Montalban! Sandcastles in the sand. ♪
Super comprehensive batrep! Very well done! I love the comic stylizing you did with all your images, and the inclusion of the odds of success. All wonderful touches.
Larry wants to take Petra on a date to the Crypto Winter (she doesn’t wanna go but you know how she is ;D)
Good work commander! One step closer to liberating our pilots! Go Go Nomads!
1st for nomads